Making Prints Using the Stack Bypass
2-33
2
B
a
si
c O
p
e
ra
tio
ns
❑
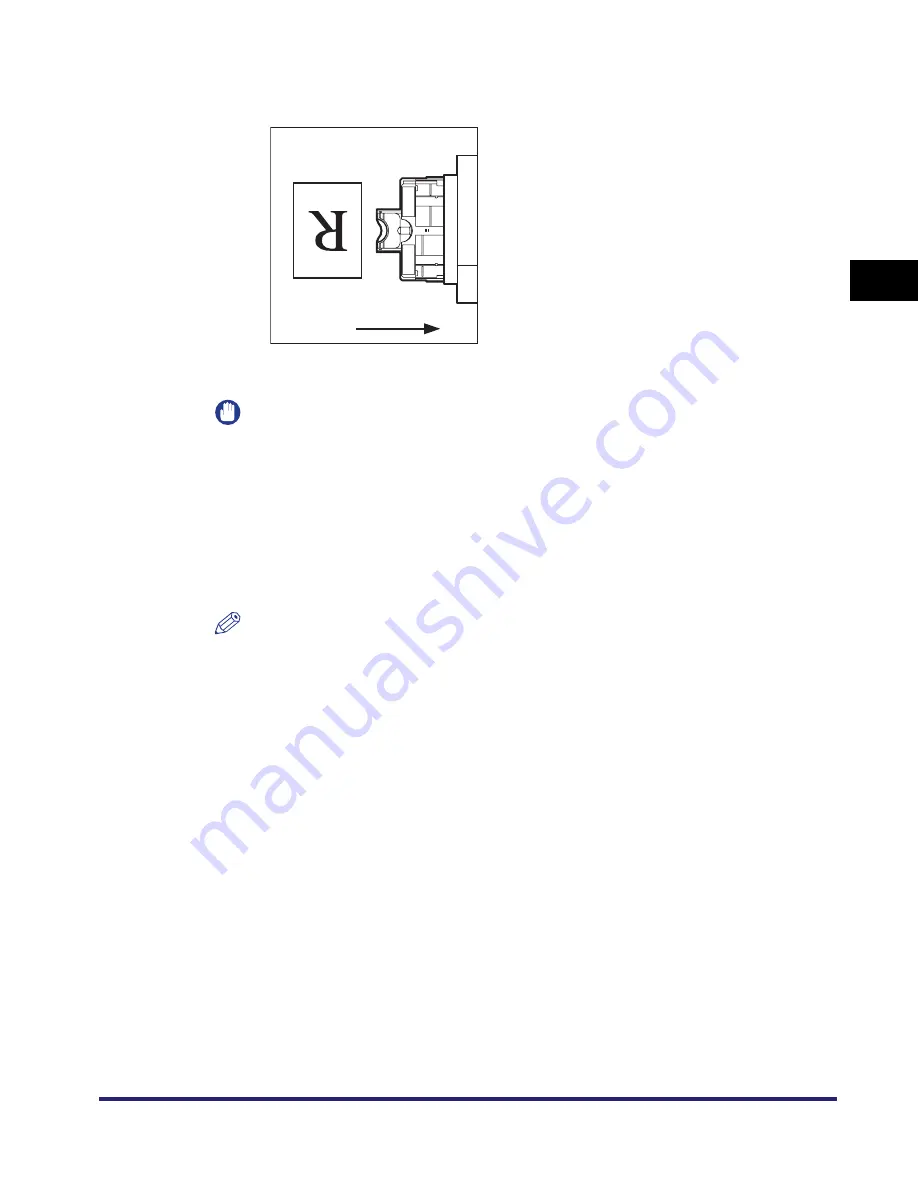
To print on the back side of preprinted paper, load the preprinted paper face up
into the stack bypass, as shown in the illustration below.
The screen for selecting the paper size appears.
IMPORTANT
•
When loading paper into the stack bypass, align the paper stack neatly between
the slide guides. If the paper is not loaded correctly, a paper jam may occur.
•
If you are printing on heavyweight paper or envelopes using the stack bypass, and
find that the paper or envelopes are not being fed smoothly or evenly through the
stack bypass, remove the paper or envelopes, curl the feeding edges upward
approximately 1/8" (3 mm), and then reload the paper or envelopes. Curling the
feeding edges enables the rollers to grip the paper or envelopes as they are fed
into the machine from the stack bypass.
NOTE
•
If there are instructions on the paper package about which side of the paper to
load, follow those instructions.
•
When the paper is loaded into the stack bypass, the side facing down is the one
printed on.
•
If problems, such as poor print quality or paper jams occur, try turning the paper
stack over and reload it.
•
For more information on the print direction of preprinted paper (paper which has
logos or patterns already printed on it), see “Relationship between Original
Orientation and Preprinted Paper Output Chart,” on p. 9-11.
Feeding
Direction
Содержание iMAGERUNNER 2018i
Страница 2: ...imageRUNNER 2030i 2025i 2022i 2018i Reference Guide 0 Ot ...
Страница 99: ...Available Paper Stock 2 46 2 Basic Operations ...
Страница 121: ...Card Reader E1 3 22 3 Optional Equipment 9 Press OK OK The page limits for the selected functions are set 10 Press Done ...
Страница 122: ...Card Reader E1 3 23 3 Optional Equipment 11 Press OK ...
Страница 129: ...Card Reader E1 3 30 3 Optional Equipment 4 Press Done 5 Press OK ...
Страница 132: ...Card Reader E1 3 33 3 Optional Equipment 5 Press Done 6 Press OK ...
Страница 135: ...Card Reader E1 3 36 3 Optional Equipment ...
Страница 237: ...Department ID Management 6 8 6 System Manager Settings 3 Press Register ID Password 4 Press Register ...
Страница 341: ...Consumables 7 48 7 Routine Maintenance ...
Страница 391: ...Service Call Message 8 50 8 Troubleshooting ...


