


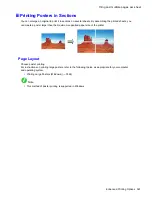

Tiling and multiple pages per sheet
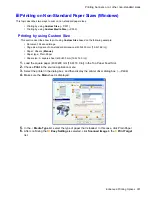
Printing Multiple Pages Continuously (Windows)
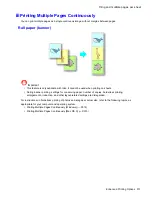
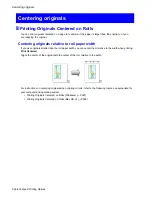
This topic describes how to print multiple pages as a single continuous image, without margins between pages.
Important
•
This feature is only available with rolls. It cannot be used when printing on sheets.
•
During banner printing, settings for conserving paper, number of copies, borderless printing,
enlargement or reduction, and other layout-related settings are disregarded.
1.
Choose
in the application menu.
2.
Select the printer in the dialog box, and then display the printer driver dialog box. (→P.404)
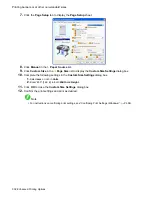
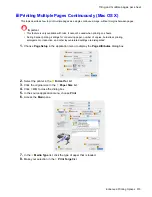
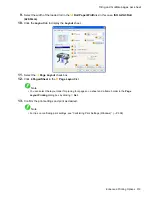
3.
Make sure the
Main
sheet is displayed.
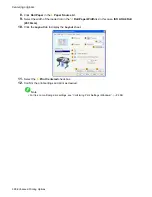
4.
In the
A
Media Type
list, click the type of paper that is loaded.
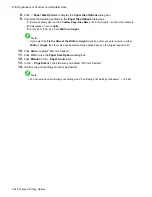
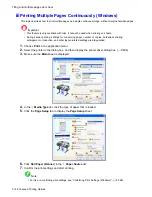
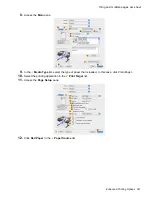
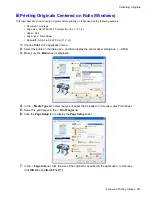
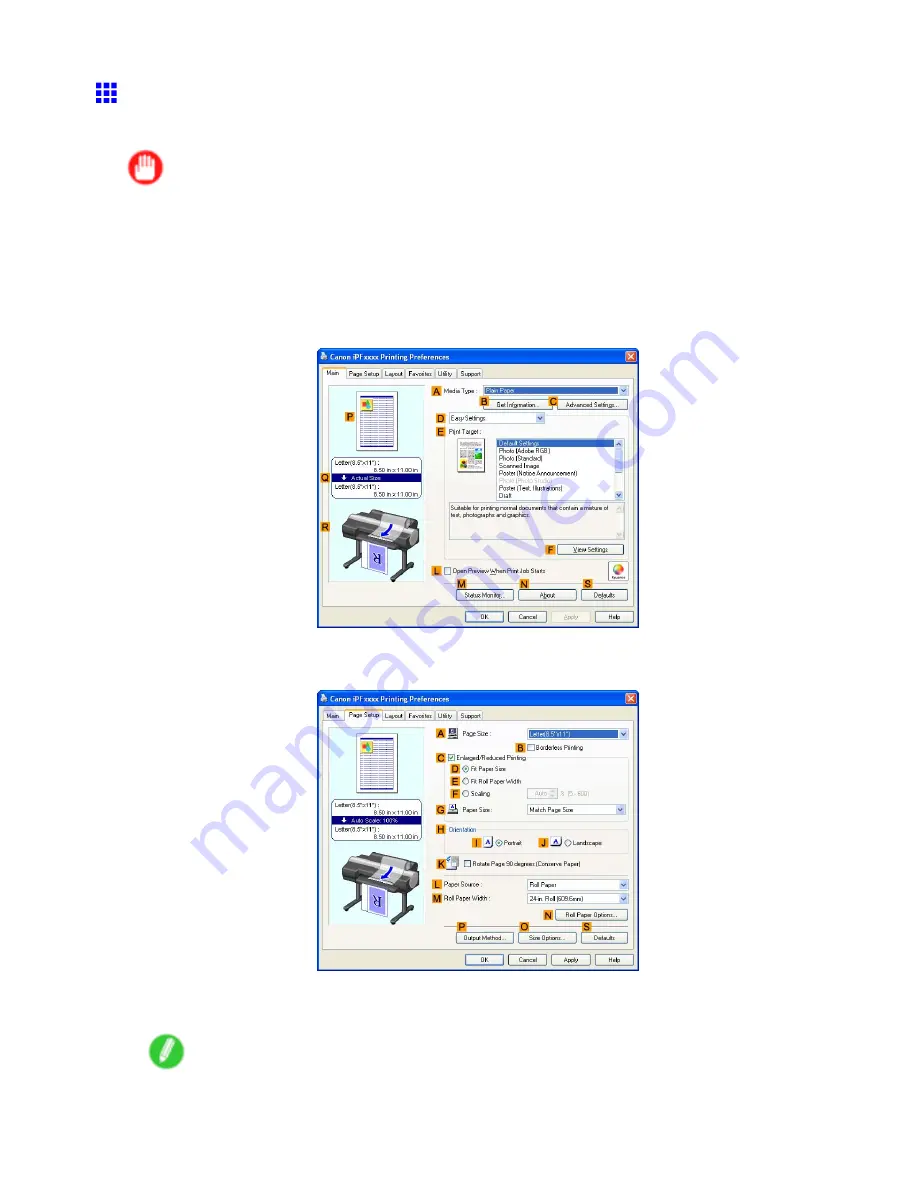
5.
Click the
Page Setup
tab to display the
Page Setup
sheet.
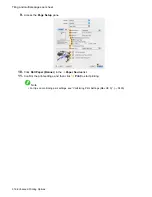
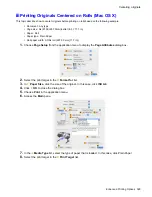
6.
Click
Roll Paper (Banner)
in the
L
Paper Source
list.
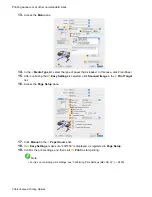
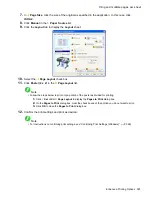
7.
Conrm the print settings and start printing.
Note
•
For tips on conrming print settings, see “Conrming Print Settings (Windows)”. (→P.398)
314 Enhanced Printing Options
Содержание imagePROGRAF iPF6200
Страница 1: ...User Manual ENG Large Format Printer ...
Страница 2: ......
Страница 21: ...How to use this manual 3 Clear the sections you will not print and click the Apply button Introduction 7 ...
Страница 722: ...708 ...
Страница 733: ......
Страница 734: ... CANON INC 2008 ...


