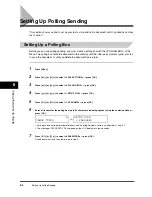
Setting Up Polling Sending
8-5
Sett
ing U
p
and U
s
ing
Poll
ing
8
3
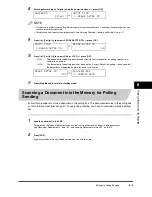
Adjust any necessary settings for your document.
•
Press [Image Quality] to select the fax resolution. (See “Adjusting the Image Quality (Resolution),” on p. 6-4.)
•
Press [Exposure] to select the scan density. (See “Adjusting the Exposure (Density),” on p. 6-5.)
4
Open One-Touch Speed Dial panel
➞
press [Polling].
5
Press [OK].
The document is scanned into the polling box.
Changing the Polling Box Settings
Follow this procedure to change the settings of a polling box.
1
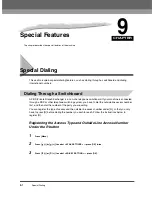
Press [Menu].
2
Press [ (-)] or [ (+)] to select <4.FAX SETTINGS>
➞
press [OK].
3
Press [ (-)] or [ (+)] to select <6.POLLING BOX>
➞
press [OK].
4
Press [ (-)] or [ (+)] to select <2.CHANGE DATA>
➞
press [OK].
5
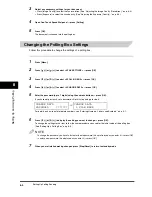
Enter the password (up to 7 digits) using the numeric buttons
➞
press [OK].
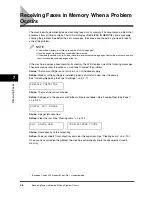
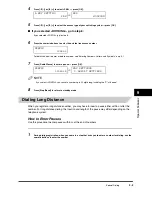
If you have not previously set a password, skip this step, and go to step 6.
For details on how to enter or delete numbers, see “Entering Numbers, Letters, and Symbols,” on p. 3-1.
6
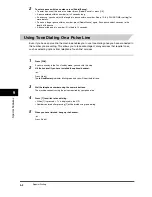
Press [ (-)] or [ (+)] to display the setting you want to change
➞
press [OK].
To change the settings for an item, follow the same procedure you used for the initial setup of the polling box.
(See “Setting Up a Polling Box,” on p. 8-3.)
NOTE
To change the password, you have to first enter the old password (it is not displayed as you enter it)
➞
press [OK]
➞
enter a new password (it is displayed as you enter it)
➞
press [OK].
7
When you are finished making changes, press [Stop/Reset] to return to standby mode.
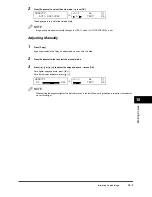
CHANGE DATA
PASSWORD
*******
➞
CHANGE DATA
1.FILE NAME

