Job Build
4-12
4
Sp
ec
ial Sca
n
n
in
g
F
e
at
ur
es
1
Place your originals and specify the destination
➞
press the Scan
Settings drop-down list
➞
[Option]
➞
[Special Features]
➞
[Job Build].
For more information on specifying the destination, see Chapter 2, "Basic Sending Methods."
2
Press [Done]
➞
[OK].
3
Press .
NOTE
To cancel scanning, press [Cancel] or
.
4
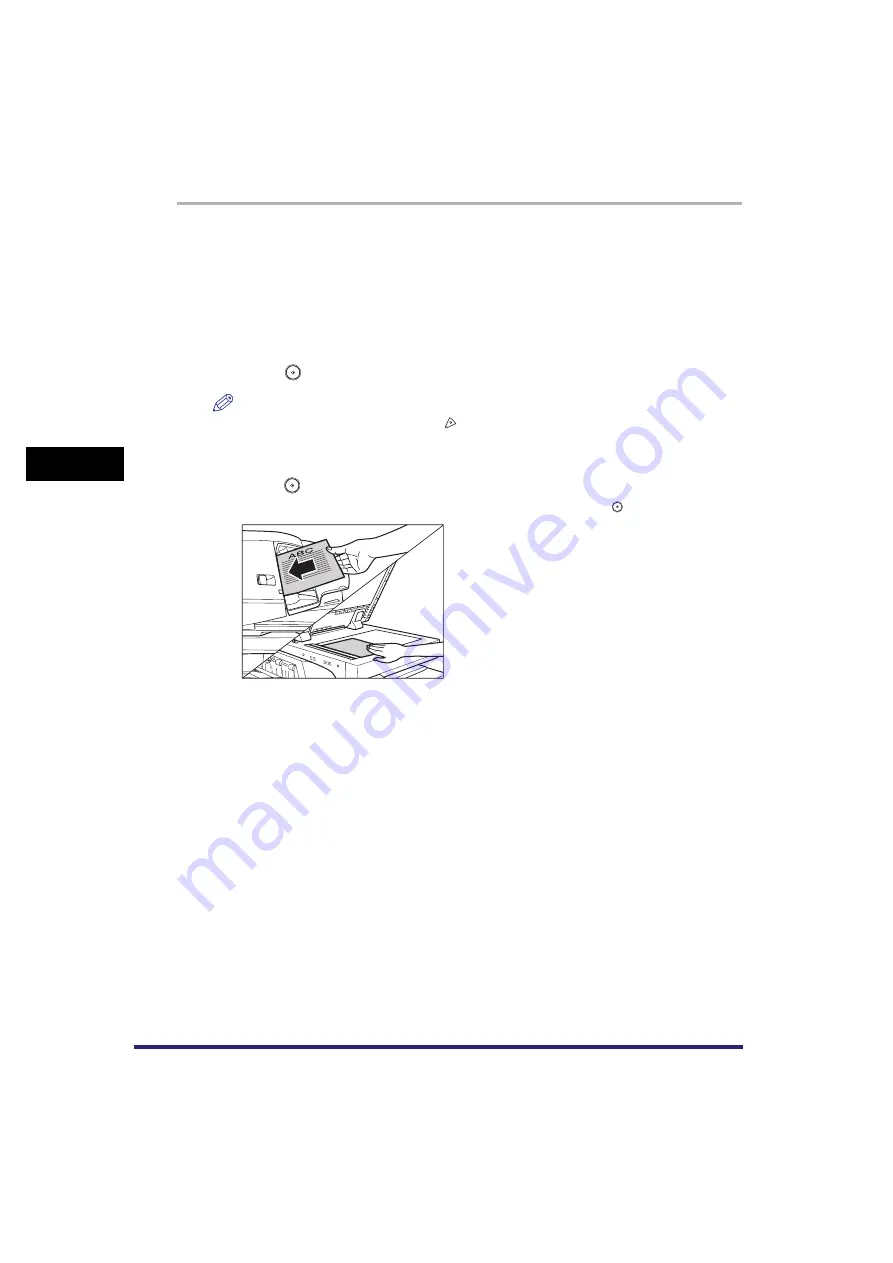
When scanning is complete, place your next batch of originals
➞
press .
If you want to change the scan settings, change them before pressing
.
You can select the document size. (See "Document Size," on p. 3-8.)
You can change the scan exposure and the original type settings. (See "Scan Exposure and
Original Type Settings," on p. 3-15.)
You can change the colour mode setting. (See "Changing Colour Modes," on p. 3-25.)
You can change the one-sided or two-sided original setting. (See "2-Sided Original," on p. 3-4.)
Содержание CLC5151
Страница 2: ......
Страница 3: ...CLC5151 CLC4040 iR C4580i iR C4080i Sending and Facsimile Guide 0 Frontmatter...
Страница 20: ...xviii...
Страница 61: ...Cancelling a Job 1 41 1 Introduction to Sending and Fax Functions Fax 1 Press System Monitor 2 Press Fax...
Страница 130: ...Scan Settings 3 24 3 Basic Scanning Features 3 Press OK 4 Press NOTE To return the ratio to 100 press 1 1...
Страница 200: ...Setting the File Format to Send a Document in 5 44 5 Sending Documents 3 Press User Signature OK OK 4 Press...
Страница 286: ...ECM Reception 9 48 9 Customizing Communications Settings...
Страница 404: ...Printing Lists 12 14 12 Printing Communication Reports...
Страница 474: ...Index 14 30 14 Appendix...
Страница 475: ......


