CHAPTER 2 STANDARDS AND ADJUSTMENTS
2-40
10
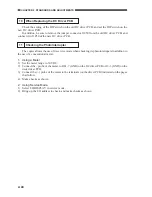
When Replacing the DC Driver PCB
Check the setting of the DIP switch on the old DC driver PCB, and set the DIP switch on the
new DC driver PCB.
In addition, be sure to remove the jumper connector J1050 from the old DC driver PCB, and
connect it to J1050 of the new DC driver PCB.
11
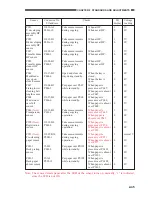
Checking the Photointerrupter
The copier allows the use of its service mode when checking its photointerrupers in addition to
the use of a conventional meter.
1. Using a Meter
1) Set the meter range to 30 VDC.
2) Connect the - probe of the meter to J101-7 (GND) on the DC driver PCB or J3-3 (GND) on the
deck driver PCB.
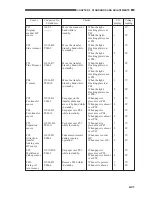
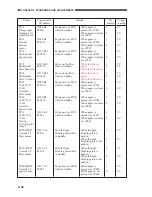
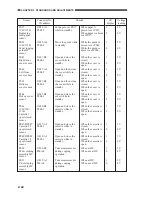
3) Connect the (+) probe of the meter to the terminals (on the driver PCB) indicated on the pages
that follow.
4) Make checks as shown.
2. Using Service Mode
1) Select I/O DISPLAY in service mode.
2) Bring up the I/O address to check, and make checks as shown.


