14
One-Button OCR
Chapter 2: WordScan Tutorial
You can setup WordScan so that all you need to do is click
on the
New Job
or
Acquire Image
button. WordScan
will OCR the file and then prompt you where to save it.
1.
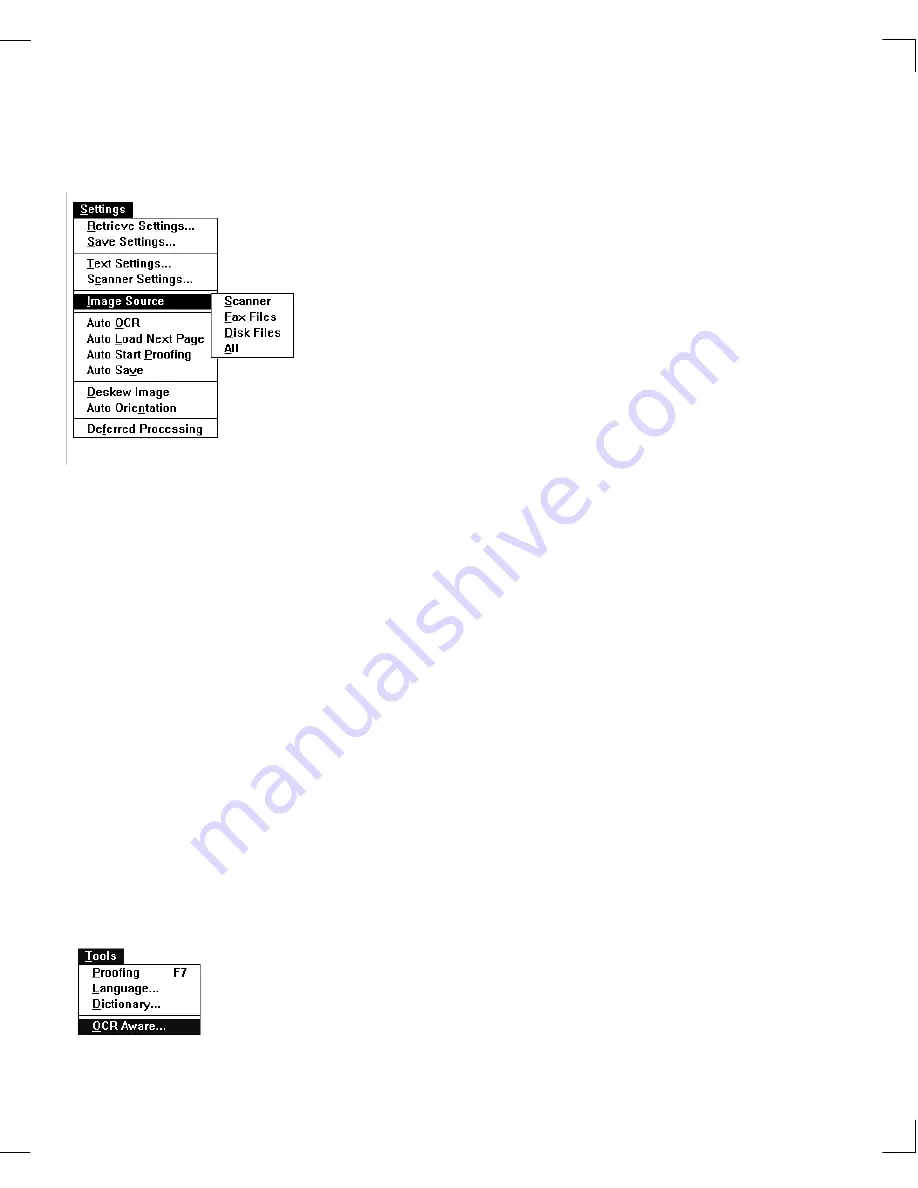
In the Settings menu, set the
Image Source
to
Scanner, Fax, or Disk files (if options are available)
and then enable:
❑
Auto OCR
❑
Auto Load Next Page
❑
Auto Start Proofing (WordScan Plus only)
❑
Auto Save
❑
Deskew Image
❑
Auto Orientation (WordScan Plus only)
2.
Click on the
New Job
or
Acquire Image
button.
3.
A dialog box opens prompting you to acquire an image.
The image file appears in the Preview area and the
Progress Monitor shows the file being processed.
4.
WordScan Plus allows you to proof and edit the text.
5.
The
Save As
dialog box appears, where you enter the
file name and file type. Then click
OK
.
You can add WordScan into your favorite wordprocessing
applications. This allows you to have access to WordScan’s
OCR capabilities in the File menu of your application. To
add WordScan:
1.
Minimize WordScan by clicking on the arrow pointing
down in the upper-right corner of the WordScan
window.
2.
Start the application you want associated with
WordScan and then minimize it.
3.
Restore WordScan by double-clicking on the
WordScan
icon.
4.
Select
OCR Aware
in the Tools menu.
The name of the application you want to add should
appear in the left-hand list box.
One-Button OCR
Adding WordScan to
other Applications
(OCR Aware)
Содержание WORDSCAN
Страница 1: ...i WordScan User s Guide Serial Registration 802 0538 030A...
Страница 8: ...vi Related Manuals About This Manual...
Страница 88: ...80 Page Setup Chapter 4 WordScan Settings...
Страница 102: ...94 Electronic Mail Options Appendix A Output Formats and Scanner Fax and E Mail Settings...
Страница 107: ...iii V View menu 71 Virtual memory 82 W Windows 82 Z Zones creating 20 graphic 39 Zoom 72...
Страница 108: ...iv...


