25
modify the routes as required:
• Select
Edit
to modify the chosen route.
• Select
Delete
to delete the chosen route
• Select
Delete All
to delete all routes.
• Select
Set
NAV
to activate navigation mode.
• Select
Cancel NAV
to disable navigation mode.
Using Trails
In the My Trails menu, you can configure trail settings,
change the trail type, and view the trail information.
Creating a Trail Log
The ONIX 110 also features a trail function that records
information about your trip to help you follow the
same trail in the future.
To create a trail:
1. In Advanced mode, press the
Menu
button to
display the menu options.
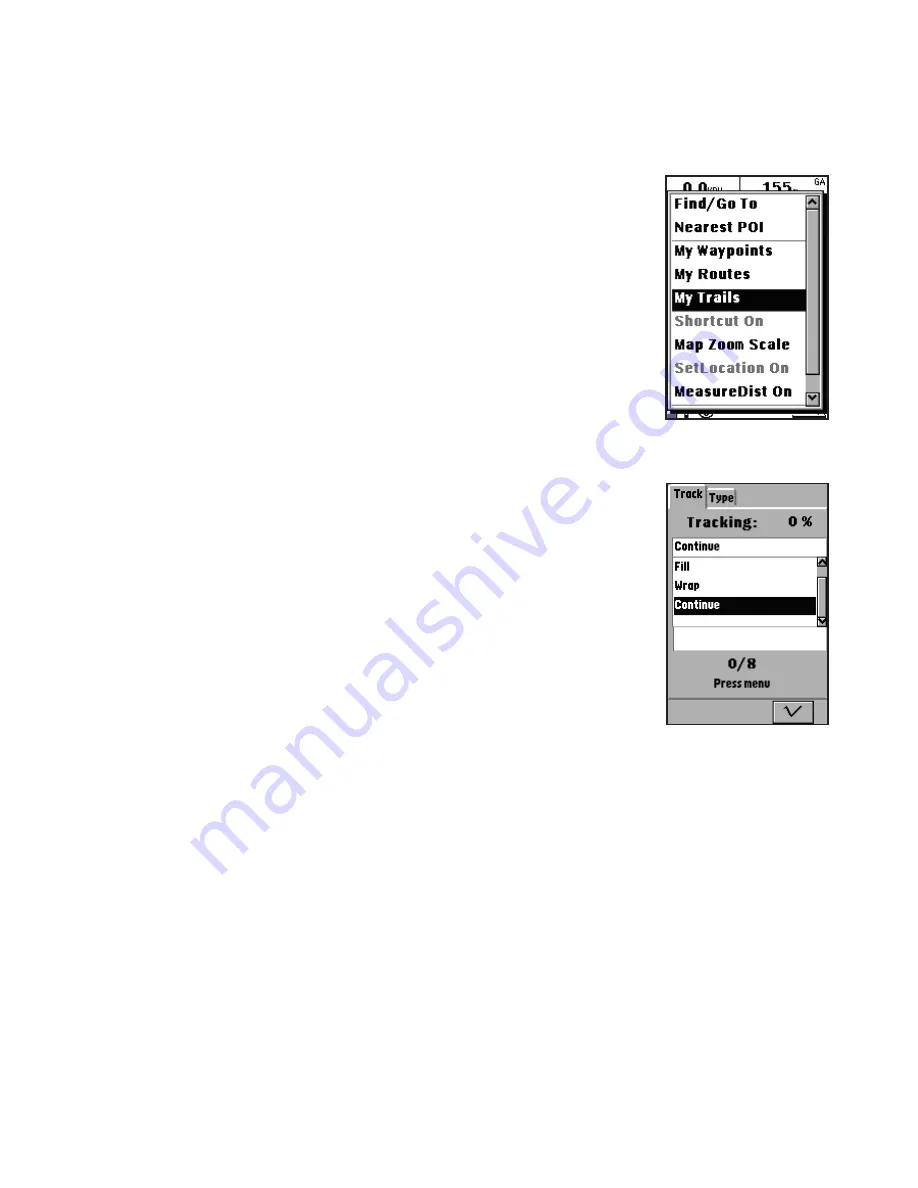
2. Highlight the
My Trails
option and press
OK
(
Fig.
33
)
.
3. Under the My Trails tab use the navigation keys
to highlight the Trail field and press
OK
to display
the drop down menus.
4. Select from the following options:
• Select
Off
to disable logging of the trail.
• Select
Fill
to save trails with no more than 2500
trail points.
• Select
Wrap
to create trails in a cyclical manner.
After a trail log with 2500 track points is saved,
new trail points are saved by overwriting the old
trail points starting from 0.
•Select
Continue
(
Fig. 34
)
to create a single
continuous trail log of all trail points. You can
save up to 8 continuous trail logs.
5. Press the
Menu
button to view the trail log menu
and select from the following options:
Fig. 33
Fig. 34


