24
Link LED
Glows amber when the TeraStation is connected to a network.
25
Act LED
This LED shows network activity. It blinks amber when the TeraStation is accessed over the network.
Opening Windows Storage Server
To connect Windows Storage Server, follow the procedure below.
Note:
If using macOS, download and install “Microsoft Remote Desktop” from the Mac App Store.
1
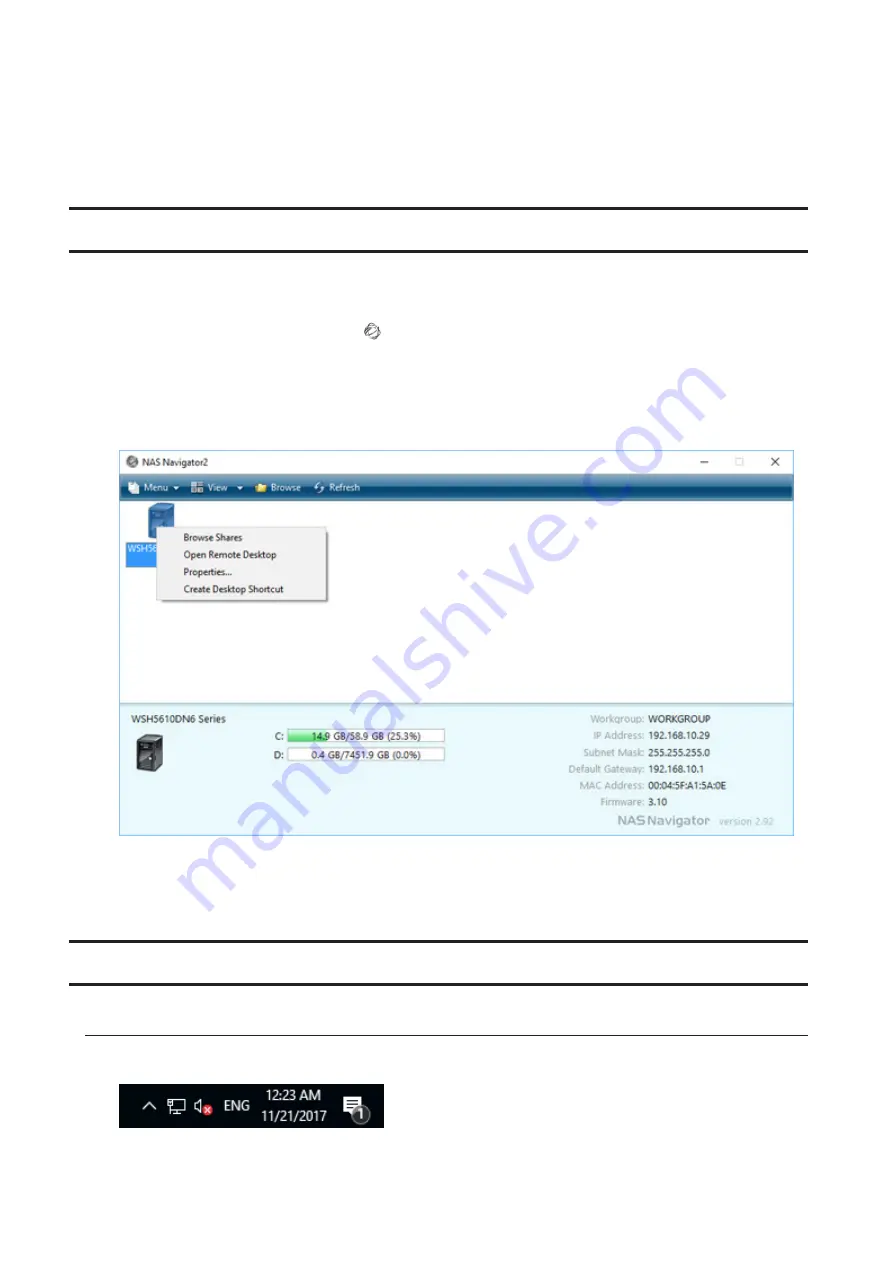
Double-click the NAS Navigator2 icon ( ) to start NAS Navigator2.
2
Right-click your TeraStation’s icon and select
Open Remote Desktop
. For macOS, select the TeraStation’s icon
while holding down the control key, then select
Open Remote Desktop
.
If the message “The identity of the remote computer cannot be verified. Do you want to connect anyway?” is
displayed, click
Yes
or
Continue
.
3
Enter the admin username and password and press the Enter key. The default username and password are
“Administrator” and “password”.
Windows Storage Server will open in the remote desktop.
Changing Settings
Configuring Date and Time
1
Click the time in the system tray of Windows Storage Server.
7
Содержание TeraStation WSS WSH5010N6
Страница 12: ...8 Choose Everyone and select the Allow checkbox for Change 9 From the Security tab click Edit Add 11...
Страница 25: ...5 Select Custom and click Next 6 Click Add Items 24...
Страница 26: ...7 Select the backup source folders or drives and click OK 8 Click Next 25...
Страница 27: ...9 Specify the schedule to run the backup and click Next 26...
Страница 31: ...5 Select the date when a data backup occurred and click Next 30...
Страница 38: ...3 From the Computer Name tab click Change 4 Select Domain enter a domain name and click OK 37...
Страница 43: ...3 Enter a hostname for the namespace server and click Next 42...
Страница 44: ...4 Enter a name for the namespace and click Next 43...
Страница 49: ...4 Enter a name for the replication group and click Next 48...
Страница 50: ...5 Click Add 6 Enter more than two servers hostnames to join the replication group and click OK 49...
Страница 51: ...7 Click Next 50...
Страница 52: ...8 Select Full mesh and click Next 51...
Страница 54: ...10Select the device as the primary member and click Next 53...
Страница 55: ...11Click Add 12Select the folder as the replication source and click OK 54...
Страница 56: ...13Click Next 55...
Страница 57: ...14Click Edit 56...
Страница 58: ...15Select Enabled and select the folder as the replication destination then click OK 57...
Страница 59: ...16Click Next 58...
Страница 60: ...17Click Create 59...
Страница 69: ...3 Double click Remote Desktop Users 4 Click Add 5 Click Advanced 6 Click Find Now 68...
Страница 70: ...7 Select the user to be added as a group member and click OK 8 Click OK then click OK again 69...
Страница 72: ...4 Enter a group name and click Add 5 Click Advanced 6 Click Find Now 71...


