If your environment must join the Active Directory domain, use DFS Replication. If joining the Active Directory is
not required, or if a TeraStation or LinkStation has been configured as the replication destination, using Buffalo
Replication is recommended.
Before Using Replication
• For best results, use static IP addresses with the same subnet masks for both replication TeraStations (source and
destination). If on a VPN network, configure the network settings so that broadcast packets are not dropped.
• Setting the TeraStation on a 1000 Mbps network is recommended.
• Up to five replication tasks can be created.
• Filenames and file paths that will be copied by replication should be within 170 characters. Files with filenames
that are longer than 170 characters may not be copied correctly.
Buffalo Replication
If using Buffalo Windows Storage Server-installed TeraStations as both the replication source and destination, start
from step 1. If using a different TeraStation as the replication destination, refer to that TeraStation’s user manual to
configure it as a replication destination. After you finish configuring on the TeraStation’s Settings, go to step 3.
1
Click
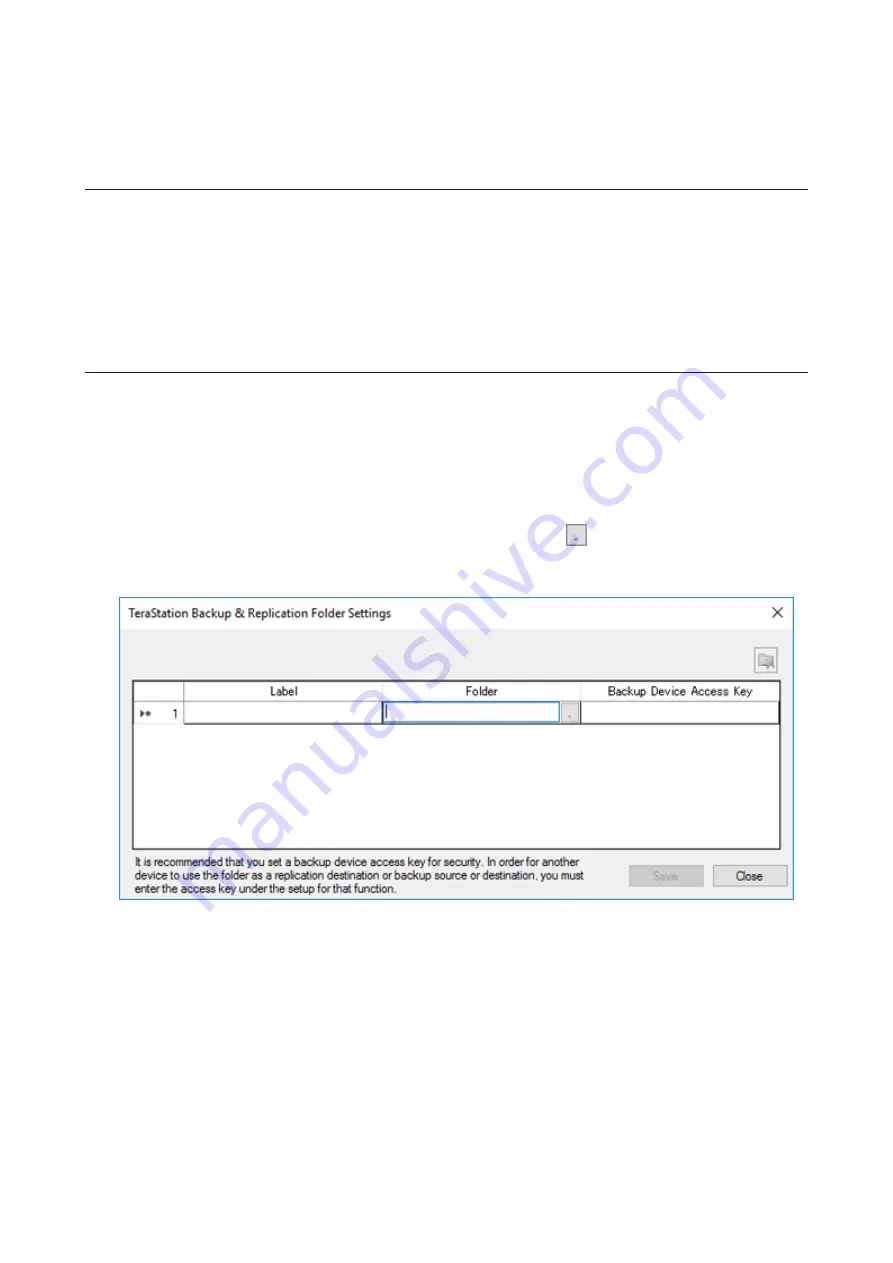
TeraStation Backup & Replication Folder Settings
in the Start menu on the replication destination
TeraStation’s Windows Storage Server.
2
Click the blank space under “Label” and enter a label for the folder. Click
under “Folder” and select the
folder as a replication destination. Enter the desired characters for a backup device access key and click
Save
when finished.
3
Click
Buffalo Replication
in the Start menu on the replication source TeraStation’s Windows Storage Server.
32
Содержание TeraStation WSS WSH5010N6
Страница 12: ...8 Choose Everyone and select the Allow checkbox for Change 9 From the Security tab click Edit Add 11...
Страница 25: ...5 Select Custom and click Next 6 Click Add Items 24...
Страница 26: ...7 Select the backup source folders or drives and click OK 8 Click Next 25...
Страница 27: ...9 Specify the schedule to run the backup and click Next 26...
Страница 31: ...5 Select the date when a data backup occurred and click Next 30...
Страница 38: ...3 From the Computer Name tab click Change 4 Select Domain enter a domain name and click OK 37...
Страница 43: ...3 Enter a hostname for the namespace server and click Next 42...
Страница 44: ...4 Enter a name for the namespace and click Next 43...
Страница 49: ...4 Enter a name for the replication group and click Next 48...
Страница 50: ...5 Click Add 6 Enter more than two servers hostnames to join the replication group and click OK 49...
Страница 51: ...7 Click Next 50...
Страница 52: ...8 Select Full mesh and click Next 51...
Страница 54: ...10Select the device as the primary member and click Next 53...
Страница 55: ...11Click Add 12Select the folder as the replication source and click OK 54...
Страница 56: ...13Click Next 55...
Страница 57: ...14Click Edit 56...
Страница 58: ...15Select Enabled and select the folder as the replication destination then click OK 57...
Страница 59: ...16Click Next 58...
Страница 60: ...17Click Create 59...
Страница 69: ...3 Double click Remote Desktop Users 4 Click Add 5 Click Advanced 6 Click Find Now 68...
Страница 70: ...7 Select the user to be added as a group member and click OK 8 Click OK then click OK again 69...
Страница 72: ...4 Enter a group name and click Add 5 Click Advanced 6 Click Find Now 71...


