


Chapter 5 Backup
Using Snapshots
Overview
Snapshot is a function that creates a virtual copy of the data currently stored in a shared folder or iSCSI volume on
the TeraStation. Once a snapshot has been created and saved, files and folders that are subsequently modified or
deleted can be restored from the point at which the snapshot was created. The TeraStation allows you to not only
create a snapshot manually, but also schedule automatic snapshots and auto-archive them to save TeraStation
capacity.
The created snapshots will be saved on the TeraStation. As with any file, if a drive malfunctions, all saved snapshots
on that drive will be erased along with the data.
Application for iSCSI Volume Snapshots
To create an iSCSI volume snapshot in the environment where the iSCSI volumes on the TeraStation are connected
using a virtual machine, we recommend using the Buffalo-offered Windows Server application “Snapshot Agent for
TeraStation”, available from the
The application can create both application-consistent and crash-consistent snapshots. An application-consistent
snapshot contains all current data in memory and all I/O operations. Restoring from an application-consistent
snapshot reverts the virtual machine to the exact same state as when the snapshot was created. A crash-consistent
snapshot, on the other hand, creates a snapshot of all the current files but not ongoing processes. Restoring from a
crash-consistent snapshot only recovers saved data. Refer to the application help for detailed usage procedures.
Manually Creating a Snapshot
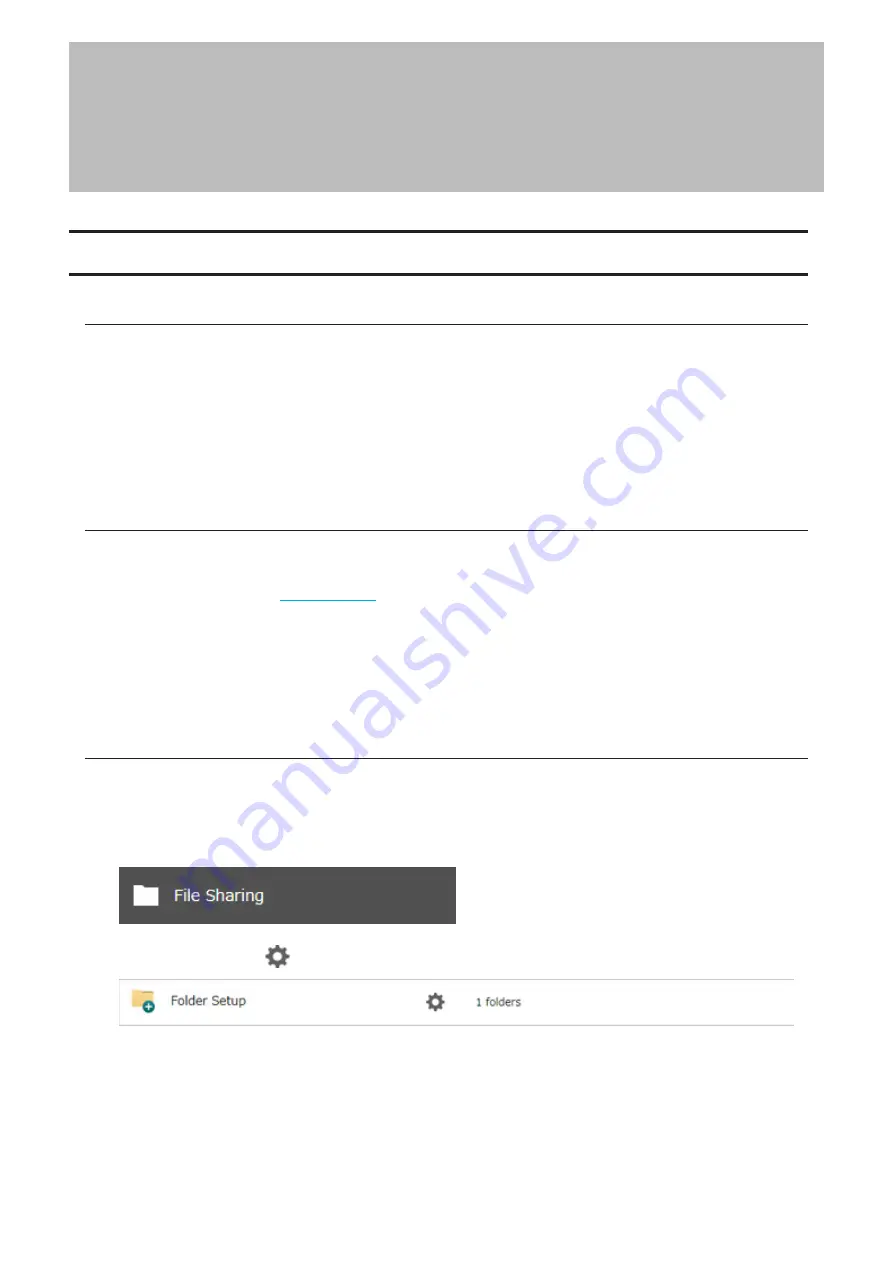
For Shared Folders
1
From Settings, click
File Sharing
.
2
Click the settings icon (
) to the right of “Folder Setup”.
72
Chapter 5 Backup
Содержание TeraStation 6000 Series
Страница 32: ...3 Click Add Group 31 Chapter 3 File Sharing...
Страница 120: ...2 Click Time Machine 119 Chapter 5 Backup...
Страница 121: ...3 Click Select Backup Disk 4 Select the TeraStation then click Use Disk 120 Chapter 5 Backup...
Страница 123: ...7 Time Machine will count down from 120 seconds then backup will begin 122 Chapter 5 Backup...
Страница 131: ...3 From the job list click the job whose settings you want to change 4 Click the Options tab 130 Chapter 6 Remote Access...
Страница 132: ...5 Click Edit 131 Chapter 6 Remote Access...
Страница 136: ...7 Enter the desired job name and click Next 8 Select Backup and click Next 135 Chapter 6 Remote Access...
Страница 144: ...4 Click the Options tab 5 Click Edit 143 Chapter 6 Remote Access...
Страница 153: ...4 Click the Options tab 152 Chapter 6 Remote Access...
Страница 154: ...5 Click Edit 153 Chapter 6 Remote Access...
Страница 169: ...11Click the NFS Rules tab 12Click Add 168 Chapter 7 Advanced Features...
Страница 193: ...3 Click Edit 4 Select or enter the desired MTU size and click OK 192 Chapter 7 Advanced Features...


