


6
Click the settings icon (
) to the right of “Power Management”.
7
Click
Edit
.
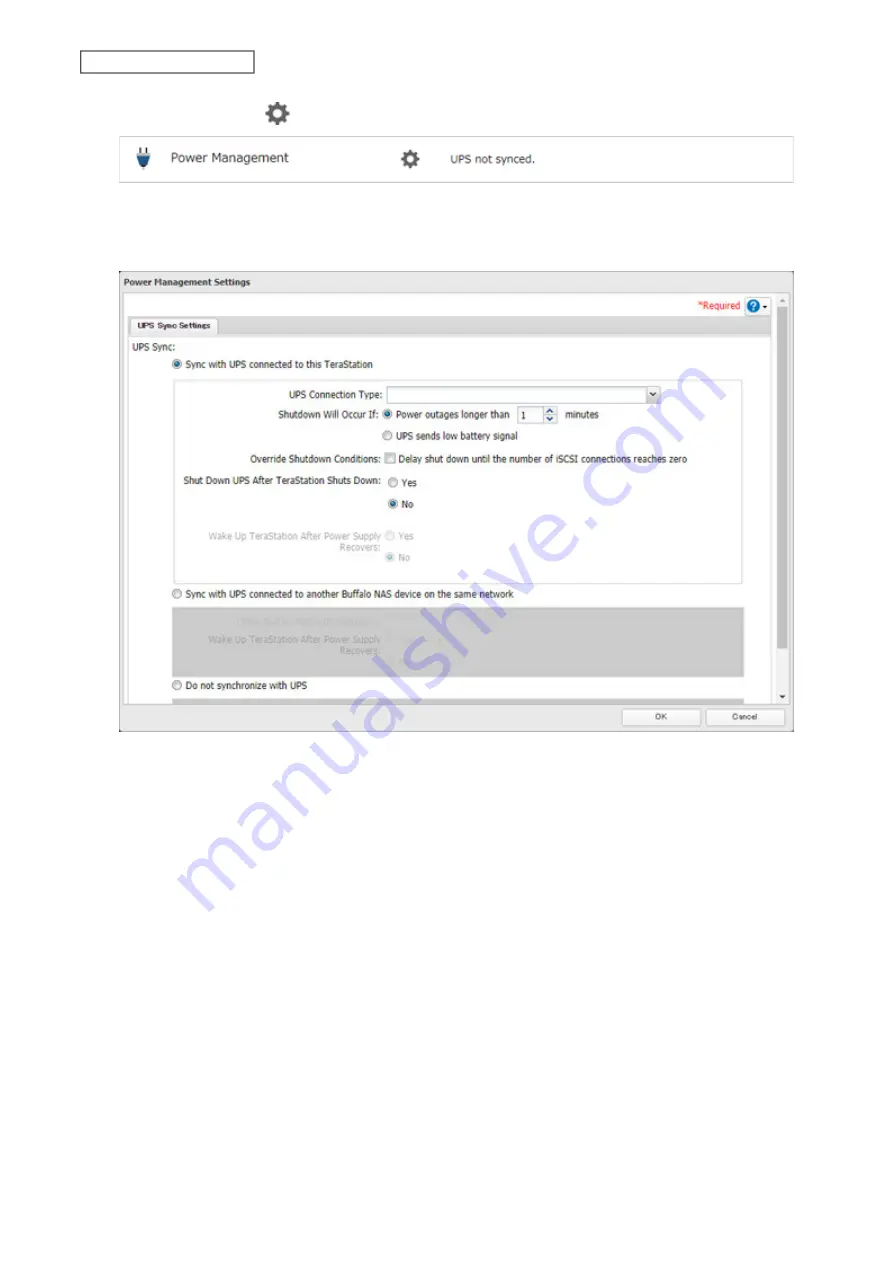
8
Configure the desired settings, then click
OK
.
Notes:
• If the TeraStation is connected directly to a UPS, select “Sync with UPS connected to this TeraStation”. If a different
Buffalo NAS device is connected to the UPS, select “Sync with UPS connected to another Buffalo NAS device on
the same network”. After making this selection, enter the IP address of the Buffalo NAS device that will be the
sync source into “Other Buffalo NAS’s IP Address”.
• If you don’t want to connect any UPS devices, select “Do not synchronize with UPS” and the operation for if a
power supply failure occurs. If “Use last state” at “AC Power Recovery” is selected, the TeraStation will revert to the
state before the power supply failure occurs. If “Stay off” is selected, the TeraStation will remain off even after the
TeraStation shuts down due to the power supply failure.
• When the TeraStation restarts after an automatic shutdown such as from a power outage or power supply issue,
verify that external power has been restored. If the TeraStation is turned on while it is still running on the UPS and
external power has not been restored, the automatic shutdown will not be performed, even after the specified
time elapses.
• If the power supply from the UPS to the TeraStation stops and restarts when UPS recovery is enabled, the
TeraStation will automatically restart.
162
Chapter 7 Advanced Features
Содержание TeraStation 6000 Series
Страница 32: ...3 Click Add Group 31 Chapter 3 File Sharing...
Страница 120: ...2 Click Time Machine 119 Chapter 5 Backup...
Страница 121: ...3 Click Select Backup Disk 4 Select the TeraStation then click Use Disk 120 Chapter 5 Backup...
Страница 123: ...7 Time Machine will count down from 120 seconds then backup will begin 122 Chapter 5 Backup...
Страница 131: ...3 From the job list click the job whose settings you want to change 4 Click the Options tab 130 Chapter 6 Remote Access...
Страница 132: ...5 Click Edit 131 Chapter 6 Remote Access...
Страница 136: ...7 Enter the desired job name and click Next 8 Select Backup and click Next 135 Chapter 6 Remote Access...
Страница 144: ...4 Click the Options tab 5 Click Edit 143 Chapter 6 Remote Access...
Страница 153: ...4 Click the Options tab 152 Chapter 6 Remote Access...
Страница 154: ...5 Click Edit 153 Chapter 6 Remote Access...
Страница 169: ...11Click the NFS Rules tab 12Click Add 168 Chapter 7 Advanced Features...
Страница 193: ...3 Click Edit 4 Select or enter the desired MTU size and click OK 192 Chapter 7 Advanced Features...


