Scanning
60
3
c
Choose the picture type (2).
d
Click
Preview
(5).
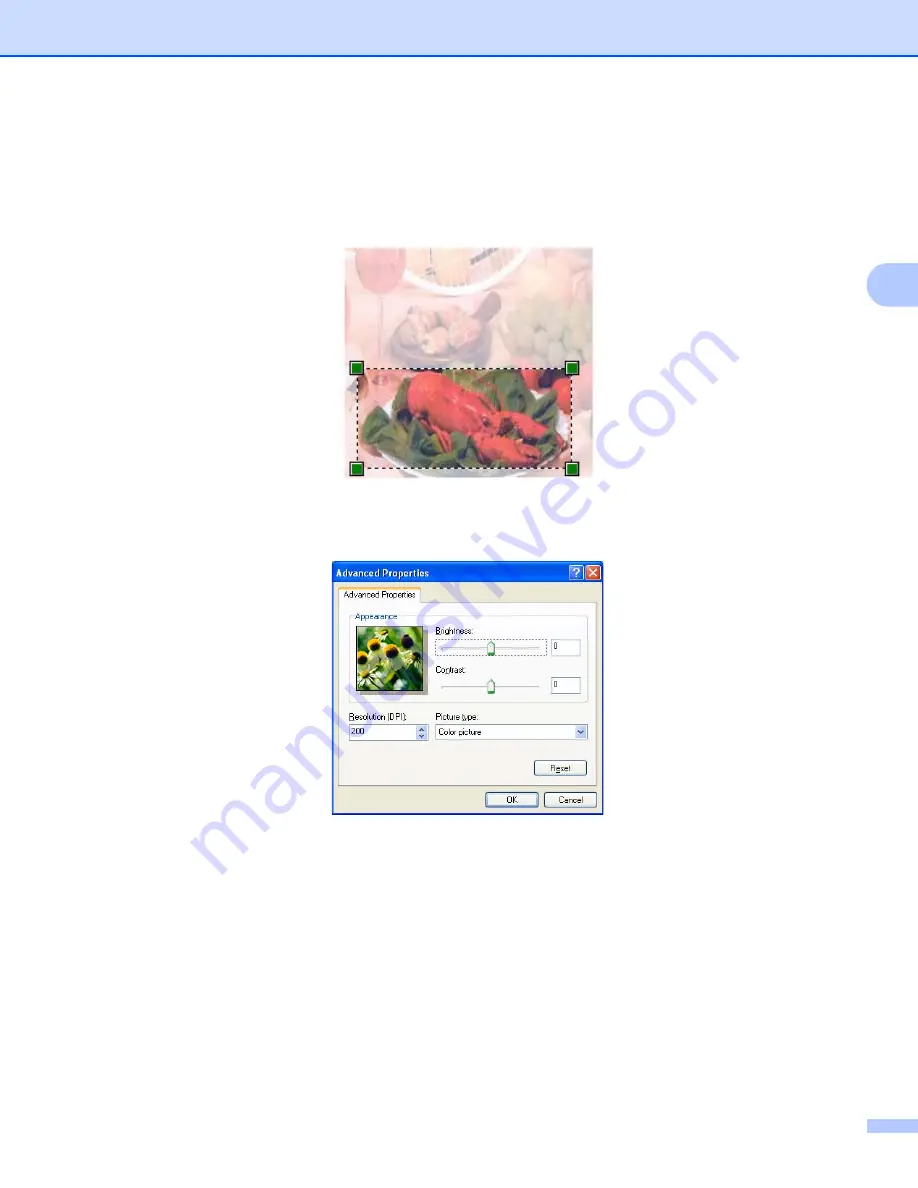
The whole image is scanned into the PC and appears in the scanning area (4).
e
Press and hold down the left mouse button and drag it over the portion you want to scan.
f
If you need advanced settings, click
Adjust the quality of the scanned picture
(3). You can choose
Brightness
,
Contrast
,
Resolution (DPI)
and
Picture type
from
Advanced Properties
. Click
OK
after
you have changed the setting.
g
Click
Scan
in the Scan dialog box (6).
The machine starts scanning the document.
This time only the chosen area of the document appears in the PaperPort™ 12SE window (or your
application window).
Содержание MFC-8510DN
Страница 9: ...Section I Machine operation keys I Using the control panel 2 ...
Страница 143: ...Section III Apple Macintosh III Printing and Faxing 136 Scanning 162 ControlCenter2 178 Remote Setup For MFC models 202 ...
Страница 165: ...Printing and Faxing 157 8 For Mac OS X 10 7 x For more page setup options click Show Details ...
Страница 166: ...Printing and Faxing 158 8 c Choose Send Fax from the pop up menu d Choose Facsimile from the Output pop up menu ...
Страница 169: ...Printing and Faxing 161 8 c When you are finished addressing your fax click Print ...
Страница 212: ...Section IV Using the Scan key IV Scanning For USB cable users 205 Network Scanning 222 ...


