Scanning
50
3
Note
• After you select a document size, you can adjust the scanning area further by clicking the left mouse button
and dragging it. This is required when you want to crop an image when scanning. (See
crop a portion you want to scan
• For models that support duplex scanning:
• You cannot adjust the scanning area.
• Duplex scan is available from the ADF only.
• You cannot use the
PreScan
button to preview an image.
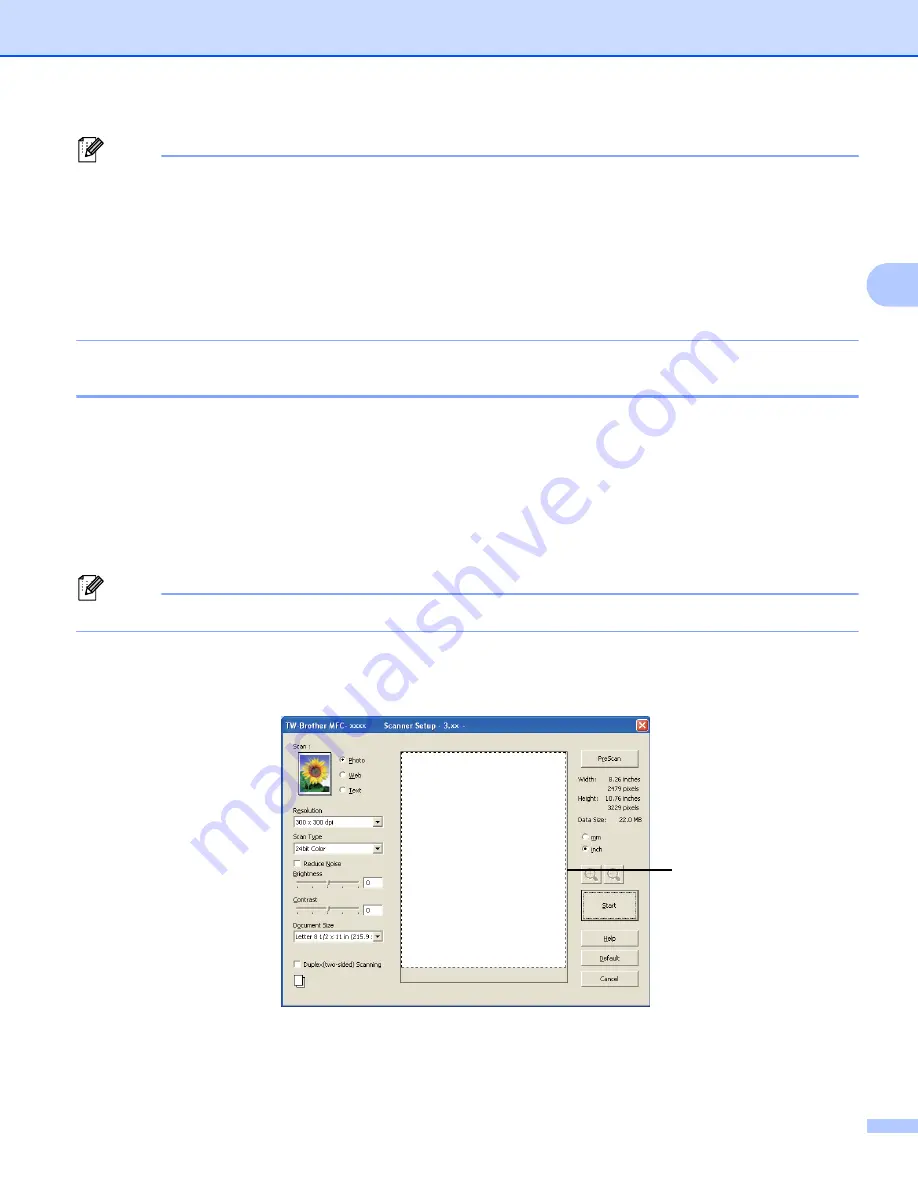
Pre-Scanning to crop a portion you want to scan
3
You can preview your image and crop unwanted portions before scanning by using the
PreScan
button.
When you are satisfied with the preview, click the
Start
button in the Scanner Setup dialog box to scan the
image.
a
Follow the steps from
to
Scanning a document into the PC
b
Choose the settings for
Scan
(Image Type),
Resolution
,
Scan Type
,
Brightness
,
Contrast
and
Document Size
, as needed.
Note
Pre-Scanning is not available if you choose
Duplex (two-sided) Scanning
.
c
Click
PreScan
.
The whole image is scanned into the PC and appears in the Scanning Area (1) of the Scanner Setup
dialog box.
1
Содержание MFC-8510DN
Страница 9: ...Section I Machine operation keys I Using the control panel 2 ...
Страница 143: ...Section III Apple Macintosh III Printing and Faxing 136 Scanning 162 ControlCenter2 178 Remote Setup For MFC models 202 ...
Страница 165: ...Printing and Faxing 157 8 For Mac OS X 10 7 x For more page setup options click Show Details ...
Страница 166: ...Printing and Faxing 158 8 c Choose Send Fax from the pop up menu d Choose Facsimile from the Output pop up menu ...
Страница 169: ...Printing and Faxing 161 8 c When you are finished addressing your fax click Print ...
Страница 212: ...Section IV Using the Scan key IV Scanning For USB cable users 205 Network Scanning 222 ...


