GT-3 Series
7. Troubleshooting
115
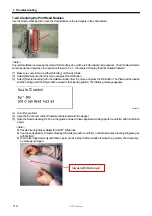
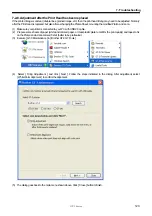
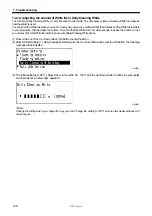
(5) Select [ Maintenance ] > [ Color Tube Cleaning ] from the menu and select the Print Head to be replaced and press the
OK Button. Color Tube Cleaning then starts.
<Note>
The Color Maintenance Cartridge will not produce air bubbles.
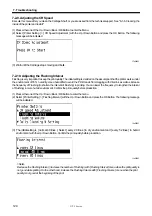
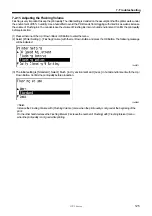
(6) After Color Tube Cleaning is finished, with Maintenance Solution filled, select [ Maintenance ] > [ Head Replacement ]
and press the OK Button.
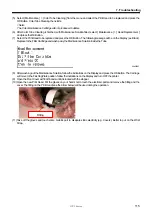
(7) Select the Print Head to be replaced and press the OK Button. The following message will be on the Display (ex. Black).
Replace to the Filter Cartridge and wash away the Maintenance Solution inside the Tube.
09e0034Y
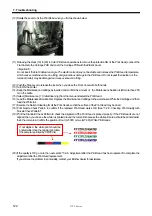
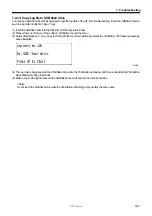
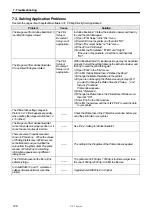
(8) After washing out the Maintenance Solution, follow the indications on the Display and press the OK Button. The Carriage
will move to the Flushing Plate position. follow the indications on the Display and turn OFF the printer.
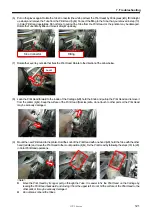
(9) Open the Front Cover with both hands until it is locked with the stopper.
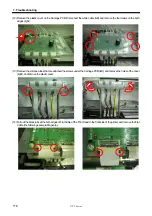
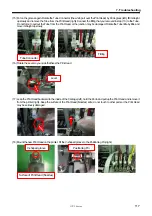
(10) Open the new Print Head. Put the gloves on your hands not to touch the electronic parts and remove the fitting and the
cover. The fitting on the Print Head (see the arrow below) will be used during the operation.
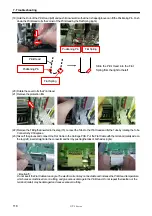
(11) T
ate static electricity (e.g. Covers). Better to put on the Wrist
Strap.
ake off the gloves and touch some metallic part to dissip
Fitting


