81
Chapter 5 Editing Songs
5
4.
Once you’ve decided on the insertion point, press
[ENTER].
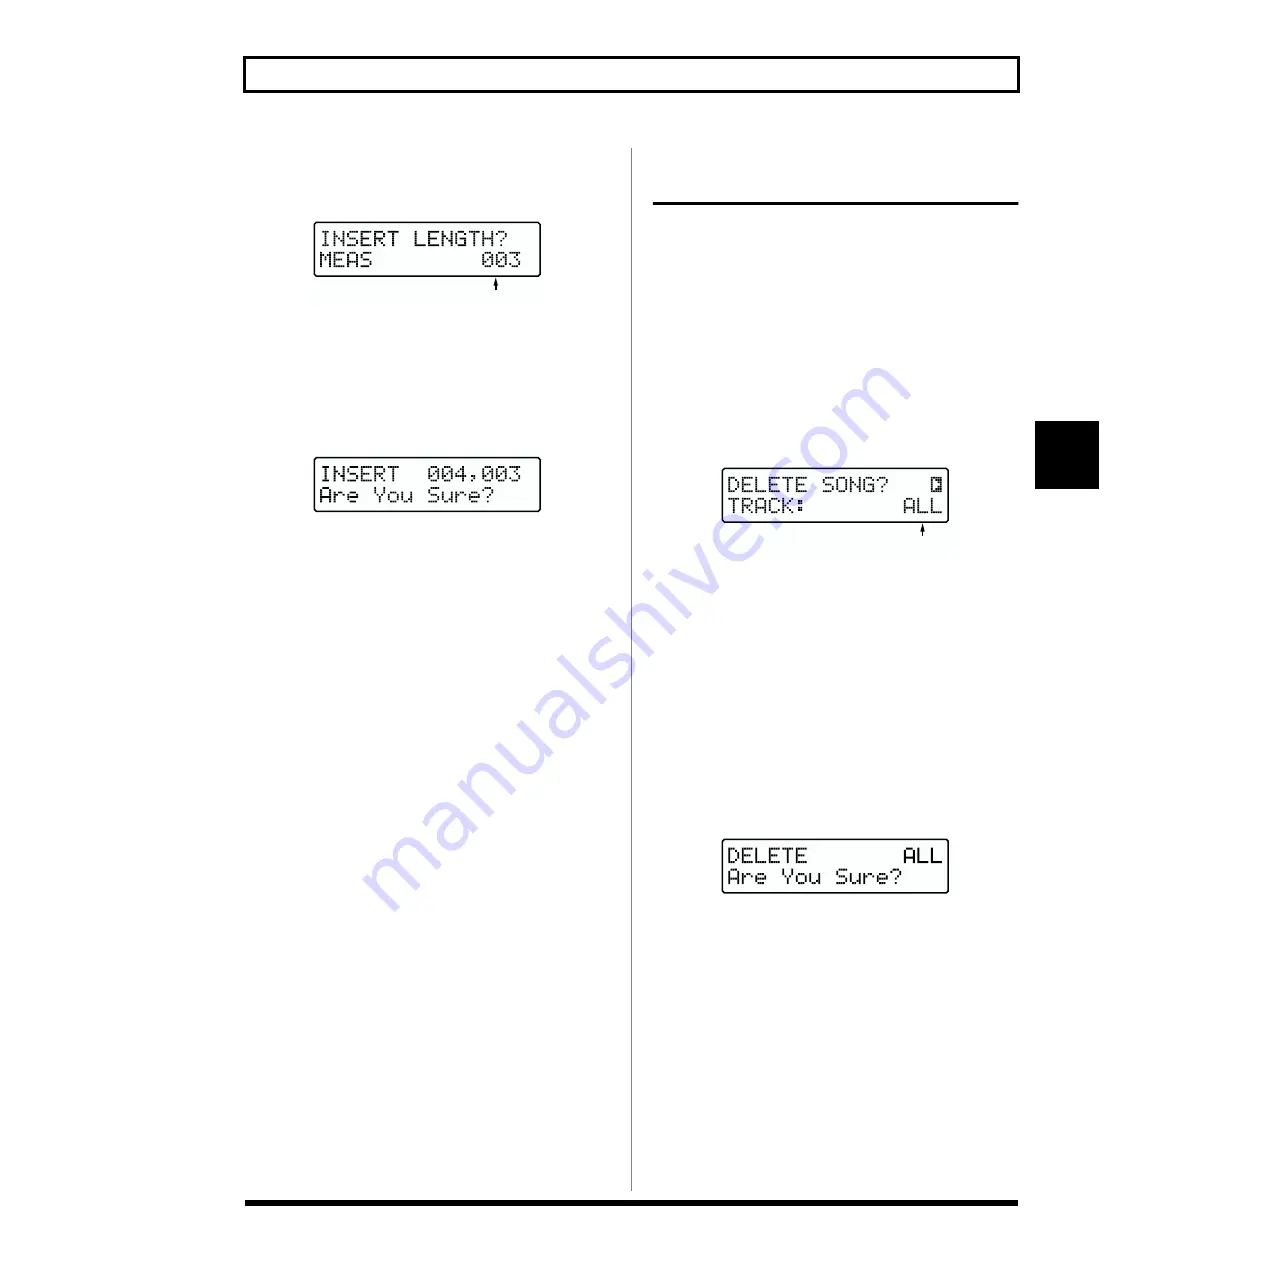
The Measure insert designation screen appears.
fig.RE05-21
5.
Turn [VALUE] to specify the number of measures to be
inserted.
6.
Once you’ve decided on the number of measures, press
[ENTER].
The confirmation screen for inserting measures appears.
fig.RE05-50
* To cancel, press[EXIT]. The Measure insert designation
screen reappears.
7.
To insert the measures, press [ENTER].
The insert will be executed, and when it is finished the
display will indicate “Completed!”
Deleting an Entire Song/Deleting the
Data on a Specified Track
This deletes an entire User Song. The data on the Audio track
(the audio data) and Song name are also deleted.
You can also delete data only from the “Form track,” “Chord
track,” or “Audio track.”
1.
Select the User Song to be deleted).
* You cannot select User Songs stored on memory cards if no
card is inserted.
2.
While play is stopped, press [ERASE] ([SHIFT] +
[UTILITY]).
The Song Delete screen appears.
fig.RE05-23
3.
Turn [VALUE] to select the data to be deleted.
ALL:
All data in the selected song is deleted.
CHD&FORM:
All Form track and Chord track data is
deleted.
FORM:
The Form track data is deleted.
CHORD:
The Chord track data is deleted.
AUDIO:
The Audio track data (audio data) is
deleted.
4.
Once you’ve decided on the data to delete, press
[ENTER].
The data delete confirmation screen appears.
g.RE05-24
* To cancel, press [EXIT]. The Data Delete Selection screen
reappears.
5.
Press [ENTER] to delete the Song.
The delete will be executed, and when it is finished the
display will indicate “Completed!”
Number of measures to be inserted
Data to be deleted


