70
Chapter 4 Creating User Songs
5.
Press [ENTER].
The copy-destination designation screen appears.
fig.RE04-15
* To cancel, press [EXIT]. The Form’s Step Recording screen
reappears.
6.
Specify the measure for the copy destination.
Turn [VALUE] to specify the starting measure. The final
measure is determined automatically by the number of
measures in the copy source.
7.
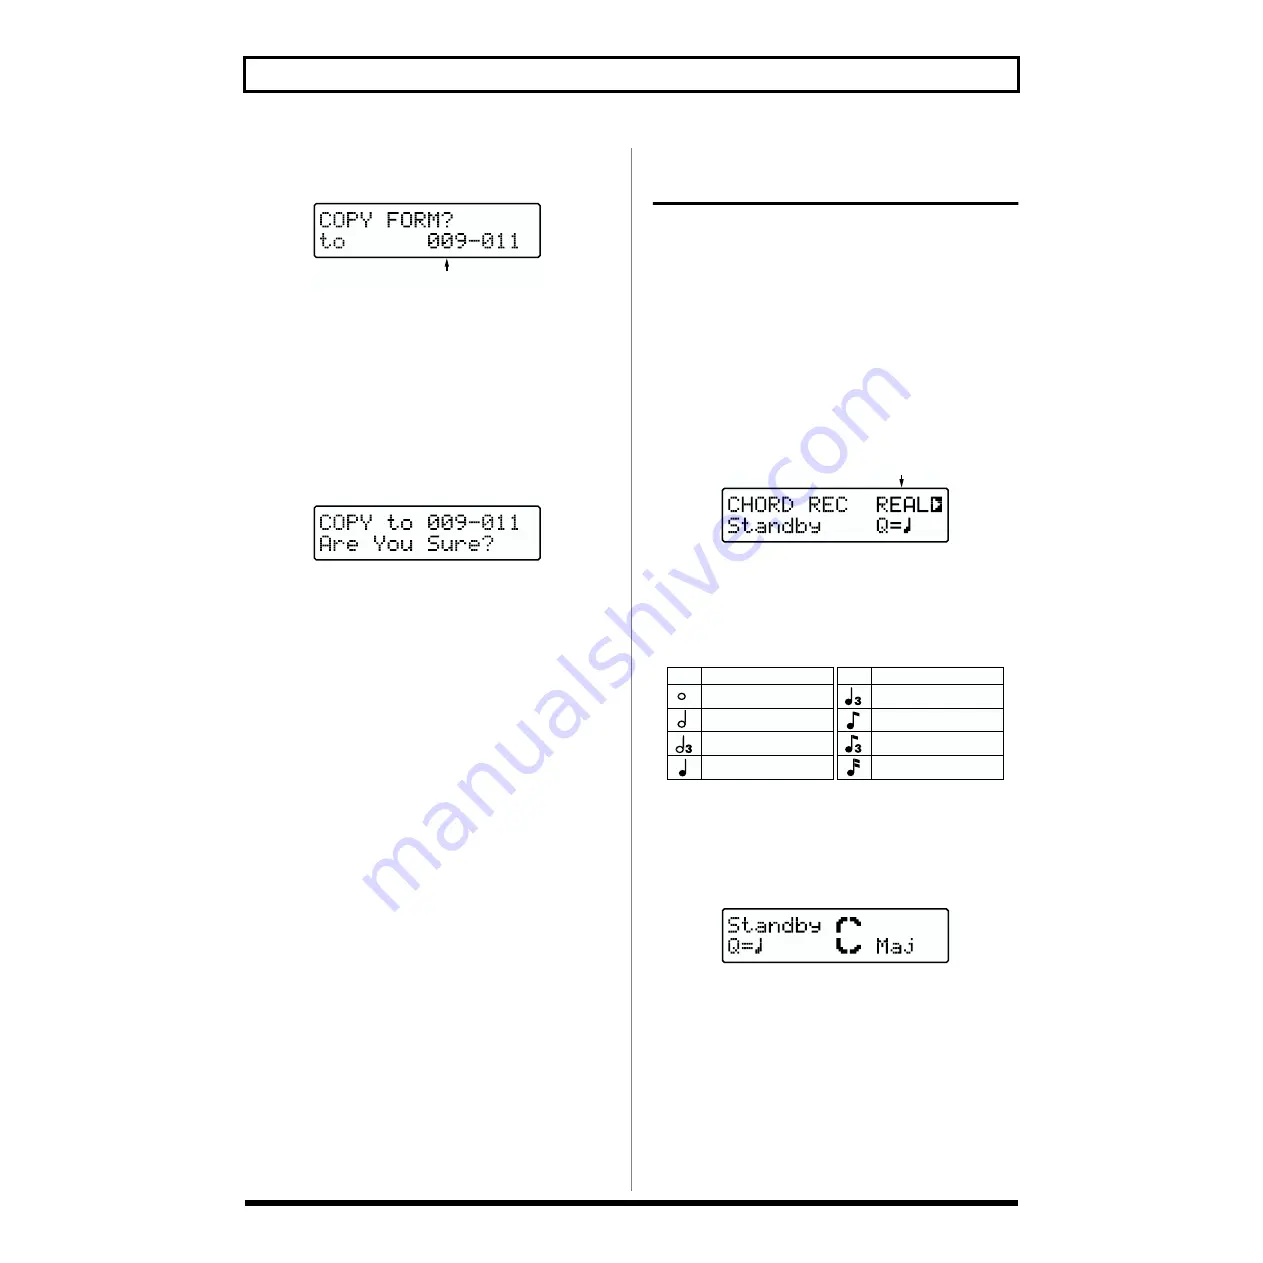
Press [ENTER].
The copy confirmation screen appears.
fig.RE04-16
* To cancel, press [EXIT]. The copy-destination screen
reappears.
8.
Press [ENTER] when you want to execute the copy.
The copy will be executed, and when it is finished the
display will indicate “Completed!”
Recording the Chord
Progression
Record chord progressions to the Chord Track. There are two
methods for this, Realtime Recording and Step Recording.
* Use Step Recording to input Octave Shift (p. 72) and on-bass
chords.
Realtime Recording
1.
Display the Chord’s Record Standby screen (p. 66).
[REC] and [CHORD] lights up.
2.
Press [REC] to display “REAL.”
Realtime Recording is selected.
fig.RE04-42
3.
Use [CURSOR] and [VALUE] to set Quantize.
The
Quantize
here corrects discrepancies in the timing
during recording of fill-ins and breaks, with the timing
set to the selected note length.
fig.RE04-60
4.
Before you start, input the first chord that you wish to
record.
When you input the chord, the following screen will
appear.
fig.RE04-18a
* When you press [EXIT], you will return to the record standby
screen. However if this screen is not displayed, it is not
possible to begin recording from the chord you input.
■
Use [C] through [B] and [#/
b
] to specify the root of the
chord.
Pressing [#/b] repeatedly cycles through the selections of
“#,” “b,” and “none.”
* Depending on the root of the chord, the symbols that can be
selected may differ.
Beginning measure
(384)
(192)
(128)
(96)
(64)
(48)
(32)
(24)
Display
Quantize
Display
Quantize
Half note
Quarter note triplets
Quarter note
8th note triplets
8th note
16th note
Whole note
Half note triplets
(Clock)
(Clock)


