238
Controlling external video devices from the BR-1600CD (V-LINK)
Recording and playing V-LINK
control operations
By recording and playing video control operations carried
out using the track buttons and VALUE knobs, you can
control video in sync with the BR-1600CD’s playback.
Recording control operations
With V-LINK turned on, carry out the following procedure.
1.
Press V-LINK [REC].
V-LINK [REC] will start to flash, indicating that the BR-
1600CD is now ready for V-LINK recording.
“PLAYBACK: ON” is displayed in the upper right of the
screen, indicating that the V-LINK control function is
enabled for recording and playback.
When you press V-LINK [REC], if any control operations
have been previously recorded, they will be deleted.
2.
Press [ZERO] to jump to the start of the song and then
press [PLAY].
V-LINK recording will start as the BR-1600CD begins
playback.
Use the track buttons and the VALUE dials to carry out
the desired V-LINK controls. All of these control
operations will be recorded.
3.
Press [STOP] at the point where you want to stop V-
LINK recording.
V-LINK [REC] will stop flashing and remain lit; in
addition, the BR-1600CD will end the recording of V-
LINK operations.
Playing recorded control operations
With V-LINK [REC] lit up, carry out the following
procedure.
1.
Press [ZERO] to jump to the start of the song and then
press [PLAY].
The playback of recorded V-LINK control operations
will start as the BR-1600CD begins playback, and the
video device will be controlled automatically.
Although you will be able to perform control operations
using the track buttons and VALUE knobs at this time,
these real-time control signals will become mixed with
the playback of recorded operation signals, and it may
not be possible to achieve the desired effect.
2.
If you want to discontinue automatic V-LINK control,
press [F4] (ON/OFF) to set “PLAYBACK” to “OFF.”
“PLAYBACK: OFF” is displayed in the upper right of the
screen, indicating that the V-LINK control of recording
and playback is turned off.
Automatic V-LINK control will be temporarily stopped,
and only manual real-time control will be accepted.
3.
If you want to restart automatic V-LINK control, press
[F4] (ON/OFF) to set “PLAYBACK” to “ON.”
Erasing recorded control operations
You can use the following procedure to erase all control
operations that have been recorded.
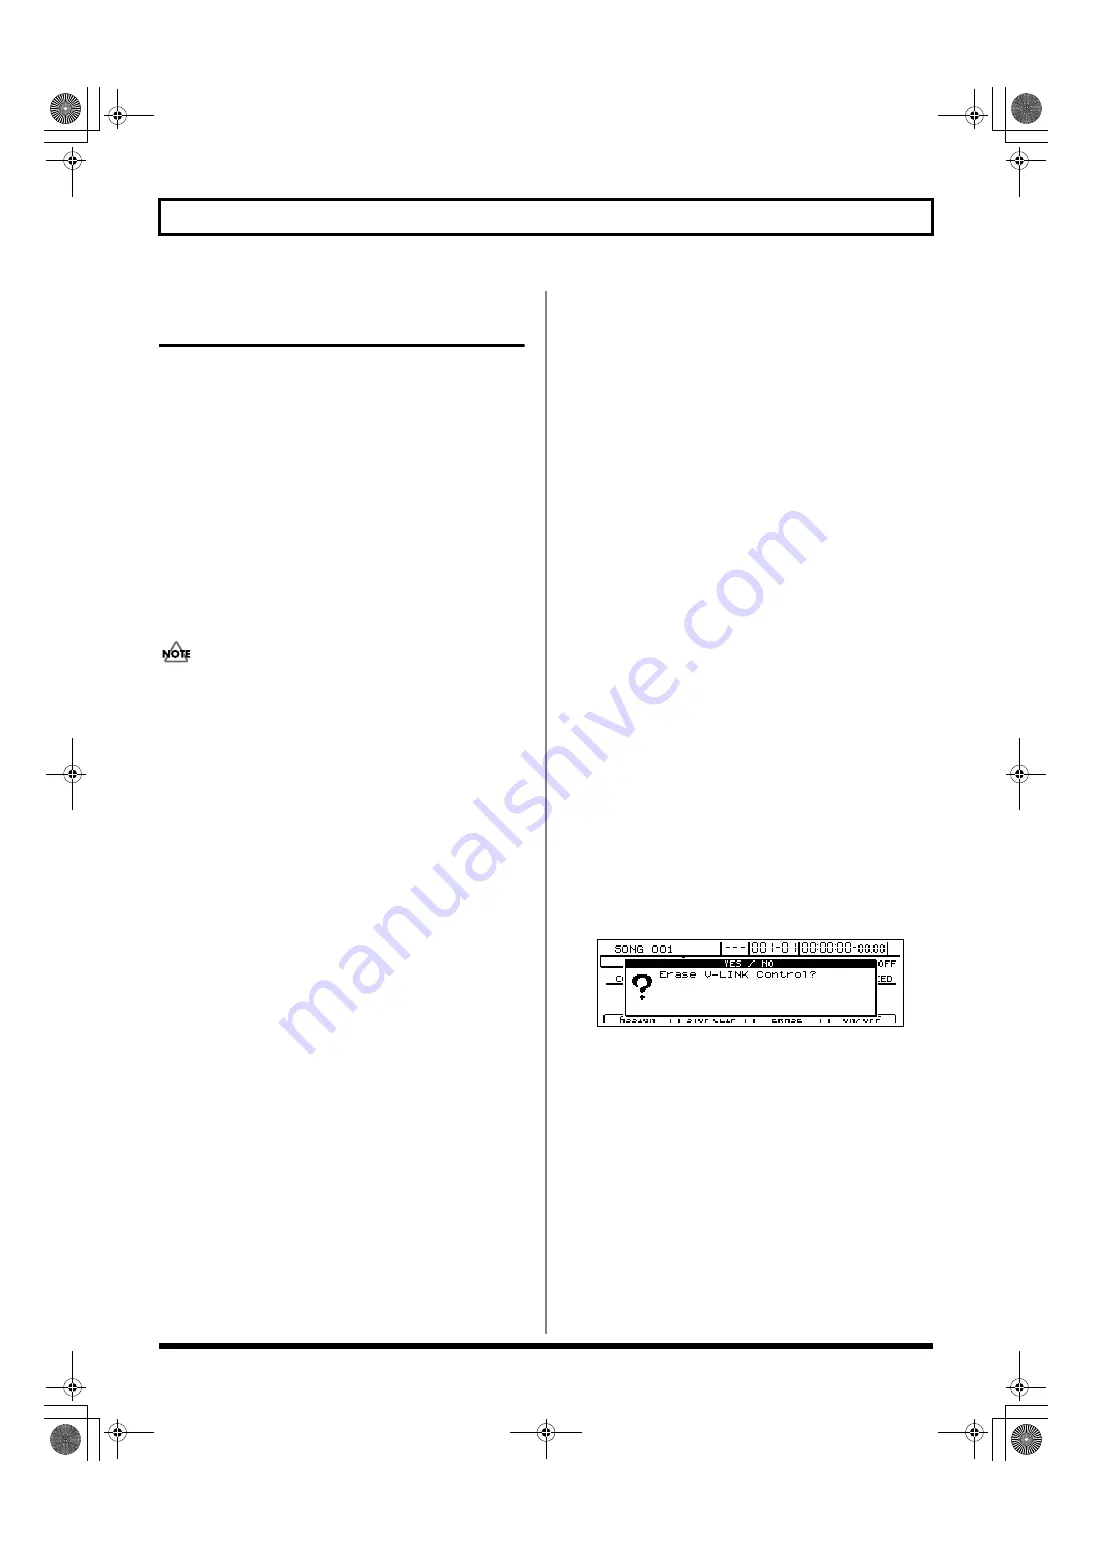
1.
On the V-LINK screen, press [F3] (ERASE).
The message “Erase V-LINK Control?” will appear.
fig50-05d
2.
Press [ENTER/YES].
Press [EXIT/NO] if you do not want to erase this data.
The recorded data will be deleted, and when the
message “Complete!” appears, it indicates that this
operation has been completed.
BR-1600_R_e.book 238 ページ 2007年12月6日 木曜日 午前9時52分
Содержание Digital Recording Studio BR-1600 CD
Страница 41: ...41 Section 1 Advanced Use Section 1 Advanced Use BR 1600_R_e book 41...
Страница 73: ...73 Section 2 Using Effects Section 2 Using Effects BR 1600_R_e book 73...
Страница 145: ...145 Section 3 Using Rhythm Section 3 Using Rhythm BR 1600_R_e book 145...
Страница 203: ...203 Section 4 Using the CD R RW Drive Section 4 Using the CD R RW Drive BR 1600_R_e book 203...
Страница 220: ...220 MEMO BR 1600_R_e book 220...
Страница 221: ...221 Section 5 Using MIDI Section 5 Using MIDI BR 1600_R_e book 221...
Страница 239: ...239 Section 6 Using USB Section 6 Using USB BR 1600_R_e book 239...
Страница 255: ...255 Section 7 Other Convenient Functions Section 7 Other Convenient Functions BR 1600_R_e book 255...
Страница 272: ...272 MEMO BR 1600_R_e book 272...
Страница 273: ...273 Appendices Appendices BR 1600_R_e book 273...
Страница 309: ...309 MEMO BR 1600_R_e book 309...
Страница 310: ...For EU Countries BR 1600_R_e book 310...


