132
Using the Mastering Tool Kit
4.
Press [F4] (GO).
The patch will be copied.
When the message “Complete!” appears, it indicates that
copying has been completed.
5.
Press [EXIT/NO] several times to return to the top
screen.
Performing automatic fade-in
and fade-out (Auto Fade In/Out)
The term Fade-In is used to describe the way in which the
volume is gradually raised from silence to the standard level
at the beginning of a song. The opposite effect, where the
volume is gradually reduced to silence at the end of a song, is
referred to as a Fade-Out. Although you can use the Master
fader to fade in or fade out manually, an Auto Fade In/Out
function is available in Mastering mode so that these effects
can be reproduced automatically.
The Auto Fade In/Out function can only be used in
Mastering mode. In addition, this can be used only when
the Mastering Tool Kit is ON (FX: ON is displayed).
Settings made for the Auto Fade In/Out function are
shared by all of the Mastering Tool Kit’s patches and are
stored together with the corresponding song.
Performing automatic fade-in
(Auto Fade In)
1.
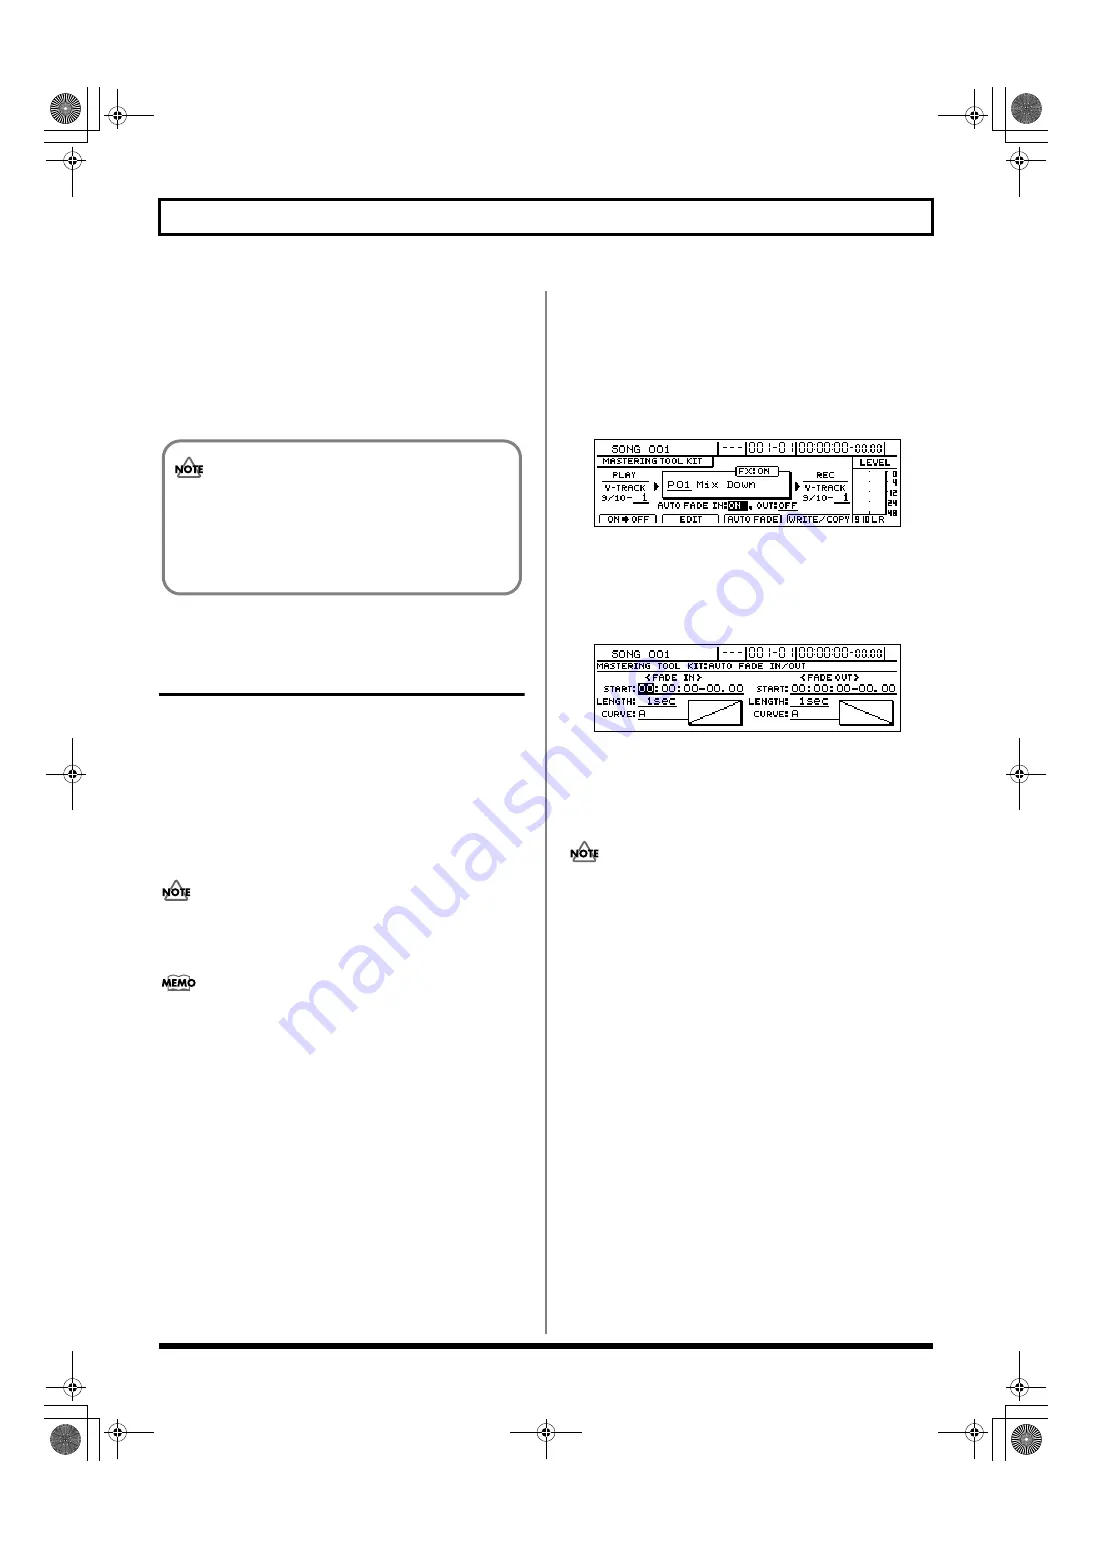
Confirm that “FX:ON” is displayed in the Mastering
Tool Kit top screen.
If “FX:OFF” is displayed, press [F1] (OFF=>ON) to
display “FX:ON.”
fig.36-08d
2.
Move the cursor to “AUTO FADE IN” and select “ON”
with the TIME/VALUE dial.
3.
Press [F3] (AUTO FADE).
The Auto Fade In setting screen will appear.
fig.36-09d
4.
Move the cursor to the setting you want to change and
select a new value using the TIME/VALUE dial.
START:
This parameter sets the start time for fade in.
When the current position is in front of the START point,
you will not be able to hear the BR-1600CD’s playback as
the volume will be set to zero. The volume will start to
increase little by little when the current position reaches
the START point.
LENGTH:
The parameter sets the time (in seconds) from the start of
fade-in until the standard volume is reached.
CURVE:
This parameter sets the shape of the volume increase
curve during fade-in.
A
The volume will be perceived as increasing at a
steady rate.
B
The volume will be perceived initially as increasing
at a faster rate, and this rate will level off as the fade-
in progresses.
5.
Press [EXIT/NO] to return to the Mastering Tool Kit
patch screen.
6.
Move the current position to before the START point
and begin playback.
When the current position reaches the START point, the
fade-in will begin.
It is important to remember that the destination
patch will be fully overwritten by the patch specified
by “FROM:”. As it will not be possible to restore
these, care should be taken to insure that important
patches are not accidentally overwritten in this way.
BR-1600_R_e.book 132 ページ 2007年12月6日 木曜日 午前9時52分
Содержание Digital Recording Studio BR-1600 CD
Страница 41: ...41 Section 1 Advanced Use Section 1 Advanced Use BR 1600_R_e book 41...
Страница 73: ...73 Section 2 Using Effects Section 2 Using Effects BR 1600_R_e book 73...
Страница 145: ...145 Section 3 Using Rhythm Section 3 Using Rhythm BR 1600_R_e book 145...
Страница 203: ...203 Section 4 Using the CD R RW Drive Section 4 Using the CD R RW Drive BR 1600_R_e book 203...
Страница 220: ...220 MEMO BR 1600_R_e book 220...
Страница 221: ...221 Section 5 Using MIDI Section 5 Using MIDI BR 1600_R_e book 221...
Страница 239: ...239 Section 6 Using USB Section 6 Using USB BR 1600_R_e book 239...
Страница 255: ...255 Section 7 Other Convenient Functions Section 7 Other Convenient Functions BR 1600_R_e book 255...
Страница 272: ...272 MEMO BR 1600_R_e book 272...
Страница 273: ...273 Appendices Appendices BR 1600_R_e book 273...
Страница 309: ...309 MEMO BR 1600_R_e book 309...
Страница 310: ...For EU Countries BR 1600_R_e book 310...


