156
Creating drum patterns
When working on drum patterns created using a method
such as real-time recording, drum sounds may be
positioned at a resolution greater than that set using
“RES.” In this type of situation, the “
●
” may appear to
be split, and it will not be possible to edit the
corresponding performance data as is. In order to edit
this type of data, you will first of all need to increase the
resolution to match the drum sound’s input position.
4.
Press [PLAY] to check whether the pattern is as
required.
[PLAY] will light up and the drum pattern will be
played back.
Press [STOP] at the point where you want to stop playback.
5.
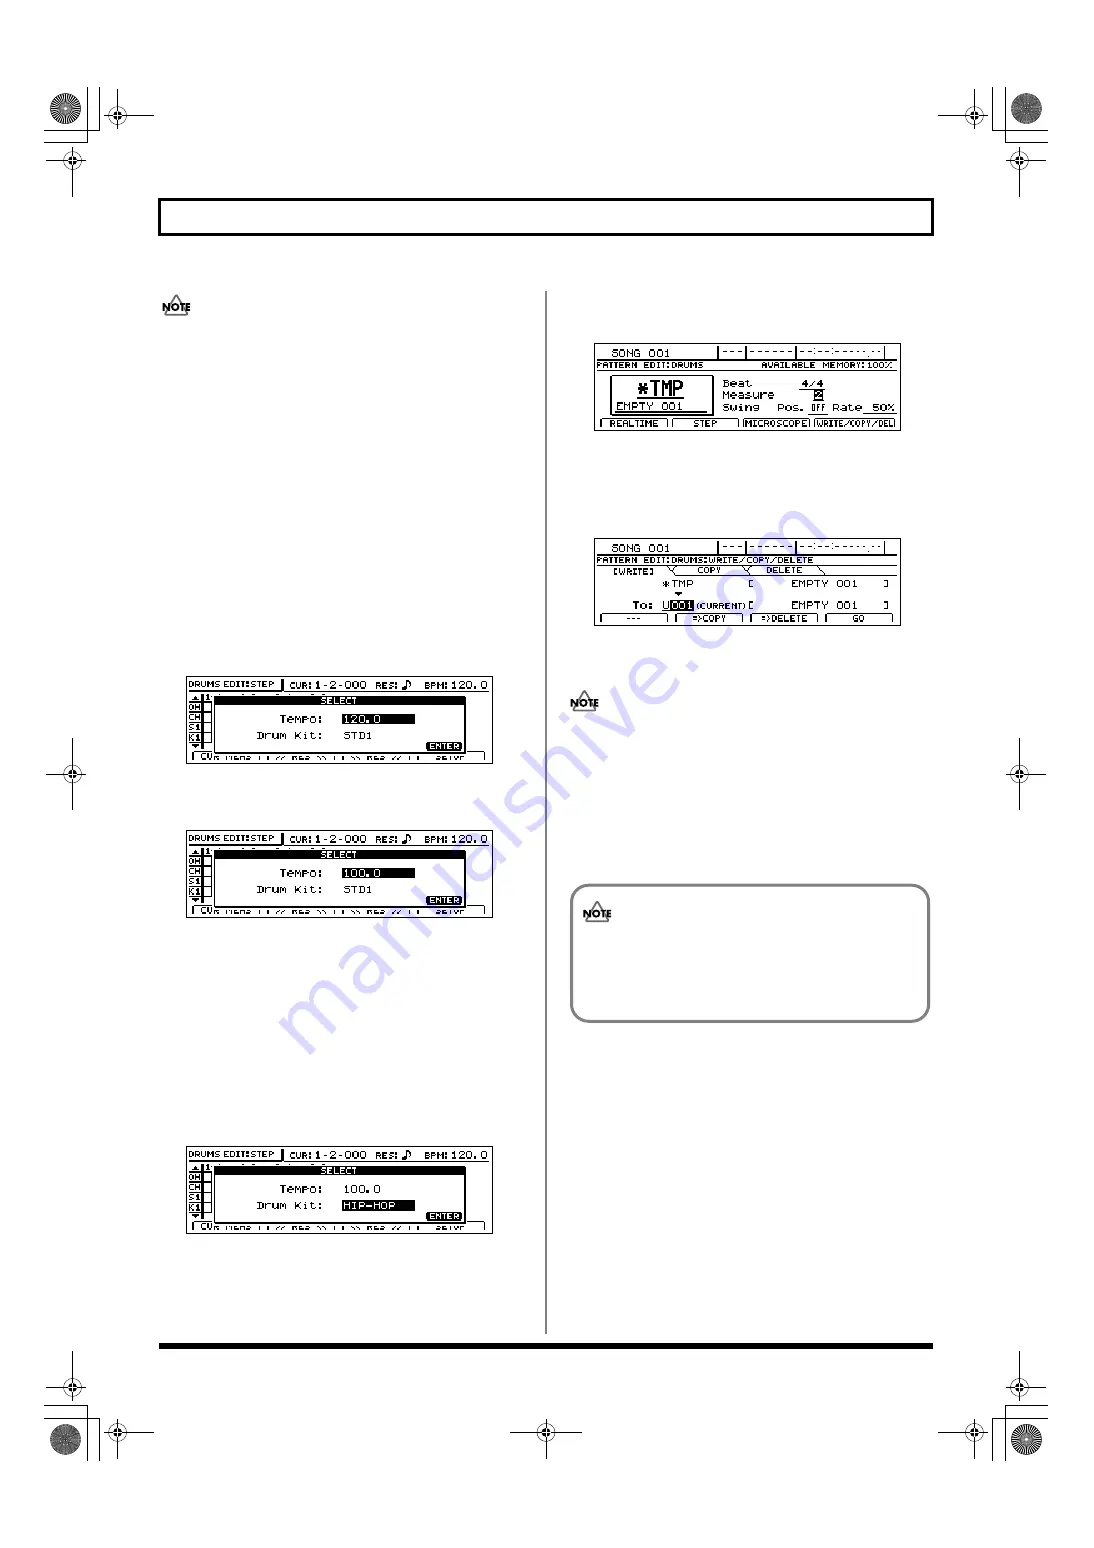
If you want to change the drum kit or tempo used for
checking, press [F4] (SETUP).
The Step Recording Setup screen will appear.
fig.20-016ed
6.
Move the cursor to “Tempo” and use the TIME/VALUE
dial to select a suitable tempo for checking your pattern.
fig.20-016fd
The tempo can be set anywhere within a range of 25.0 to
250.0 BPM. (Beats Per Minute—A value that indicates
the tempo in terms of the number of quarter notes
occurring in one minute.)
Note that the tempo set here is used only for checking that
the drum pattern is as required. In other words, this tempo
will not be saved with the drum pattern. (It is not possible
to set a specific tempo for a drum pattern.)
7.
Move the cursor to “Drum Kit” and select a new drum
kit using the TIME/VALUE dial.
fig.20-016gd
8.
Press [ENTER/YES].
The Step Recording Setup screen will be closed and the
original Step Recording screen will appear.
9.
Press [EXIT/NO] to end step recording.
The Drum Pattern Edit screen will appear once again.
fig.20-210d
10.
If you want to store the drum pattern that you have just
recorded, press [F4] (WRITE/COPY/DEL).
The Write/Copy/Delete screen for drum patterns will
appear.
fig.20-024d
11.
Use the TIME/VALUE dial to select the drum pattern to
which the data is to be saved.
Only user drum patterns and song drum patterns may
be selected for saving drum pattern data. You will not be
able to select a preset drum pattern at this time.
12.
Press [F4] (GO).
The drum pattern will be saved. When the message
“Complete!” appears, it indicates that saving has been
completed.
If you select a different drum pattern or load a new
song without saving the current pattern, all of the
newly recorded data will be lost. This data will also
be lost if you turn off the BR-1600CD before saving.
BR-1600_R_e.book 156 ページ 2007年12月6日 木曜日 午前9時52分
Содержание Digital Recording Studio BR-1600 CD
Страница 41: ...41 Section 1 Advanced Use Section 1 Advanced Use BR 1600_R_e book 41...
Страница 73: ...73 Section 2 Using Effects Section 2 Using Effects BR 1600_R_e book 73...
Страница 145: ...145 Section 3 Using Rhythm Section 3 Using Rhythm BR 1600_R_e book 145...
Страница 203: ...203 Section 4 Using the CD R RW Drive Section 4 Using the CD R RW Drive BR 1600_R_e book 203...
Страница 220: ...220 MEMO BR 1600_R_e book 220...
Страница 221: ...221 Section 5 Using MIDI Section 5 Using MIDI BR 1600_R_e book 221...
Страница 239: ...239 Section 6 Using USB Section 6 Using USB BR 1600_R_e book 239...
Страница 255: ...255 Section 7 Other Convenient Functions Section 7 Other Convenient Functions BR 1600_R_e book 255...
Страница 272: ...272 MEMO BR 1600_R_e book 272...
Страница 273: ...273 Appendices Appendices BR 1600_R_e book 273...
Страница 309: ...309 MEMO BR 1600_R_e book 309...
Страница 310: ...For EU Countries BR 1600_R_e book 310...


