124
Recreating the characteristics of different monitor speakers (Speaker Modeling)
Speaker Modeling patches
At the time of purchase, the BR-1600CD’s Speaker Modeling
already contains 33 preset patches that cannot be overwritten
(P001 through P033), 33 user patches that can be used in any
song (U001 through U033), and 33 song patches that are
stored together with a specific song (S001 through S033).
User patches and song patches can be overwritten.
“Speaker Modeling Patch List” (separate document)
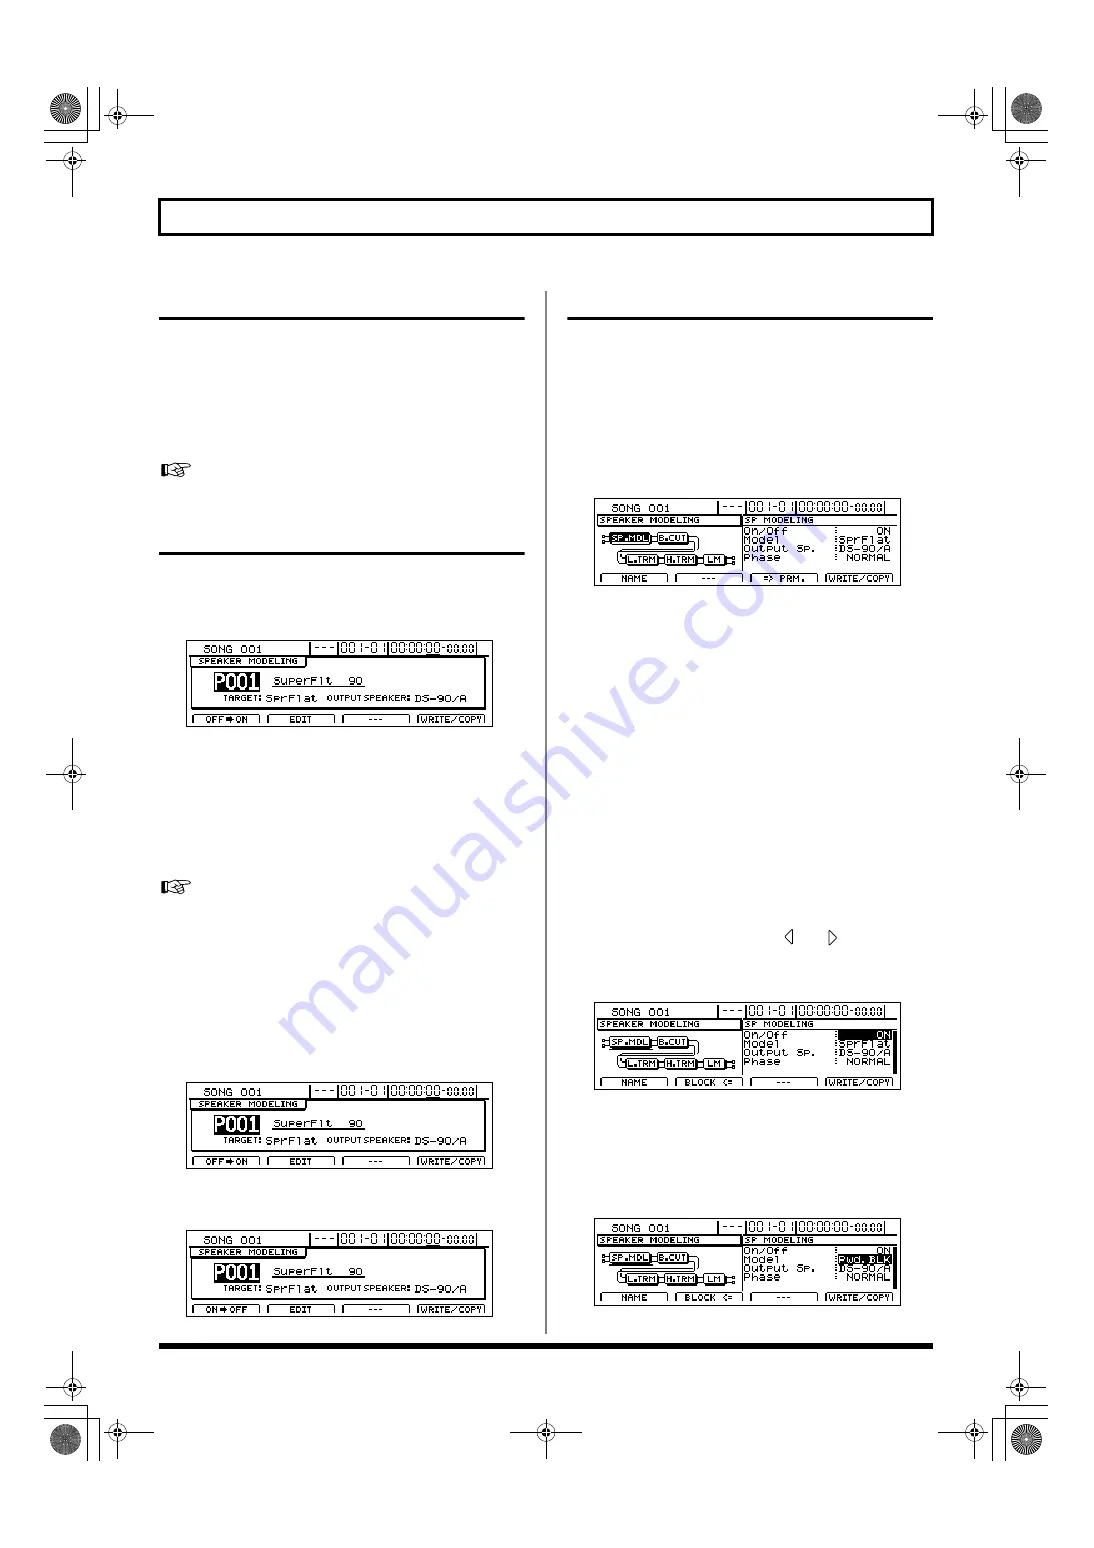
Using Speaker Modeling
1.
Press [SPEAKER MODELING].
This button will light up and the Speaker Modeling
patch screen will appear.
fig.37-03d
* Note that this action will cause insert effects, the Vocal Tool Box,
and the Mastering Tool Kit to be turned off automatically.
2.
Move the cursor to the patch number field and select a
patch using the TIME/VALUE dial.
The BR-1600CD’s output sound will now be modeled
based on the selected speaker.
“Speaker Modeling Patch List” (separate document)
Turning off Speaker Modeling
Use the following procedure if you want to temporarily turn
off Speaker Modeling.
1.
Press [F1] (ON/OFF) on the Speaker Modeling patch screen.
Speaker Modeling will be turned off.
fig.37-04d
Press [F1] (ON/OFF) once again to turn Speaker
Modeling back on.
fig.37-05d
Modifying Speaker Modeling settings
Each of the effect blocks that make up the Speaker Modeling
feature can be fine-tuned by making the appropriate settings.
Before starting, however, you will need to select the Speaker
Modeling patch that you would like to change.
1.
Press [F2] (EDIT) on the Speaker Modeling patch
screen.
The Speaker Modeling edit screen will appear.
fig.37-06d
The left half of this screen will display the way in which
effect blocks are connected in this patch; the right half
will display the parameter settings for the effect block
currently highlighted by the cursor.
If the TIME/VALUE dial is turned counterclockwise at
this time, the solid lines indicating the effect block at the
current cursor position will switch to dotted lines,
indicating that the corresponding effect has been turned
off. Similarly, if the TIME/VALUE dial is turned
clockwise, the dotted lines will switch back to solid lines,
indicating that the effect has been turned on.
2.
Move the cursor to the effect block you want to edit and
press [F3] (=>PRM.).
The cursor will jump to the parameter area on the right
of the screen, and you will now be able to change the
parameter settings.
Note that you can press CURSOR [
] or [
] while on a
parameter setting screen to jump to the parameter setting
screen for the next effect block to the left or right, respectively.
fig.37-06ad
For more detailed information regarding settings, refer
to “Speaker Modeling parameter functions” (p. 127).
3.
Move the cursor to the parameter that you want to
change and select a new value using the TIME/VALUE
dial.
fig.37-07d
BR-1600_R_e.book 124 ページ 2007年12月6日 木曜日 午前9時52分
Содержание Digital Recording Studio BR-1600 CD
Страница 41: ...41 Section 1 Advanced Use Section 1 Advanced Use BR 1600_R_e book 41...
Страница 73: ...73 Section 2 Using Effects Section 2 Using Effects BR 1600_R_e book 73...
Страница 145: ...145 Section 3 Using Rhythm Section 3 Using Rhythm BR 1600_R_e book 145...
Страница 203: ...203 Section 4 Using the CD R RW Drive Section 4 Using the CD R RW Drive BR 1600_R_e book 203...
Страница 220: ...220 MEMO BR 1600_R_e book 220...
Страница 221: ...221 Section 5 Using MIDI Section 5 Using MIDI BR 1600_R_e book 221...
Страница 239: ...239 Section 6 Using USB Section 6 Using USB BR 1600_R_e book 239...
Страница 255: ...255 Section 7 Other Convenient Functions Section 7 Other Convenient Functions BR 1600_R_e book 255...
Страница 272: ...272 MEMO BR 1600_R_e book 272...
Страница 273: ...273 Appendices Appendices BR 1600_R_e book 273...
Страница 309: ...309 MEMO BR 1600_R_e book 309...
Страница 310: ...For EU Countries BR 1600_R_e book 310...


