


Solution 64 | Installer Guide | Access Programming
5-8
Bosch Security Systems | 11/05 | BLCC110I
Enter the required PIN Retry Count using the up and down
arrow keys then press [OK] to save and exit or press [MENU] to
exit without saving.
Access > Global Properties >
PIN Expire Time
MENU 1-5-3
0
3
0
(*** System Wide Parameter ***)
DAYS
This menu programs how many days PINs that have been
programmed to expire, will be able to operate the system.
Every time a valid temporary code is used, the Expire Time
counter will restart.
To renew a temporary user, the Installer or Master user
must reprogram the PIN. The PIN Expire Time is global for all
temporary PIN users.
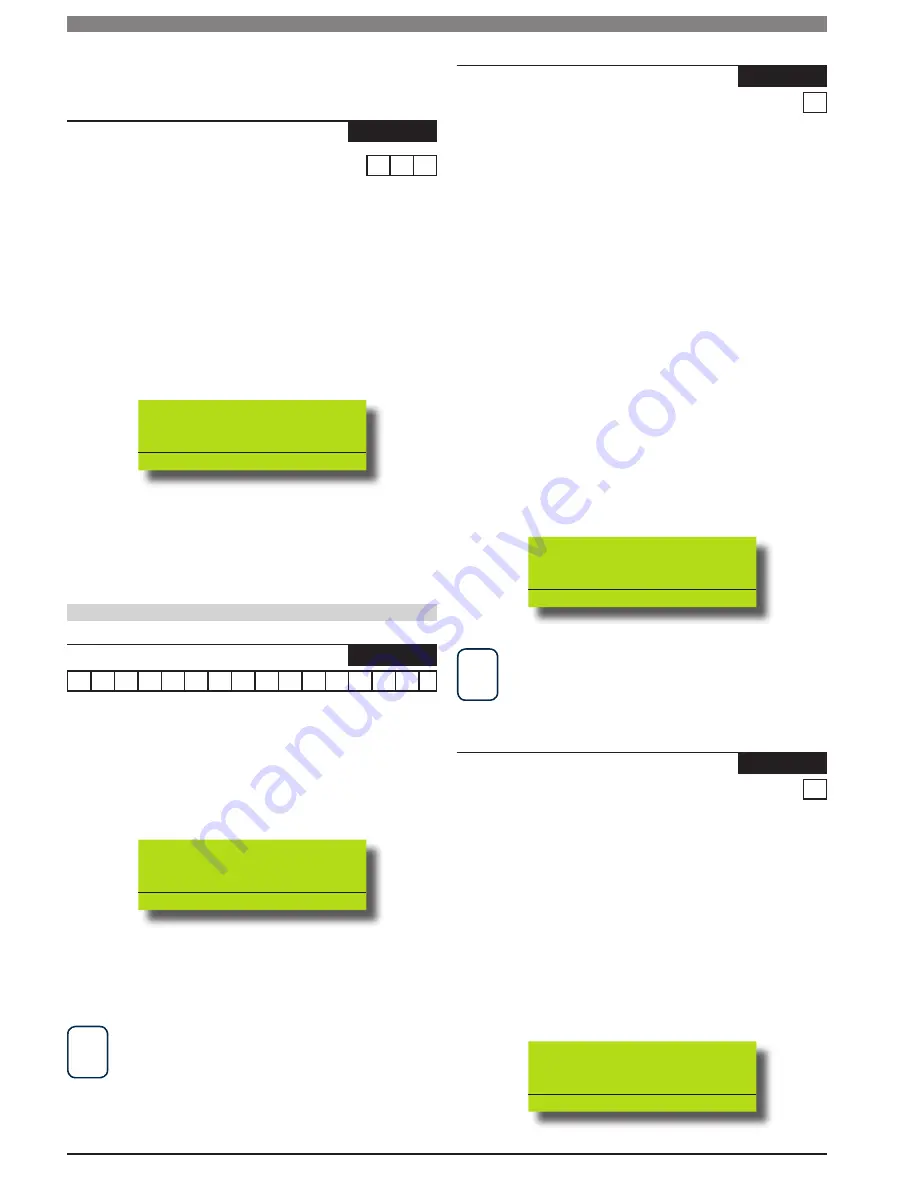
Enter [MENU] + [1] + [5] + [3]. The keypad will display the
current PIN Expire Time.
PIN Expire Time
030 Days
Press 0-9 OK to SAVE
0-9 OK to SAVE
Enter the new PIN Expire Time using the numeric keys.
Valid entries are 0 - 255 days.
Press [OK] to save and exit or press [MENU] to exit without
saving.
Prox Readers
Access > Prox Reader >
Name
MENU 1-6-0
R
e
a
d
e
r
1
N
a
m
e
This menu allows you to program the name or location
description of the prox reader. Up to 10 different Readers can
be used on the Solution 64. This can comprise of 8 keypads
with built-in Readers and 2 additional Readers connected via
an optional CM110 Output Expander module.
Enter [MENU] + [1] + [6] + [0] and select the Reader from the
list and press [OK].
Name R001
Reader 1 Name
Press
0-9 OK to SAVE
Use the arrow and number keys to move and change text.
When the Reader Name is complete, press [OK]. At any time
you can press the [OFF] key to clear the text from the current
cursor position to the end of the line.
i
Note
See Alpha Text Programming in Section 4 - Programming
Overview for further detail on entering alpha text.
2)
1)
2)
3)
1)
2)
Access > Prox Reader >
Area Assignment
MENU 1-6-1
1
This menu programs which area (1 to 8) the Reader will operate. Each
external reader can only be assigned to operate a single area.
When using a prox keypad reader, if you set the area assignment to
a specific area number then only that area will arm / disarm when a
valid token is used.
If you set the area assignment to 0 (zero), and a token is presented
then the keypad will move to the first area which that user has
access to. If the same token is presented a second time then the area
currenttly in focus will arm or disarm.
If the user wants to arm / disarm a different area which they have
access to, then after swiping their token the first time, they can use
the left and right arrow keys to move to the desired area and then
swipe their token a second time to operate.
If the user wants to arm / disarm all areas they belong to, then after
swiping their token once, they can press and hold the [ON] key to arm
or the [OFF] key to disarm all areas they belong to.
Enter [MENU] + [1] + [6] + [1] and select the Reader from the
list and press [OK].
Select the required Area using the up and down arrow keys
then press [OK] to save and exit or press [MENU] to exit
without saving.
Area Assignment R001
01 - Area 1
Press 0-9 OK to SAVE
0-9 OK to SAVE
i
Note
The keypad display will return back to its home area if no keys
are pressed or tokens are presented for 60 seconds.
Access > Prox Reader >
Access Group
MENU 1-6-2
0
This menu is used to assign a Prox Reader to an Access Group
(1 to 8). Access Groups are used to restrict user access to doors.
Each reader can be assigned to only one access group.
Each Reader can only be assigned to one Access Group. Setting
this option to 0 means the reader will not operate any system
outputs.
Enter [MENU] + [1] + [6] + [2] and select the Reader from the
list then press [OK].
Select the required Access Group using the up and down arrow
keys then press [OK] to save and exit or press [MENU] to exit
without saving.
Access Group R001
00 - No Access Group
Press 0-9 OK to SAVE
0-9 OK to SAVE
1)
2)
1)
2)


