21
A-QAMOS-4CI
Part N
o
: 5102.81
SAT-TV Transmodulator
DVB-S/ -S2 (8x QPSK/ 8PSK)
→
4x CI
→
DVB-C (8x QAM)
A
LINE
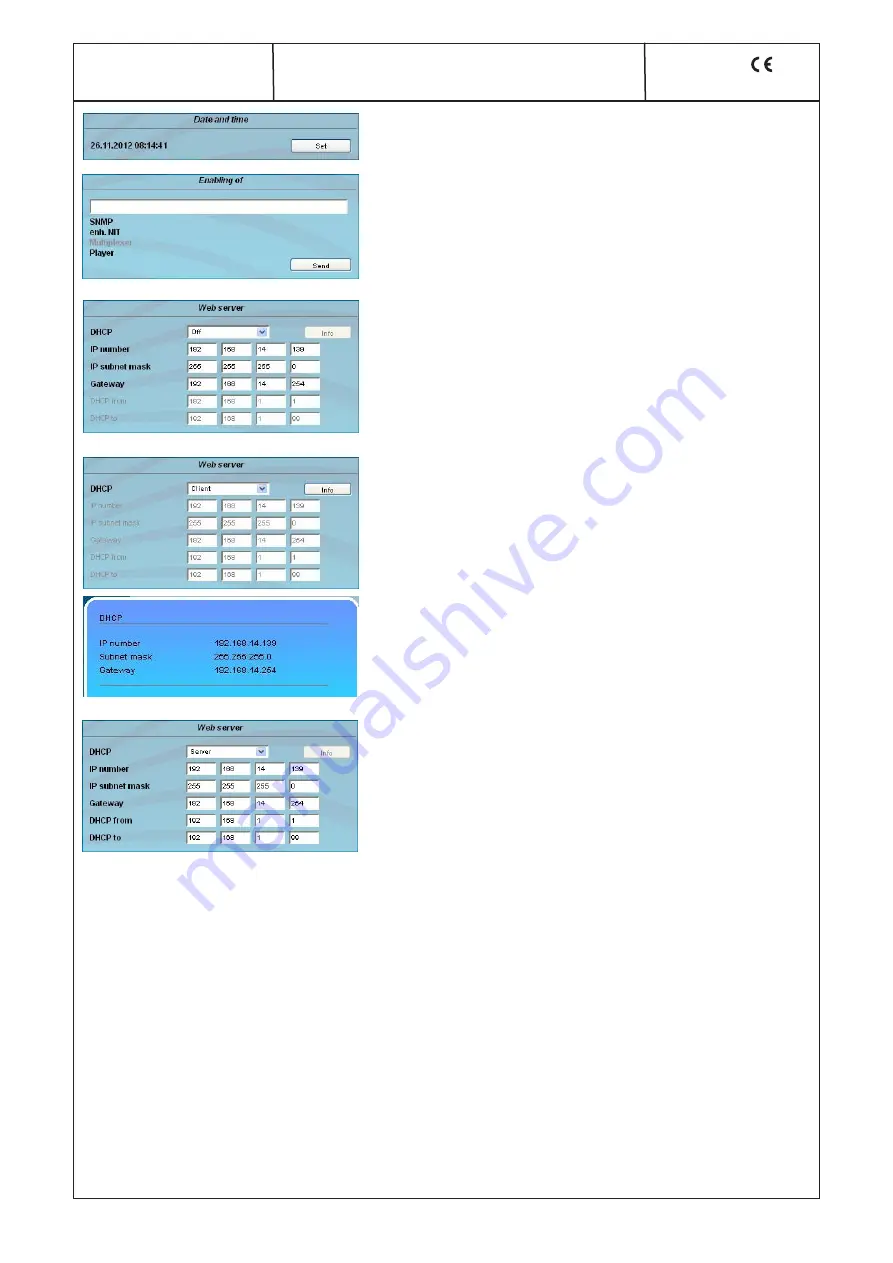
Date and time
Clicking the “Set“ button, the date and time will be set to that of the PC.
Enabling of
In this field, possible software options for the A-QAMOS-4CI can be enabled. The
registration code must be entered in the input field and by pressing the “Send“
button the option will be activated. Activated options are displayed in
black, inactive are grayed out.
Web server
This setting appears only when you are logged in as administrator, so also have
the authority to make administrative changes.
The A-QAMOS-4CI supports the DHCP functionality. DHCP-Client is factory de-
fault. Note, that after each factory reset the A-QAMOS-4CI is set to “DHCP-Client“.
If the
DHCP functionality
is set to
“Off“,
in the appropriate fields the IP number,
subnet mask and gateway can be manually entered and then the settings of the
A-QAMOS-4CI are adapted to the network.
If the device is set as
“DHCP-Client“
, it automatically obtains an IP address from
the DHCP server on the network. The manual network settings are grayed out
and are therefore disabled.
By pressing the “Info“ button the automatically assigned network configuration of
the device is displayed.
Please note if the device is set as
“DHCP-Server“
, that the IP address
192.168.1.100 should not be set. If you select this address, you will get an error
message. In addition to the IP settings you can configure the DHCP range from
which the IP addresses of the connected clients are assigned. The address
range must match the address range according to IP address and subnet mask
of the server and should not be too small. The default is the area 192.168.1.1
to 192.168.1.99. Additionally with the DHCP server will also set up a local DNS
(Domain Name Server). To use it in full extent a connected PC/ laptop must be
configured as a DHCP client. Please note, that the client unit not only get its IP
address from the DHCP server, but also its DNS server.
If the device is configured as a DHCP server or client and the client has received an IP address successfully, so the device can be ac-
cessed via a web browser with a name. This name is composed of the prefix “sbl“ and the device number that is printed on the back
of the device and on the packaging. For example, the device with the number 0123456 is be called under “sbl0123456“. Should there
be problems with it among the local network conditions, the domain can be added. In the case that the above device is configured
as a server, the call using the domain is then “sbl0123456.sbl“. If another DHCP server is used, ask your administrator for the domain
name.
An example of the simplification of the configuration or operation of the head end via DHCP, is, that an A-LINE-SBL device is as a
server, the remaining devices and the connected PC/ laptop are configured as a client. By calling the browser “dhcp.sbl“ the GUI
of the server device is loaded. If not already done so, now the head end can be read. So all connected components are found and
listed. The head end can now be stored in the “Setup“ menu under the item “System administration“.The head end overview can be
changed quickly to the user interface of any other device by selecting the respective devices links.


