Capture and Playback
93
Batch Capture
After logging a clip, you can click the Clip button if you just want to capture a single clip.
If you want to capture multiple clips, continue logging all the clips that you wish to batch capture.
When logging is completed, select the logged clips in the Media List and:
click the Batch button, or
right-click on the selection and select ‘Batch Capture’, or
go to the File menu and choose Batch Capture.
Media Express will cue the tape and precisely capture the clip from the In to the Out timecode points,
including any handles specified in the Media Express preferences.
DPX Capture
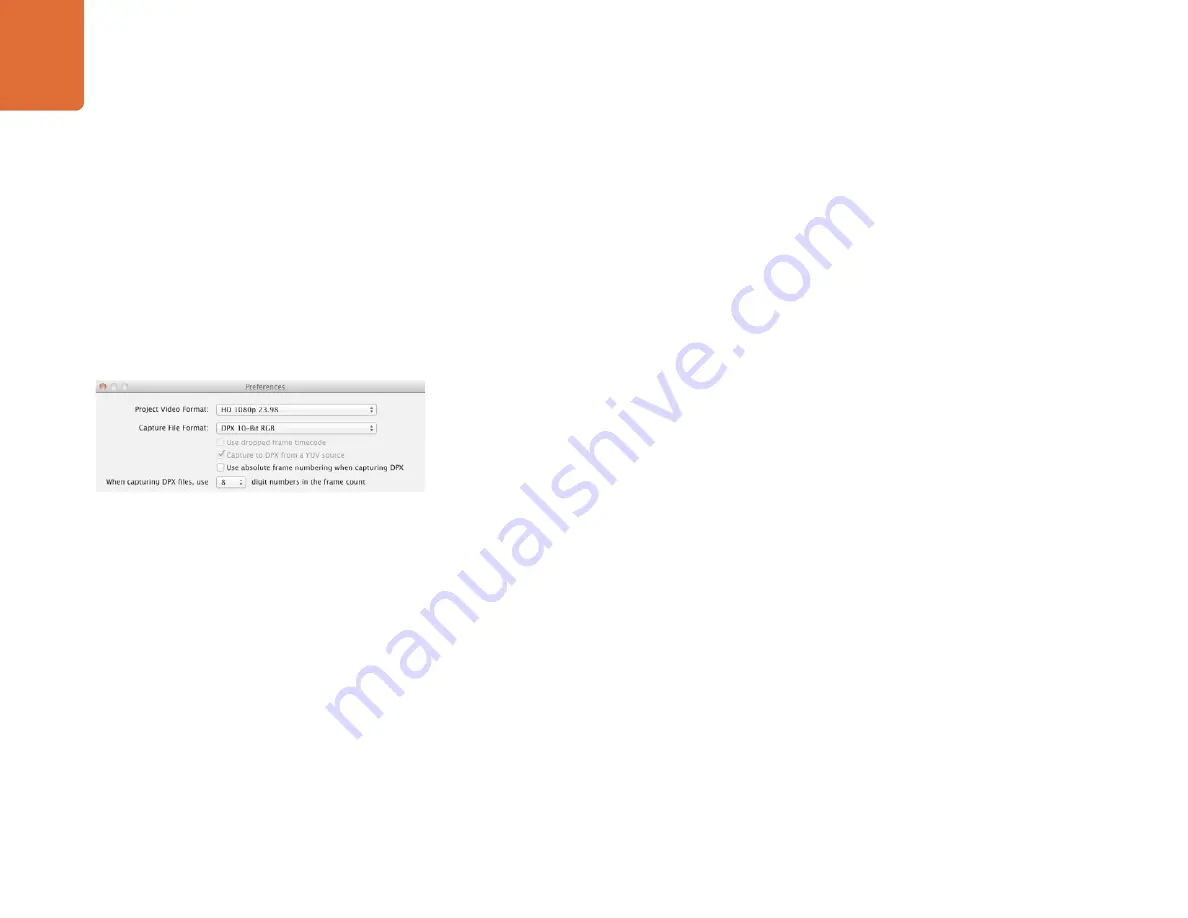
If you want to capture a DPX image sequence rather than a movie file, open the Media Express preferences
and set the Capture File Format to DPX 10-Bit RGB. You will need a fast disk array to cope with the
uncompressed, 10-bit RGB format.
Create a DPX project by setting the capture file format to DPX.
Capture.
When the capture has been completed, a single thumbnail will appear in the Media List representing the
entire frame sequence. The sequence of DPX frames will be stored in its own folder in your disk storage.
Audio will be stored in a .wav file in the same folder.
By default, DPX captures are assumed to be from YUV sources. If you need to capture from an RGB source,
disable the "Capture to DPX from a YUV source" option otherwise your DPX files will show weird pink and
green colors.
If you want the DPX frame numbers to be based on the timecode of the captured video, rather than just
starting from zero, enable the option to "Use absolute frame numbering when capturing DPX".
If you aren't performing long DPX captures, you may wish to reduce the number of zeroes in the frame
numbers by changing the option, "When capturing DPX files, use (2-8) digit numbers in the frame count.
DPX capture preferences


