24
SECTION 3: SYSTEM SETUP
Table 9. RECORD menu SCHEDULE setup
Menu Item
Description
CHANNEL
Select the channel for the schedule you are setting .
MODE
Click the recording mode (NONE, CONTINUOUS, MOTION, or SENSOR) to apply to the schedule, then drag the mouse cursor across
the days and hours in the grid you where you want to use that mode . Time slots are color coded for the record mode applied to
them: CONTINUOUS - green, MOTION - yellow, and SENSOR - red, NONE - white .
COPY SCHEDULE
To copy the schedule you setup to other cameras, click the camera channel number(s), then click
COPY
.
You can also use the front panel buttons,
p
,
q
,
t
,
u
, and
SEL
buttons to perform these selections .
Click
OK
to save your settings .
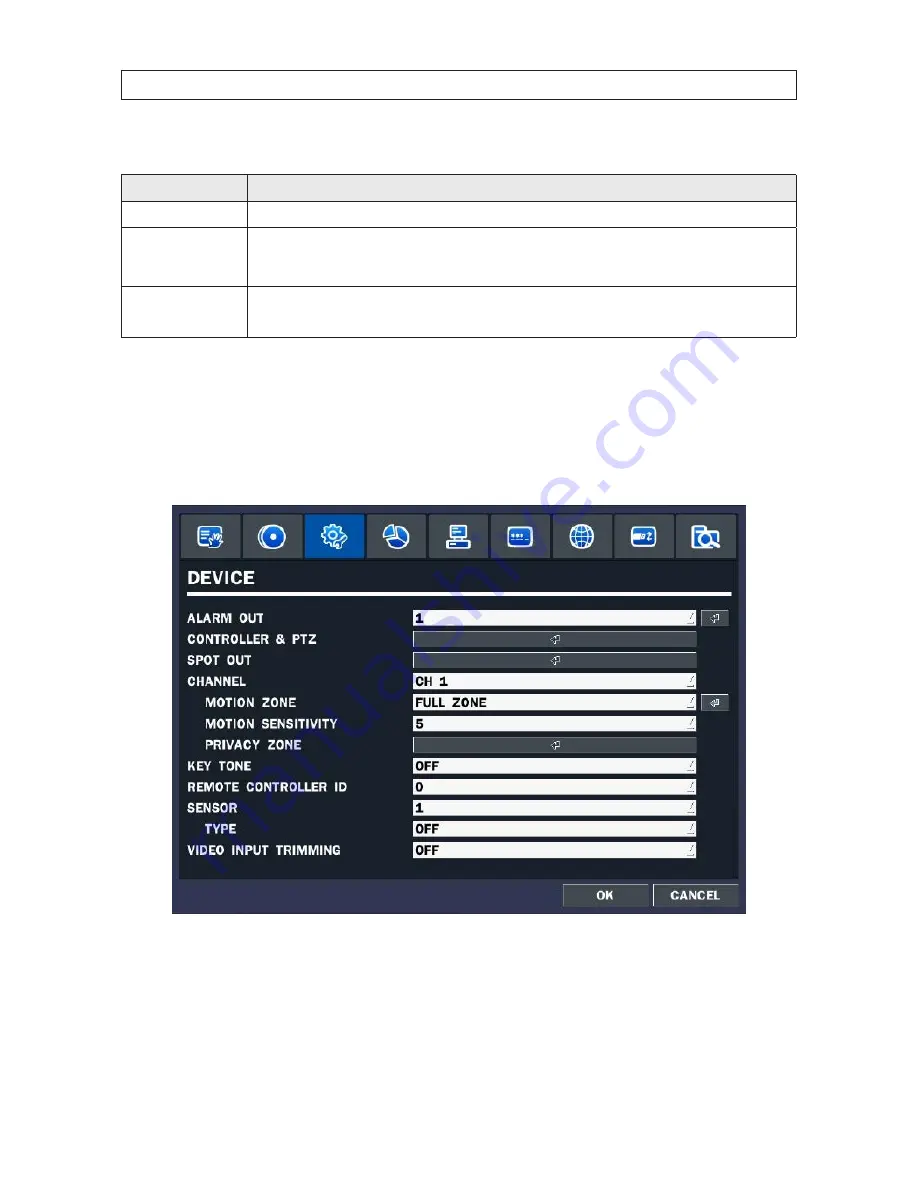
3.4 DEVICE menu
Clicking the
DEVICE
tab opens the
DEVICE
menu . To return to
SETUP
menu, press the
ESC
button .
Содержание BLK-DH3004D
Страница 61: ...55 960H H 264 DVR User Manual SECTION 6 BACKUP HDPlayerscreen ...
Страница 106: ...100 9 3 6 Setup SECURITY Use the Security submenu to configure system permissions for each user ID SECTION 9 WEBVIEWER ...
Страница 112: ...106 SECTION 9 WEBVIEWER 2 Click OK A snapshot of the screen image will be saved in BMP format ...


