44
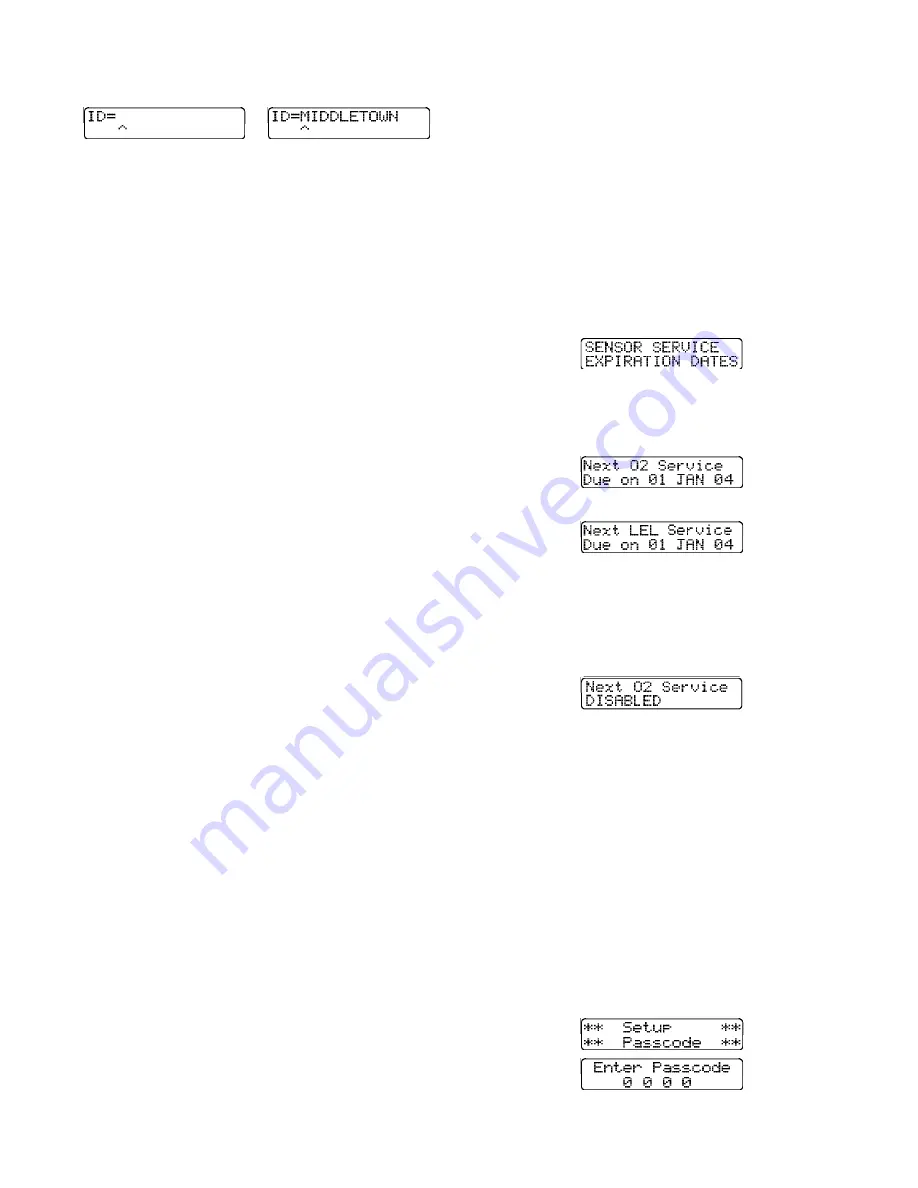
If a location has not been assigned, the screen will
be blank other than showing “ID=”
or
Follow the directions above for the user name and
enter the location name. Once the location has
been entered, press the mode button to save the
monitoring location and return to normal operation.
Note: Only the current user name and
monitoring location can be modified through the
instrument keypad. Modification of the user
name and location lists in instrument memory
requires use of Biosystems’ Datalink Software
and connection with a personal computer as
discussed in the PhD Ultra Datalink Manual.
4.5.6 Downloading recorded data to a
computer
PhD Ultra record keeping capabilities are most
useful when used together with Biosystems Datalink
Gas Detector Database Software for use with IBM
compatible Personal Computers. To download data
to a personal computer:
(1) Make sure the PhD Ultra is turned off.
(2) Connect the PhD Ultra Datadock RS-232 cable
to an available COM port on your computer.
(3) Slip the PhD Ultra into the Datadock.
(4) Load Biosystems PhD Ultra Datalink software
on your personal computer.
(5) Choose “Retrieve Data from Instrument” from
the “Datalogger” menu.
(6) The Datalink software will automatically “wake
up” the PhD Ultra, and initiate data transfer.
(7) When downloading is complete the PhD Ultra
will shut itself back off.
Consult the Datalink Owner’s Manual for instructions
on how to review, store and export data, generate
reports, or make use of other advanced features for
the examination and storage of data.
4.5.7 Display “Service Due” dates
PhD Ultra Datalink software may be used to assign
an optional “Service Due” date for each sensor. Any
time after this date is passed a “Service Due”
message will be displayed whenever the instrument
is first turned on. Pressing the mode button
acknowledges the message and allows normal
operation. The message will continue to be
displayed each time the instrument is turned on until
a new service due date is assigned. Since this
information is stored directly with the sensor
EEPROM, a service due alarm will be activated
even if the sensor is removed from one instrument
and installed in another.
Service due dates may be reviewed either via
Datalink software or by using buttons on the
instrument keypad to display the dates directly on
the instrument LCD.
Note: It is not possible to assign a new service
due date through the instrument keypad.
Changing or assigning a new service due date
may only by done via personal computer and
PhD Ultra Datalink software.
Service due dates may be reviewed by pressing the
“
-
” button at any time while the instrument is being
used in a normal operating mode. A screen will
indicate as the instrument begins to display the
assigned dates.
This screen will be followed others showing the
assigned service due date for each sensor currently
installed. These screens will continue to be shown
in rotation.
p
p
etc.
If no service due date has been assigned, the
screen will indicate that the warning has been
disabled.
Pressing the mode button at any time returns the
instrument to normal operation.
4.6 Passcode
Overview
The PhD Ultra has an option that when enabled,
requires that a passcode be entered before any of
the advanced features or the automatic span
calibration can be activated. This passcode is a 4
digit number which can be set to any number from
“0 0 0 1” to “9 9 9 9”.
To enter passcode options, turn the PhD Ultra on
while holding down both the “+” and “ALM” buttons.
When you hear an audible beep from the alarm let
go of the “+” and “ALM” buttons. The Setup
Passcode screen will be shown briefly followed by
the Enter Passcode screen.


