


2. To edit an existing configuration on a Scanner on the network, follow these steps:
a) In the software, click on Modify a Safety System Configuration from a Scanner on the Network. The software
enters Discovery mode to search for all connected scanners. The software opens and displays the device with
its IP Address (default is 192.168.0.10).
b) Double-click the discovered device to place it in the Device Configuration panel.
c) Click on the white > arrow to advance to the next screen.
d) If the IP Address has not been changed, a pop-up window suggests changing the IP Address of the scanner to
that of the computer LAN. Click OK to proceed and insert the scanner password (default password is
admin
).
e) Change the IP Address parameters in the Network Configuration window to match them to the computer LAN.
The scanner reserves the successive IP address for internal functions (both internal micros have their own IP
Address but you access them using the assigned address).
f) Click OK to accept the new IP address. The device enters the Offline status.
g) Click OK to continue.
h) The software automatically rediscovers the scanner at its new IP Address. Double-click on the scanner to modify
the configuration.
3. Click on the white > arrow to move to the configuration screens, edit the configuration, or to upload the
configuration to a scanner.
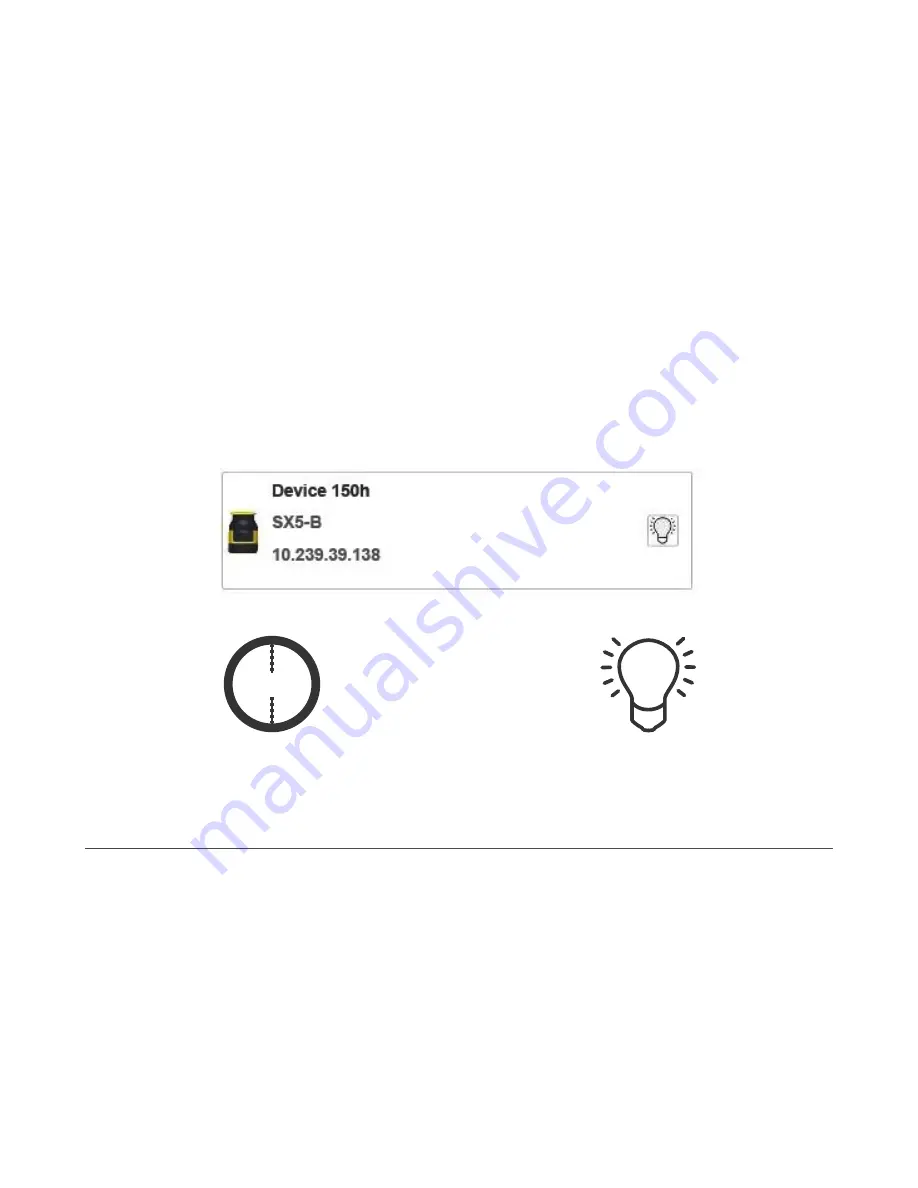
6.5.13 Wink Function
Use the Wink function to recognize which device is to be configured when multiple devices are found on the network.
To activate the Wink function, click on the Wink button when the device is in Discovery mode. The Wink icon displays.
Figure 53. Wink button
WINK
Figure 54. Wink icon blinks on/off on the unit's display
Figure 55. Wink button blinks
6.6 Print the Safety System Report
A scanner configuration's Safety System Report contains the following information:
• Configuration Administrative Parameters
• Scanner Identification
• Wiring information
• Outputs selected
• Zone(s) selected
• Input(s) selected
• Detection Parameters
• Zone Sets (graphic display of fields)
After the configuration has been uploaded to the scanner, the report is generated. To print out your report, follow these
steps.
SX5 Safety Laser Scanner
74
www.bannerengineering.com - Tel: +1.763.544.3164


