•
turning the rotary knob
•
using the panel zoom icons
•
pinching or spreading on the screen
Zoom level is shown on the upper left side of the image.
When zooming in, the sea floor is kept near the bottom of the screen, irrespective of whether
it is in auto-range or manual range.
If the range is set considerably less than the actual depth, the unit is not able to find the
bottom when zooming.
If the cursor is active, the unit zooms in where the cursor is pointed.
Zoom bar
The zoom bar is displayed when you zoom the image.
Drag the zoom bar vertically to view different parts of the water column.
Using the cursor on the image
The cursor can be used to measure a distance to a target, to mark a position, and to select
targets.
By default, the cursor is not shown on the image.
When you position the cursor on the image; the screen pauses, the depth at the cursor
position is shown, and the information window and the history bar are activated.
To remove the cursor and cursor elements from the panel, select
Clear cursor
or press the
X
key.
GoTo cursor
You can navigate to a selected position on the image by positioning the cursor on the panel,
then using the
Goto Cursor
option in the menu.
The cursor assist function
Ú
Note:
The cursor assist function is available if it is enabled. Refer to
The cursor assist function allows for fine tuning and precision placement of the cursor
without covering details with your finger.
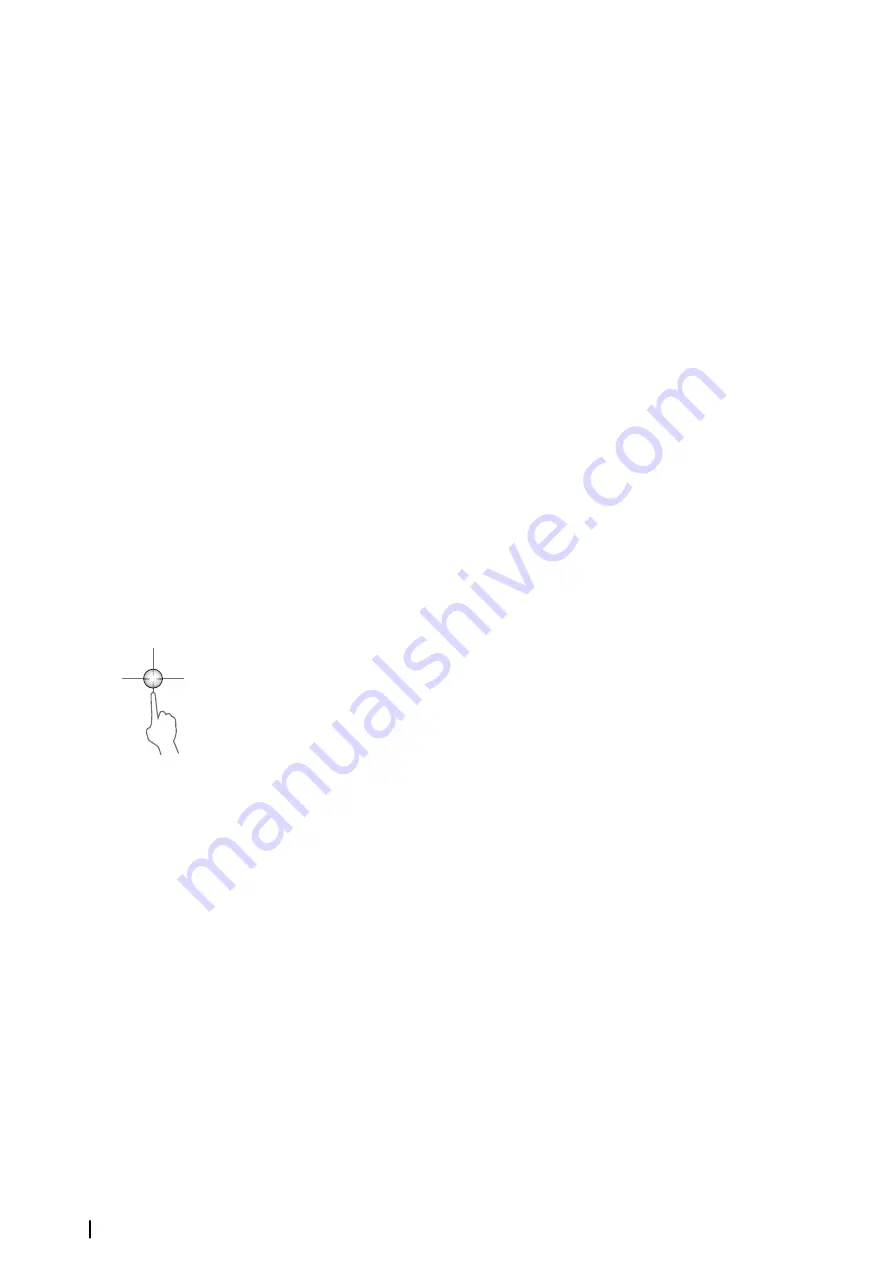
Activate the cursor on the panel, then press and hold your finger on the screen to switch the
cursor symbol to a selection circle, appearing above your finger.
Without removing your finger from the screen, drag the selection circle to the desired
position.
When you remove your finger from the screen the cursor reverts to normal cursor operation.
Measuring distance
The cursor can be used to measure the distance between the position of two observations
on the image.
1.
Position the cursor on the point from where you want to measure the distance
2.
Start the measuring function from the menu
3.
Position the cursor on the second measuring point
- A line is drawn between the measuring points, and the distance is listed in the Cursor
Information panel
4.
Continue selecting new measuring points if required
You can use the menu to re-position the start point and the end point as long as the
measuring function is active.
When you select
Finish measuring
or press the
X
key, the image resumes to normal
scrolling.
84
Echosounder
| Zeus3 Operator Manual
Содержание Zeus3 Glass Helm
Страница 1: ...ENGLISH Zeus3 Operator Manual www bandg com ...
Страница 2: ......
Страница 140: ... 988 11377 001 0980 ...


