www.baldormotion.com
5-12 Operation
MN1941
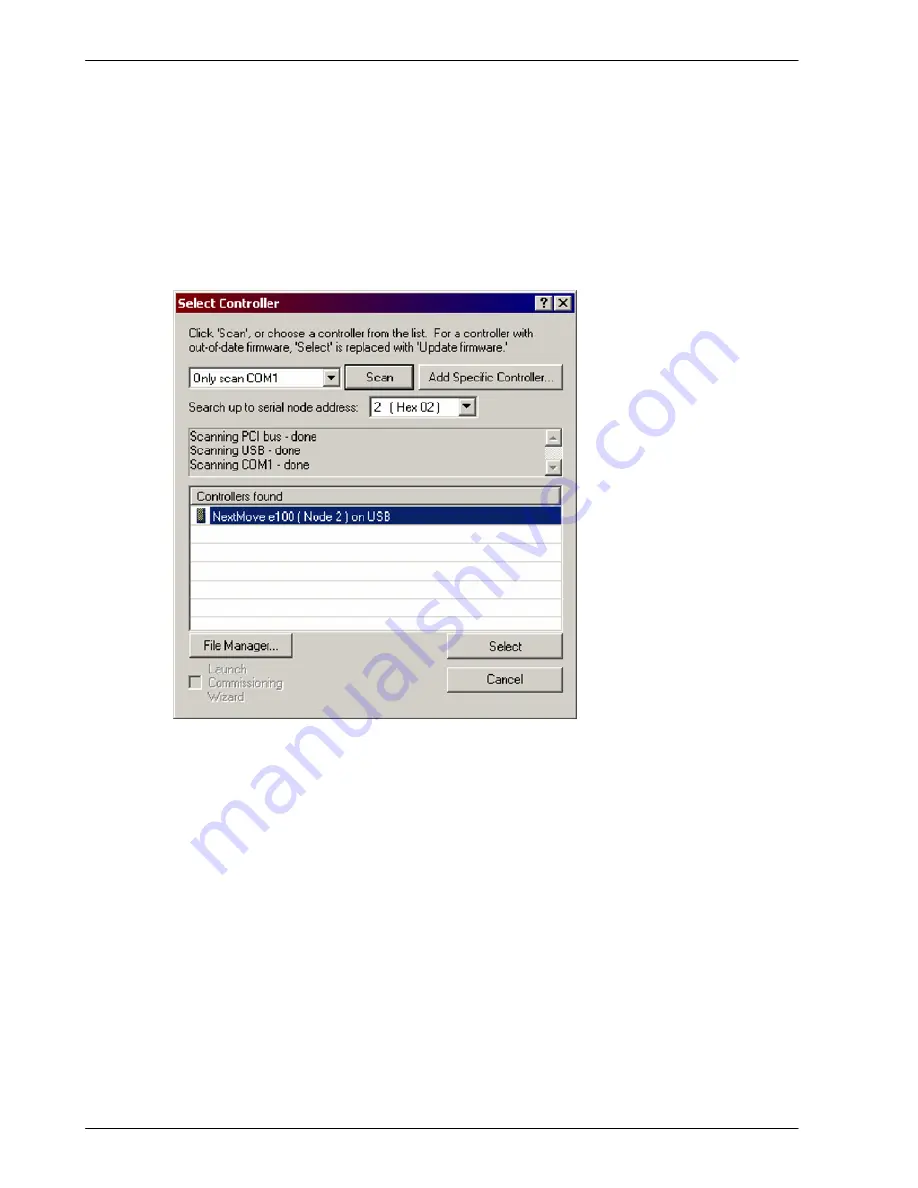
3. In the Select Controller dialog, go to the drop down box near the top and select the PC serial
port to which the NextMove
e
100 is connected. If you are unsure which PC serial port is
connected to the NextMove
e
100, increase the value in the
Search up to serial node address
box. If the NextMove
e
100 is connected using USB, it will be scanned automatically.
Click
Scan
to search for the NextMove
e
100.
When the search is complete, click ‘NextMove
e
100’ in the list to select it, and then click
Select
.
Note:
If the NextMove
e
100 is not listed, check the USB or serial cable between the
NextMove
e
100 and the PC. Check that the NextMove
e
100 is powered correctly,
and has completed its startup sequence (indicated by the slowly flashing green
Status LED). Click
Scan
to re-scan the ports.
4. A dialog box may be displayed to tell you that Mint WorkBench has detected new firmware.
Click
OK
to continue. Mint WorkBench reads back data from the NextMove
e
100. When this
is complete, Edit & Debug mode is displayed. This completes the software installation.
Содержание NXE100-1608Dx
Страница 1: ......
Страница 2: ......
Страница 16: ...www baldormotion com 3 4 Basic Installation MN1941 ...
Страница 50: ...www baldormotion com 4 34 Input Output MN1941 ...
Страница 77: ...www baldormotion com Operation 5 27 MN1941 Figure 37 The NextMove e100 servo loop ...
Страница 98: ...www baldormotion com 6 8 Troubleshooting MN1941 ...
Страница 110: ...Index MN1941 ...
Страница 112: ...Comments MN1941 Thank you for taking the time to help us ...
Страница 113: ......
Страница 114: ......


