24 Baby Lock Kinetic Frame Assembly Instructions
Take-up Pole
11-13: Repeat Step 11-10 to prepare the
long-bolt ratchet wheel assembly for insertion.
Ratchet Wheel and Hand Wheel
Insertion
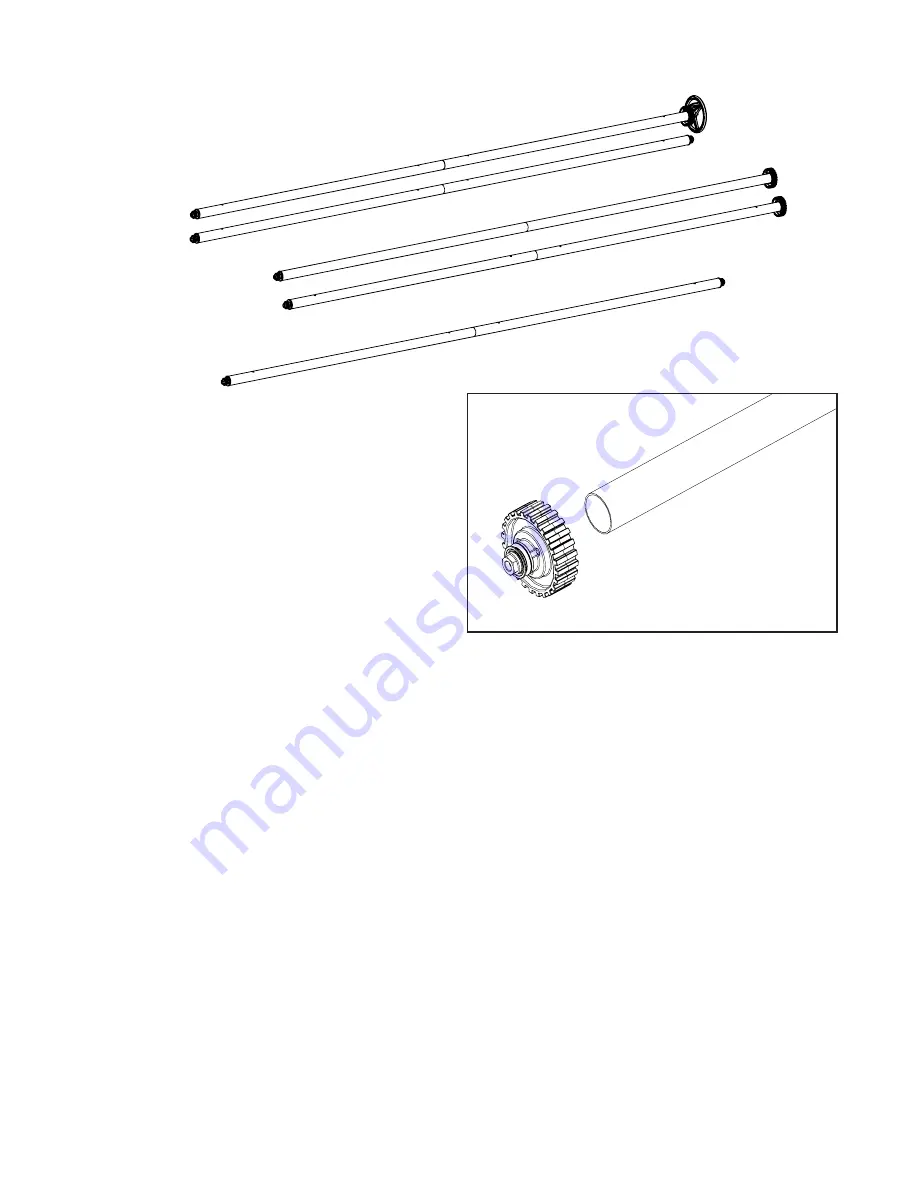
11-14: Insert one short-bolt ratchet wheel
assembly into the open end of a pole assembly
as shown in Fig. 11-8. Check that the pole end
is inserted completely into the pole assembly.
11-15: Completely tighten the lock nut, using
the 17/13mm wrench, while holding the short-
bolt ratchet wheel assembly tightly into the
open end of the pole. This will expand the outer
pole end, ensuring a tight fit in the pole. Make
sure all 3 tabs on the outside pole end, align
with the three holes on the ratchet wheel, see
Fig. 11-6 previous page. This completes the
backing pole.
11-16: Repeat Steps 11-14 and 11-15 to
complete the quilt-top pole. Set both poles
aside (Fig. 11-9).
11-17: In same manner, slide the long-
bolt ratchet wheel assembly and hand wheel
assembly into the open end of the remaining
pole assembly and while holding the complete
assembly tightly into the open end of the
pole, tighten the lock nut, using the 17/13mm
wrench. Check to be sure the hand wheel
engages the ratchet wheel assembly and does
not spin loosely and that the 3 tabs of the
outside pole end align with the 3 holes in the
ratchet wheel. This completes the take-up
pole (Fig. 11-9).
Fig. 11-8
Quilt-Top Pole
Backing Pole
Step 11
Pole End Assembly
(continued)
Idler Pole
Batting storage pole
Fig. 11-9
Содержание Kinetic Frame
Страница 1: ......


