6 6
C h a p t e r 4 • 3 D E f f e c t s I n s t a l l a t i o n
I n s t a l l i n g a n d U s i n g t h e A v i d E x p a n s i o n C h a s s i s
✍
When two or more of the 4-inch card guides are side-by-side they interlock. You’ll
need to remove all the connected guides, disconnect the ones that you don’t want, and
then reinstall the remaining guides.
3. Install the card guide assembly in the Expansion Chassis. Make sure that the
card guides fit properly so the fingers hold the NuBus cards in place.
4. Reinstall the PCB clamp. Make sure that the fingers on the PCB clamp align
with the slots in the chassis back panel and lock the NuBus cards in place.
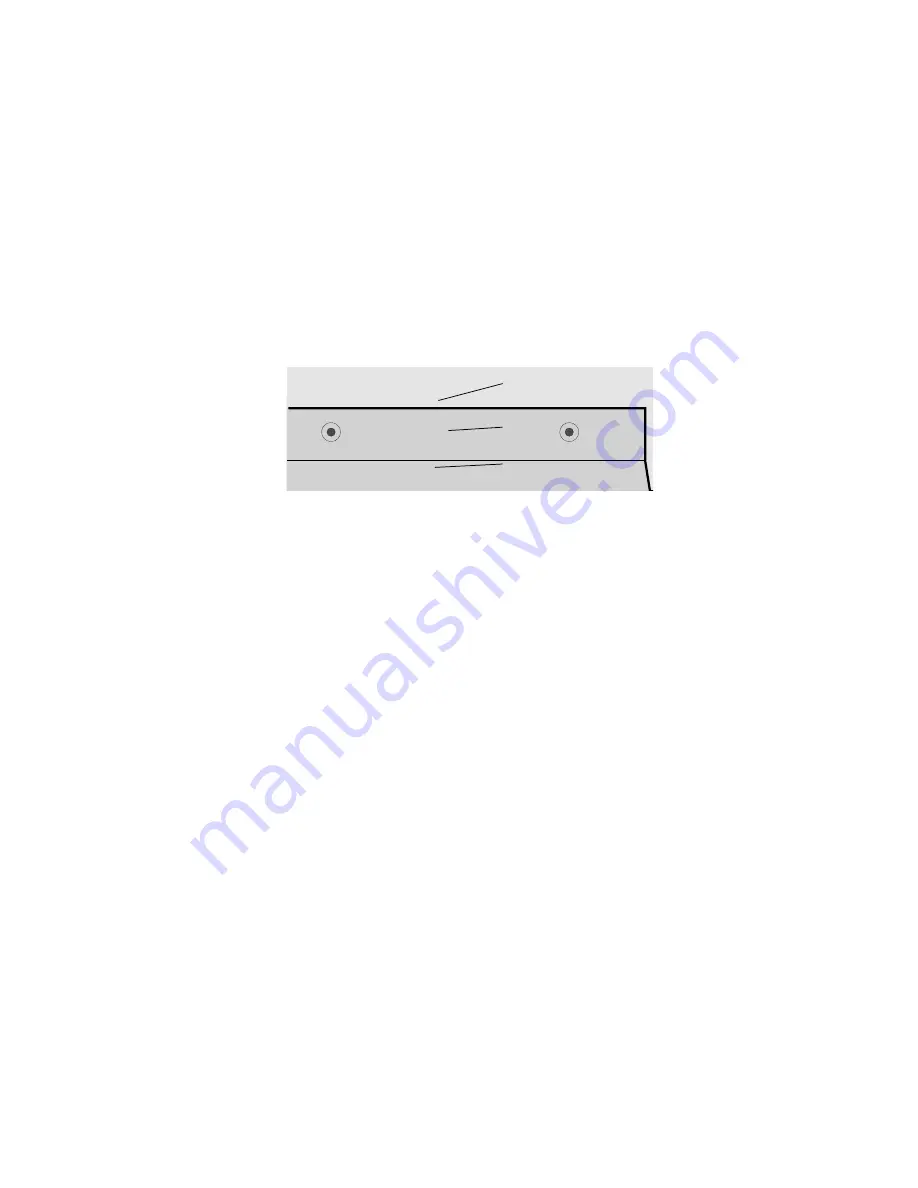
Figure 49: PCB Clamp Location
Closing the 3D Effects Cover
To complete the installation:
1. Place the 3D Effects cover support rod into its storage position, up and latched
around the locking tabs.
2. Lower the cover to the Expansion Chassis.
3. Lock the cover in place by tightening the two hold-down screws with a flat-
blade screwdriver.
PCB clamp
Clamp fingers
NuBus card
Содержание EXPANSION CHASSIS
Страница 1: ... INSTALLING AND USING THE AVID EXPANSION CHASSIS HARDWARE GUIDE ...
Страница 10: ...x Contents Installing and Using the Avid Expansion Chassis ...
Страница 18: ...6 Chapter 1 Overview Installing and Using the Avid Expansion Chassis ...
Страница 30: ...18 Chapter 2 Populated Chassis Installation Installing and Using the Avid Expansion Chassis ...
Страница 58: ...46 Chapter 3 Empty Chassis Installation Installing and Using the Avid Expansion Chassis ...
Страница 90: ...78 Chapter 6 Chassis Troubleshooting Installing and Using the Avid Expansion Chassis ...


