20
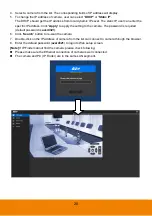
4. Select a camera from the list. The corresponding fields of IP address will display.
5. To change the IP address of camera, user can select “
DHCP
” or “
Static IP
”.
The DHCP should get the IP address from local dynamic IP sever. The static IP, user can enter the
specific IP address. Click “
Apply
” to apply the setting to the camera. The password is required
(default password is
aver4321
).
6. Click “
Search
” button to re-scan the camera.
7. Double-click on the IP address of camera from the list can connect to camera through the browser.
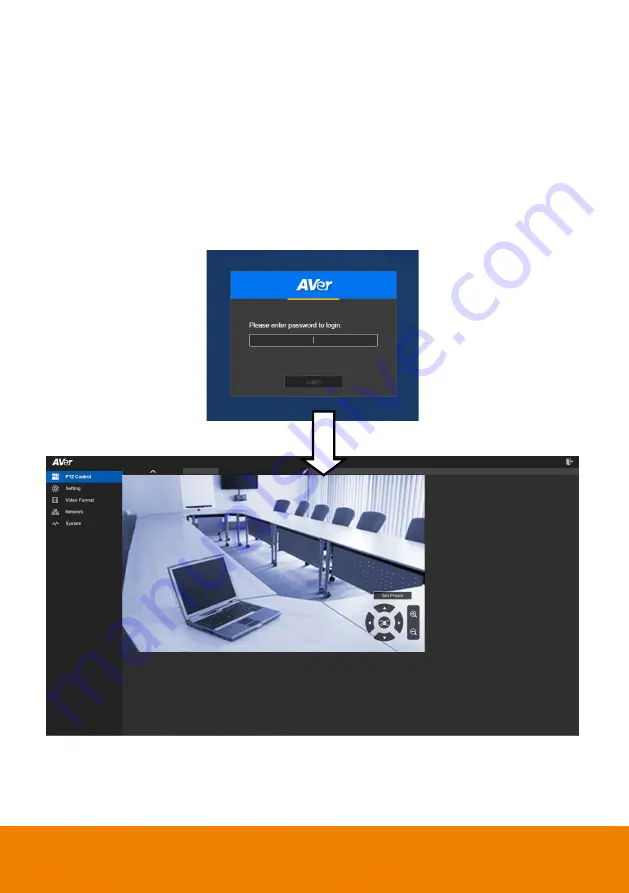
8. Enter the default password (
aver4321
) to login to Web setup screen.
[Note]
If IP Finder cannot find the camera, please check following:
Please make sure the Ethernet connection of camera is well connected.
The camera and PC (IP Finder) are in the same LAN segment.
Содержание CAM520 Pro
Страница 1: ...CAM520 Pro User Manual ...
Страница 14: ...5 Pan and Tilt Angle 170 170 90 30 ...
Страница 58: ...49 Time Format Select the time format In live screen view select System Time Format 24 Hour or 12 Hour ...
Страница 69: ...60 Reset Password Set Web access password back to default The default password is aver4321 ...
Страница 75: ...66 Allow Remote Access Set the Web access authority Select Camera Allow remote access YES or NO ...

