T3-OPX installation
T3-OPX User Guide
27
3.
Slide in the ink cartridge, nozzle end first, label side up. Push the cartridge in all the way.
You will feel slight resistance near the end of this process as the nozzle engages the ink
needles inside the printer. Repeat this step for each color.
4.
Close the ink door.
5.
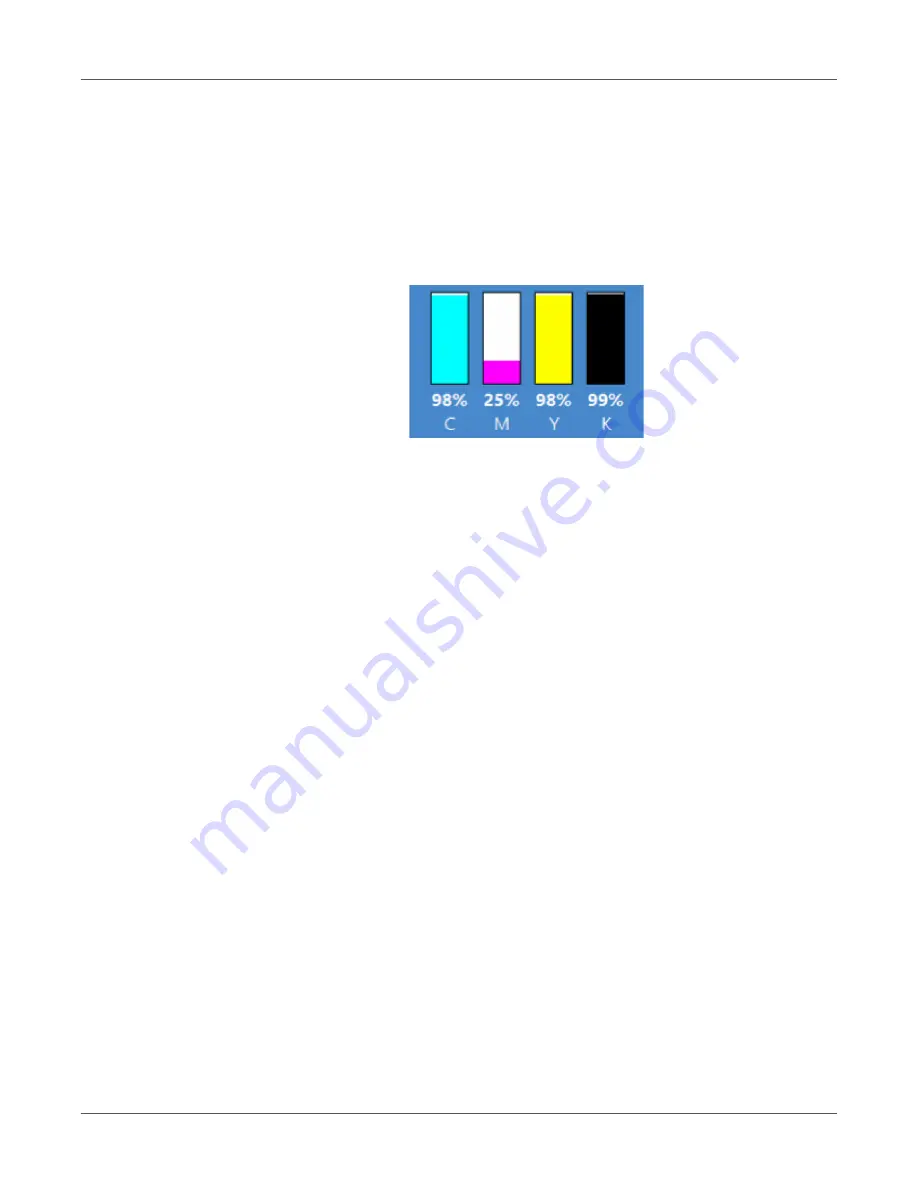
Confirm that the inks are recognized in the status bar on the touchscreen. An example is
illustrated below.
a.
This example only applies after the unit has been purged.
b.
If the unit is in the “mfg mode” state, which is the normal state for first time power
on, then the indicators will be blank.
Start up/purge cartridges
Always use a new set of ink cartridges for purging.
If the cartridges have been slightly used (98-99%), they may possibly work. But we always
recommend a completely fresh set of cartridges.
Replacing an empty cartridge
When replacing an empty cartridge, a new or used cartridge can be used. A used cartridge can
be used only if it has not been marked as used in more than three previous printers.
Note:
The cartridge is marked as used only after it is installed in a printer and that printer prints
while the supply is in.
Purging the unit
The print engine must be purged to completely remove the shipping fluids. The fluids will be
dispensed through the printhead and into a spittoon that is supplied with the print unit. The
process will take approximately 20 minutes.
The process will require the operator to place the spittoon in the correct position under the
printhead. The purge height will be automatically set by the process. Once all is in place, the
unit is set in a special purge mode, which will require the operator to restart the unit (full power
cycle).
1.
Check the following prerequisites.
•
Spittoon with absorption filter
•
Inserted inks
Содержание TrojanLabel T3-OPX
Страница 1: ...U S E R G U I D E...


