C.19 Option 34: NTP/PTP Server
219
C.19.6
HTTPS/SSL Certificate
This section discusses a method of generating a PEM file for use with HTTPS. As is the case
with any web server, in order to provide a secure connection via HTTPS, the Option 34 must be
configured with an SSL Certificate. The Option 34 uses a single PEM File which includes the
private key and the certificate. This guide illustrates a method of creating a PEM File using the
free and publicly available OpenSSL package. OpenSSL is merely one of many possible solutions –
please see your toolkit documentation for exact instructions. This guide assumes you have already
downloaded and installed the OpenSSL tools on a Linux system.
Note:
In the following examples, the symbol ‘
B
’ denotes the command prompt.
Step 1 - Generate a Private Key
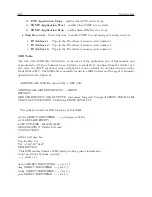
The following command will generate a 1024 bit RSA private key. Please keep this file safe, secure,
and not accessible to the public.
B
openssl genrsa -out private.key 1024
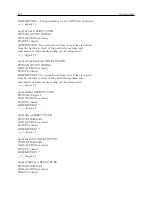
The generated file (private.key) might look like the following:
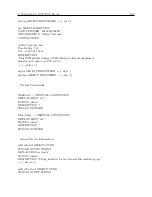
-----BEGIN RSA PRIVATE KEY-----
MIICXgIBAAKBgQDPoNigXmq2JAlw9DrD0P5Og5c5xsEnt9bPjfuE7MGkDEGN09sC
...more data...
8Xxzzgu4xizBdLmONkHu7b/h7GL6u5smkWVOCesCCR0mKw==
-----END RSA PRIVATE KEY-----
Step 2 - Generate a Certificate Signing Request (CSR)
The following command will generate a CSR (certificate signing request) file using the private key
generated in Step 1. OpenSSL will prompt for several pieces of information, our example responses
are in BOLD text. If you are purchasing a certificate from a commercial vendor, the information
provided during this step must match exactly the information you will be providing to the vendor.
B
openssl req -new -key private.key -out my.csr
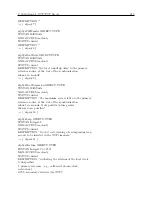
You are about to be asked to enter information that will be incorporated
into your certificate request.
What you are about to enter is what is called a Distinguished Name or a DN.
There are quite a few fields but you can leave some blank
For some fields there will be a default value,
If you enter ‘.’, the field will be left blank.
-----
Country Name (2 letter code) [AU]:US
State or Province Name (full name) [Some-State]:California
Locality Name (eg, city) [ ]:Paso Robles
Organization Name (eg, company) [Widgits Pty Ltd]:Arbiter Systems, Inc.
Содержание 1084A
Страница 4: ...iv ...
Страница 6: ...vi ...
Страница 18: ...xviii LIST OF FIGURES ...
Страница 23: ...1 4 Attaching Rack Mount Ears to 1084A B C Series Clocks 3 Figure 1 2 Attaching Rack Mount Ears ...
Страница 24: ...4 Unpacking the Clock ...
Страница 36: ...16 Connecting Inlet Power Input and Output Signals ...
Страница 39: ...4 1 GPS Antenna Installation 19 Figure 4 2 Antenna Mounting Bracket Figure 4 3 Antenna Mounting with AS0044600 ...
Страница 44: ...24 GPS Antenna and Cable Information ...
Страница 114: ...94 Startup and Basic Operation ...
Страница 123: ...B 4 Physical Dimensions 103 Figure B 1 Suggested Mounting of the AS0094500 Surge Arrester ...
Страница 124: ...104 Using Surge Arresters ...
Страница 134: ...114 Options List C 6 2 Option 06 Firmware Setup Figure C 3 Option 06 Firmware Setup ...
Страница 142: ...122 Options List Figure C 5 Option 06 Output Jumper Settings ...
Страница 143: ...C 6 Option 06 Parallel BCD Output 1 millisecond Resolution 123 Figure C 6 Option 06 Board Layout and Jumper Locations ...
Страница 157: ...C 10 Option 17 Parallel BCD Output and Second RS 232C Port 137 Figure C 12 Option 17 Output Jumper Settings ...
Страница 158: ...138 Options List Figure C 13 Option 17 Board Layout and Jumper Locations ...
Страница 163: ...C 13 Option 20A Four Fiber Optic Outputs 143 Figure C 14 Option 20A Jumper Locations ...
Страница 170: ...150 Options List Figure C 16 Option 23 Internal Jumper Setup ...
Страница 172: ...152 Options List Figure C 17 Option 27 Jumper Locations ...
Страница 190: ...170 Options List Figure C 20 Option 29 Connector Signal Locations ...
Страница 246: ...226 Options List ...

