11
Quality for Professionals
8 Working position and setting the working depth
8.1
Depth adjustment / drawbar adjustment
To adjust the depth of the GP 600 M1, 2 work steps are required.
1.
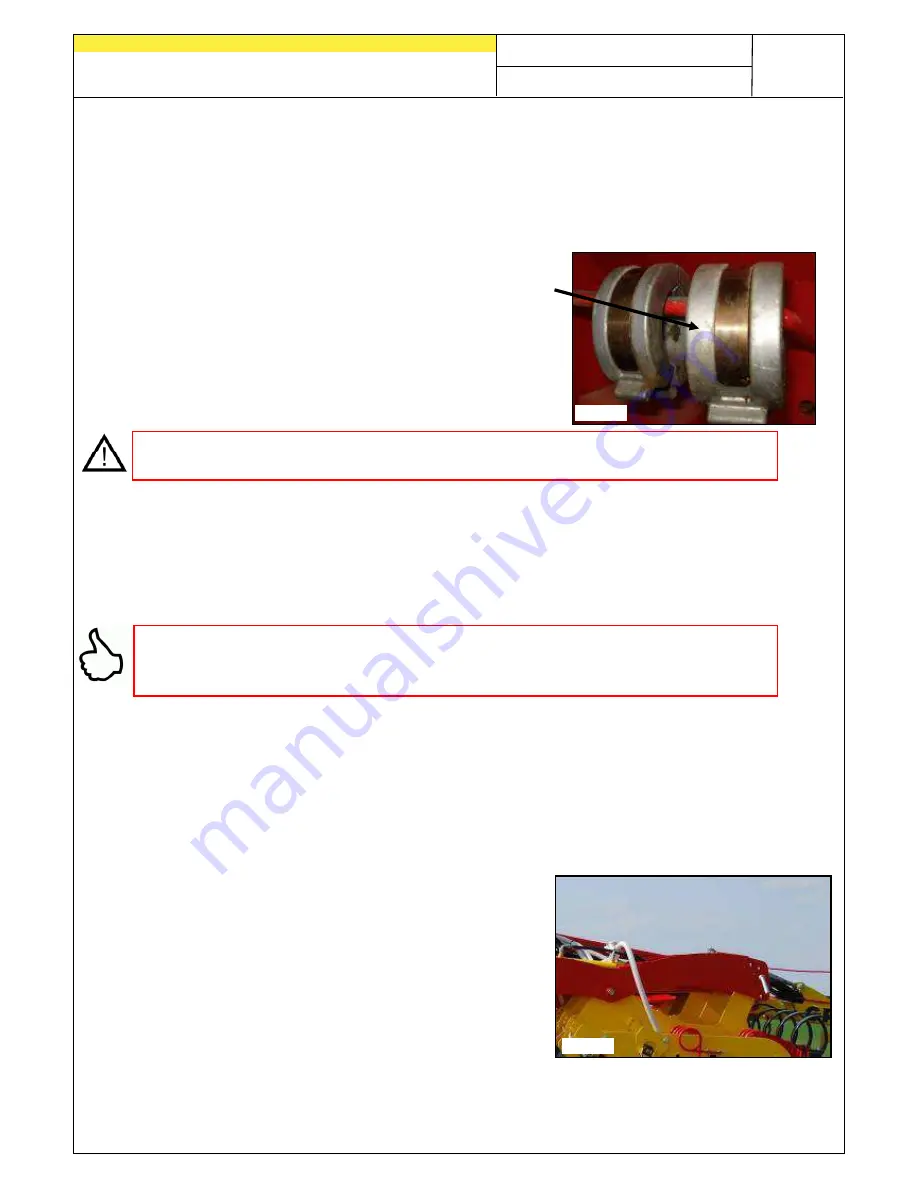
Depending on how aggressively you want to work
the soil, add or remove the hydro clips from the
roller cylinder. To do so, you must extend the
cylinder a little so that the hydro clips are hanging
freely on the cylinders. When you have inserted
the desired number and sizes, retract the
cylinders again up to the stop.
PLEASE NOTE:
The same number with the corresponding sizes must be installed
on all cylinders.
2.
The lower link must be positioned such that the frame of the implement is
parallel to the field. With the position of the lower link, the working depth can
also be adjusted as required.
3.
To adjust the implement perfectly, the drawbar must also be adjusted. This is
achieved with the spindle or the drawbar cylinder (optional).
TIP:
Check the working depth after driving 10 m and readjust if necessary.
For larger areas, it is recommended to check the working depth of the tines
intermittently.
If you want to use the GP 600 M1 with the roller lifted, i.e. the roller in the highest
position and the roller cylinder completely retracted, you must support the implement
on the running gear. It is then no longer possible to completely lift the running gear
off of the ground.
The higher you lift the roller, the more weight is resting on the tines.
8.2
Adjusting the series of holes
In addition to the depth, the aggressiveness of the
tines relative to one another on the GP 600 M1 can
also be changed. To do so, you only have to insert
the pins for the harrow arrays as desired in a higher
or lower hole (see Fig.: 13).
This makes it possible to adjust the 12 mm and the
8 mm tines at different degrees of aggressiveness.
This also allows for compensation of various degrees
of wear on the tines.
Fig.: 12
Fig.: 13


