
ARCHMI-7XX User Manual
94
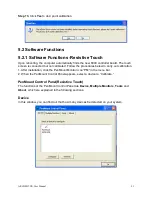
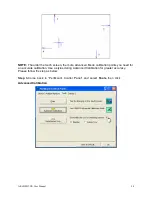
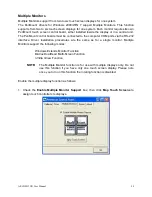
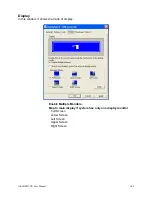
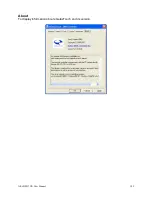
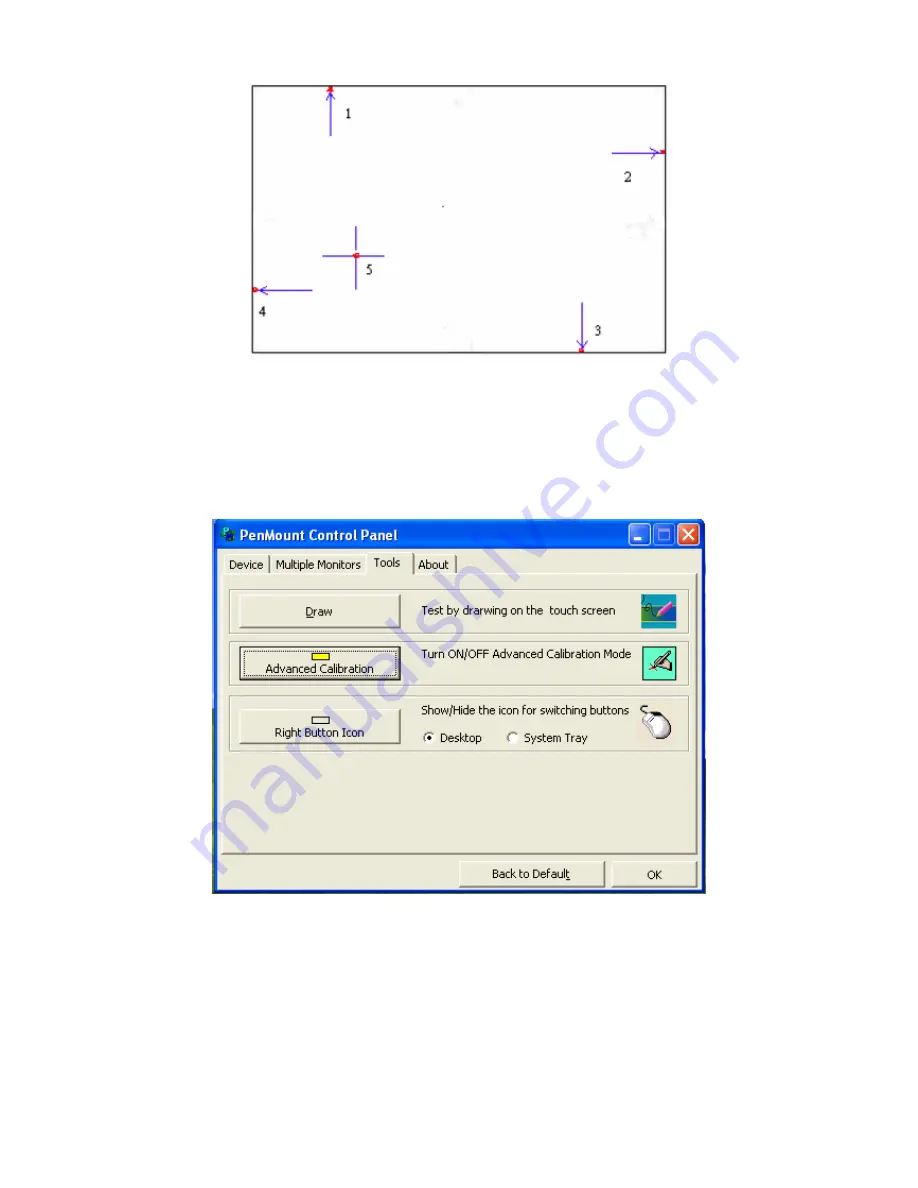
NOTE:
The older the touch screen, the more Advanced Mode calibration points you need for
an accurate calibration. Use a stylus during Advanced Calibration for greater accuracy.
Please follow the step as below:
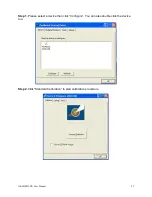
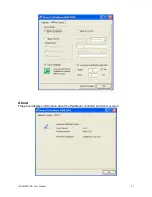
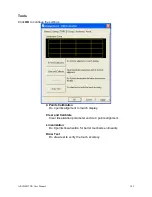
Step 3.
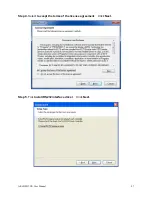
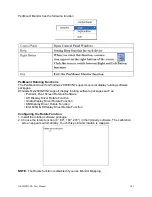
Come back to “PenMount Control Panel” and select
Tools
then click
Advanced Calibration
.
Содержание ARCHMI-7XX
Страница 8: ...8 ...
Страница 9: ...9 1 2 Dimensions Figure 1 1 Dimensions of ARCHMI 707 ...
Страница 10: ...10 Figure 1 2 Dimensions of ARCHMI 708 ...
Страница 11: ...11 Figure 1 3 Dimensions of ARCHMI 710 ...
Страница 12: ...12 Figure 1 4 Dimensions of ARCHMI 712 ...
Страница 13: ...13 Figure 1 5 Dimensions of ARCHMI 715 ...
Страница 14: ...14 Figure 1 6 Dimensions of ARCHMI 721 ...
Страница 16: ...16 Figure 1 8 Rear View of ARCHMI 707 ARCHMI 708 Figure 1 9 Rear View of ARCHMI 710 ...
Страница 17: ...17 Figure 1 10 Rear View of ARCHMI 712 ARCHMI 715 Figure 1 11 Rear View of ARCHMI 721 ...
Страница 25: ...25 units mm Figure 2 1 Mainboard Dimensions ...
Страница 27: ...27 Board Bottom Figure 2 3 Jumpers and Connectors Location_ Board Bottom ...
Страница 31: ...31 Step 2 Remove the storage cover Step 3 Unscrew the storage tray Step 4 Remove the storage tray ...
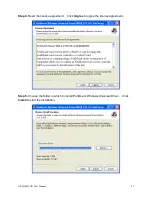
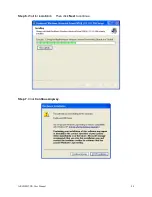
Страница 75: ...ARCHMI 7XX User Manual 75 Step 3 Read license agreement Click Yes Step 4 Click Next ...
Страница 82: ...ARCHMI 7XX User Manual 82 Step 2 Select Resistive Touch Step 3 Click Next to continue ...
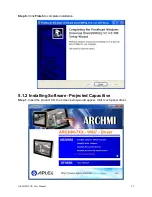
Страница 86: ...ARCHMI 7XX User Manual 86 Step 2 Select Projected Capacitive Step 3 Click Next to continue ...
Страница 89: ...ARCHMI 7XX User Manual 89 Step 9 Go to C Program Files eGalaxTouch Click Next Step 10 Click Next ...
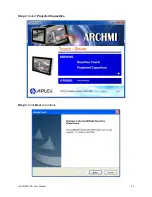
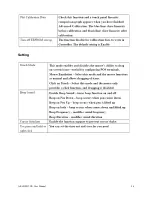
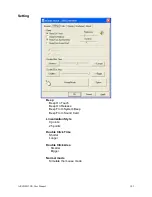
Страница 96: ...ARCHMI 7XX User Manual 96 Setting ...
Страница 108: ...ARCHMI 7XX User Manual 108 Hardware Saturn Hardware Configuration ...
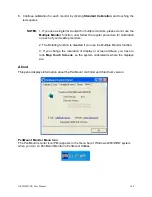
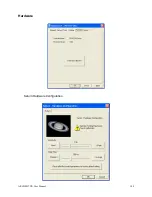
Страница 109: ...ARCHMI 7XX User Manual 109 About To display information about eGalaxTouch and its version ...


