65
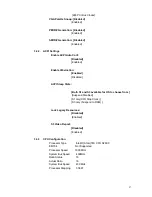
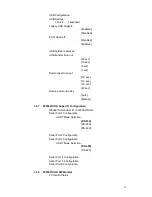
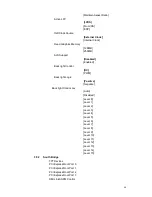
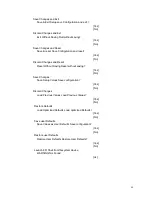
PCI-Exp. High Priorit
[Enabled]
[Disabled]
[Disabled]
[Enabled]
High Precision Event Timer Configuration
High Precision Timer
SLP_S4 Assertion Widt
[Enabled]
[Disabled]
[1-2 Seconds]
[2-3 Seconds]
[3-4 Seconds]
[4-5 Seconds]
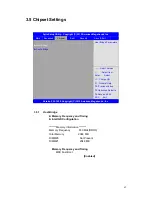
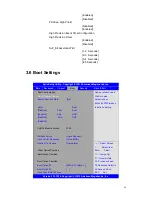
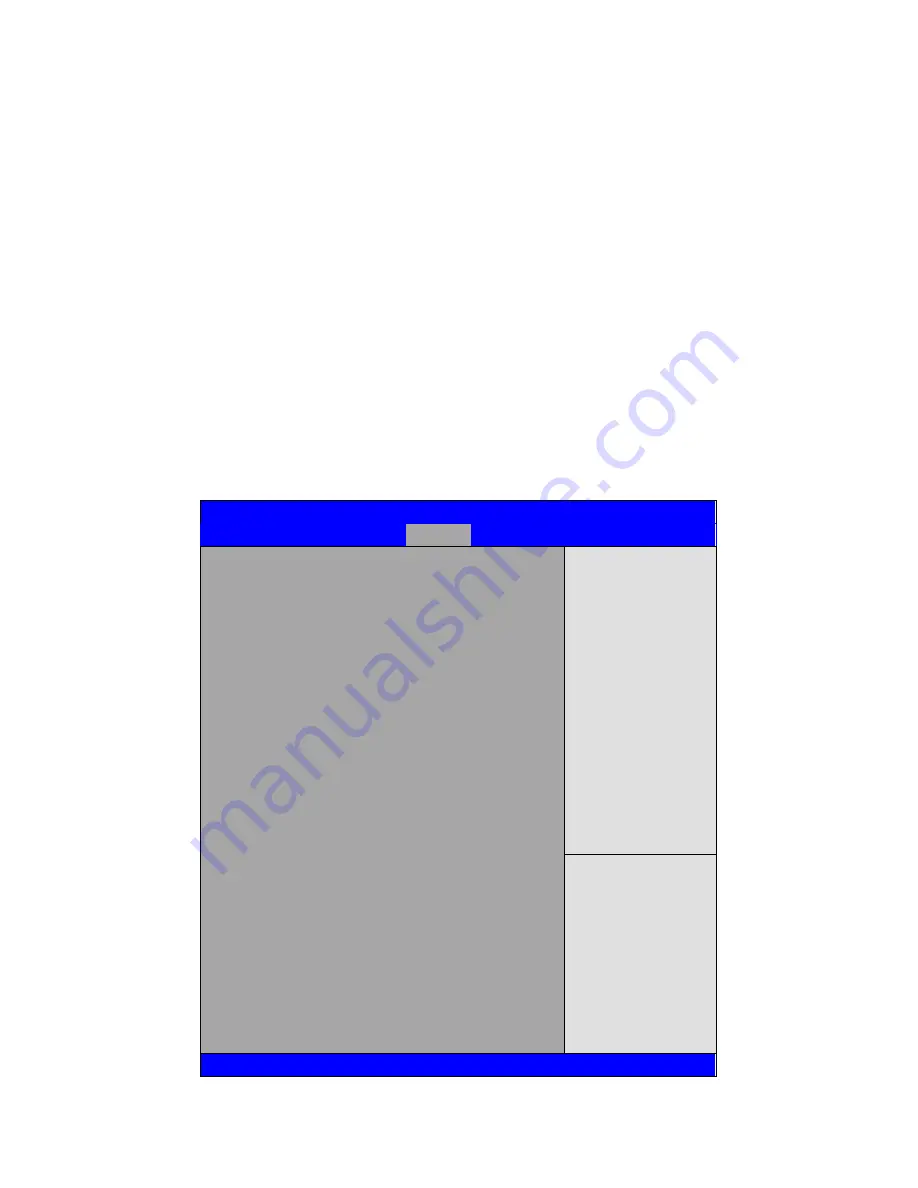
3.6 Boot Settings
Aptio Setup Utility
– Copyright (C) 2012 American Megatrends, Inc.
Main
Advanced
Chipset
Boot
Security
Save & Exit
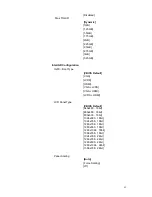
Boot Configuration
Setup Prompt Timeout
1
Bootup Numlock State
[On]
Quiet
Boot
[Disabled]
Fast
Boot
[Enabled]
Skip
USB
[Disabled]
Skip
PS2
[Disabled]
CSM16 Module Version
07.69
Gatea20 Active
[Upon Request]
Option ROM Messages
[Force BIOS]
Interrupt 19 Capture
[Immediate]
Driver Option Priorities
Boot Option Priorities
Boot Option Priorities
Boot Option #1
[SATA PM: Hitach
i…]
Boot Option #2
[…]
Hard Drive BBS Priorities
►CSM Parameters
Number of seconds to
Wait for setup
Activation key.
65535(0xFFFF)means
Indef inite waiting.
→←: Select Screen
↑↓ : Select Item
Enter: Select
+/- : Charge Opt.
F1 : General Help
F2: Previous Values
F3:Optimized Defaults
F4:Save and Exit
ESC Exit
Version 2.15.1226. Copyright (C) 2012 American Megatrends , Inc.
Содержание ARCHMI-7XX
Страница 8: ...8 ...
Страница 9: ...9 1 2 Dimensions Figure 1 1 Dimensions of ARCHMI 707 ...
Страница 10: ...10 Figure 1 2 Dimensions of ARCHMI 708 ...
Страница 11: ...11 Figure 1 3 Dimensions of ARCHMI 710 ...
Страница 12: ...12 Figure 1 4 Dimensions of ARCHMI 712 ...
Страница 13: ...13 Figure 1 5 Dimensions of ARCHMI 715 ...
Страница 14: ...14 Figure 1 6 Dimensions of ARCHMI 721 ...
Страница 16: ...16 Figure 1 8 Rear View of ARCHMI 707 ARCHMI 708 Figure 1 9 Rear View of ARCHMI 710 ...
Страница 17: ...17 Figure 1 10 Rear View of ARCHMI 712 ARCHMI 715 Figure 1 11 Rear View of ARCHMI 721 ...
Страница 25: ...25 units mm Figure 2 1 Mainboard Dimensions ...
Страница 27: ...27 Board Bottom Figure 2 3 Jumpers and Connectors Location_ Board Bottom ...
Страница 31: ...31 Step 2 Remove the storage cover Step 3 Unscrew the storage tray Step 4 Remove the storage tray ...
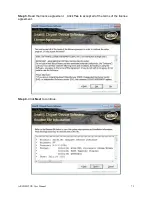
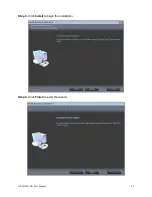
Страница 75: ...ARCHMI 7XX User Manual 75 Step 3 Read license agreement Click Yes Step 4 Click Next ...
Страница 82: ...ARCHMI 7XX User Manual 82 Step 2 Select Resistive Touch Step 3 Click Next to continue ...
Страница 86: ...ARCHMI 7XX User Manual 86 Step 2 Select Projected Capacitive Step 3 Click Next to continue ...
Страница 89: ...ARCHMI 7XX User Manual 89 Step 9 Go to C Program Files eGalaxTouch Click Next Step 10 Click Next ...
Страница 96: ...ARCHMI 7XX User Manual 96 Setting ...
Страница 108: ...ARCHMI 7XX User Manual 108 Hardware Saturn Hardware Configuration ...
Страница 109: ...ARCHMI 7XX User Manual 109 About To display information about eGalaxTouch and its version ...

