
ARCHMI-7XX User Manual
91
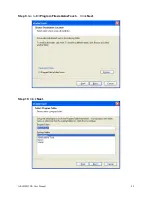
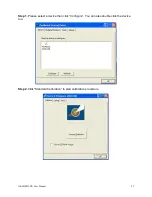
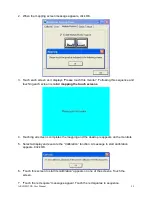
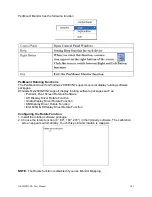
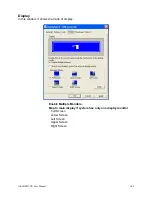
Step 13.
Click
Yes
to do 4 point calibration.
5.2 Software Functions
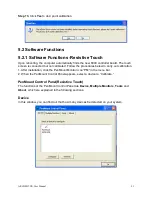
5.2.1 Software Functions -Resistive Touch
Upon rebooting, the computer automatically finds the new 6000 controller board. The touch
screen is connected but not calibrated. Follow the procedures below to carry out calibration.
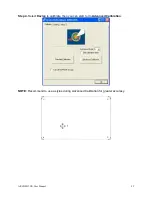
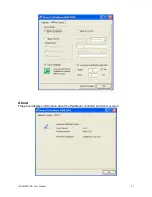
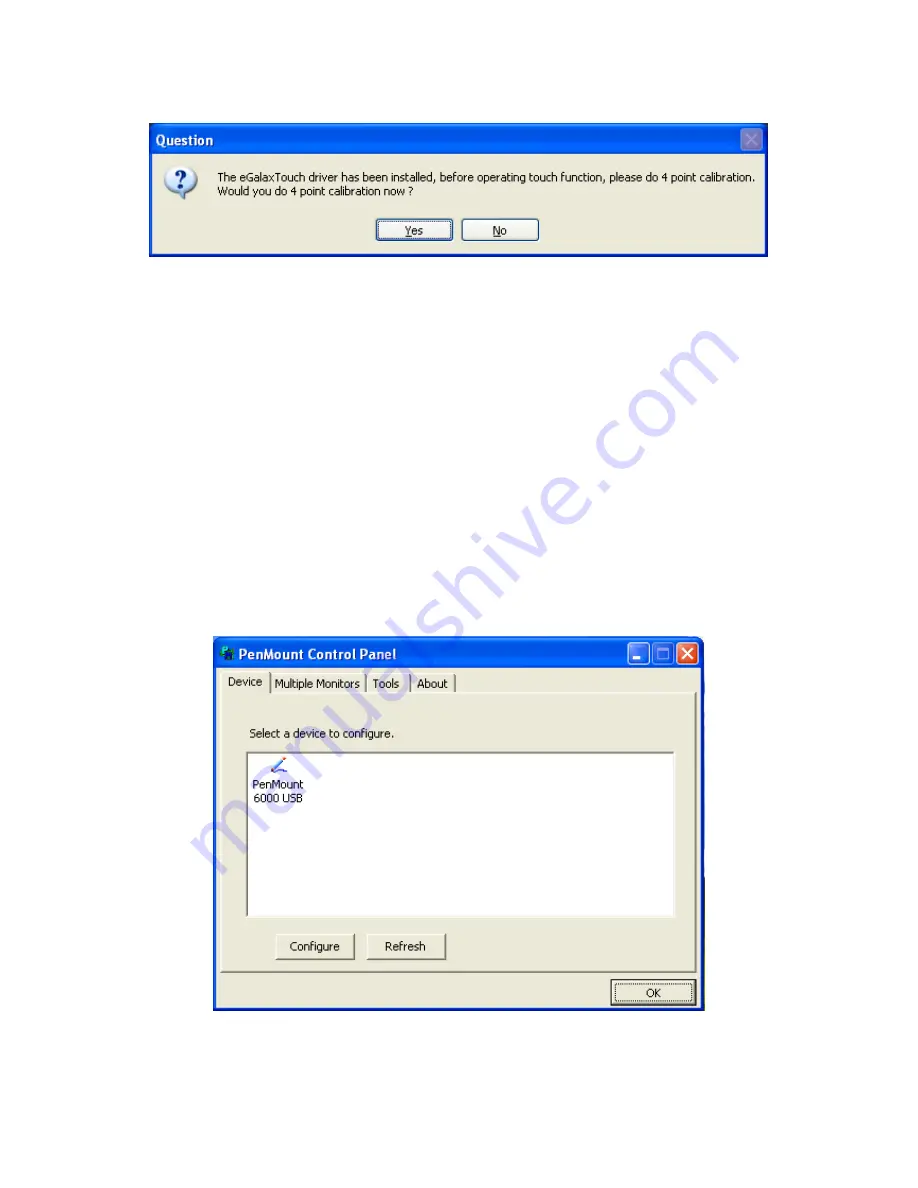
1. After installation, click the PenMount Monitor icon “PM” in the menu bar.
2. When the PenMount Control Panel appears, select a device to “Calibrate.”
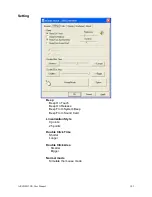
PenMount Control Panel(Resistive Touch)
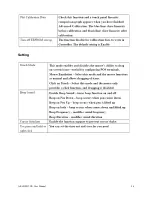
The functions of the PenMount Control Panel are
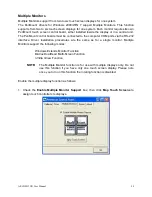
Device, Multiple Monitors
,
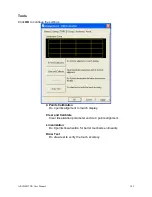
Tools
and
About
, which are explained in the following sections.
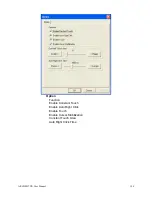
Device
In this window, you can find out that how many devices be detected on your system.
Содержание ARCHMI-7XX
Страница 8: ...8 ...
Страница 9: ...9 1 2 Dimensions Figure 1 1 Dimensions of ARCHMI 707 ...
Страница 10: ...10 Figure 1 2 Dimensions of ARCHMI 708 ...
Страница 11: ...11 Figure 1 3 Dimensions of ARCHMI 710 ...
Страница 12: ...12 Figure 1 4 Dimensions of ARCHMI 712 ...
Страница 13: ...13 Figure 1 5 Dimensions of ARCHMI 715 ...
Страница 14: ...14 Figure 1 6 Dimensions of ARCHMI 721 ...
Страница 16: ...16 Figure 1 8 Rear View of ARCHMI 707 ARCHMI 708 Figure 1 9 Rear View of ARCHMI 710 ...
Страница 17: ...17 Figure 1 10 Rear View of ARCHMI 712 ARCHMI 715 Figure 1 11 Rear View of ARCHMI 721 ...
Страница 25: ...25 units mm Figure 2 1 Mainboard Dimensions ...
Страница 27: ...27 Board Bottom Figure 2 3 Jumpers and Connectors Location_ Board Bottom ...
Страница 31: ...31 Step 2 Remove the storage cover Step 3 Unscrew the storage tray Step 4 Remove the storage tray ...
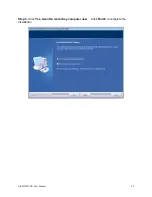
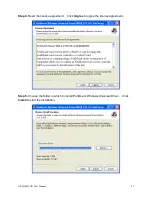
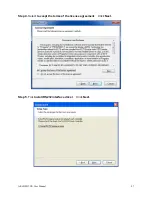
Страница 75: ...ARCHMI 7XX User Manual 75 Step 3 Read license agreement Click Yes Step 4 Click Next ...
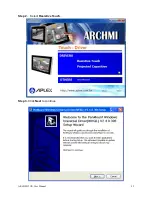
Страница 82: ...ARCHMI 7XX User Manual 82 Step 2 Select Resistive Touch Step 3 Click Next to continue ...
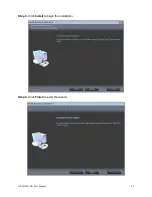
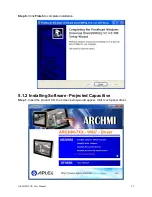
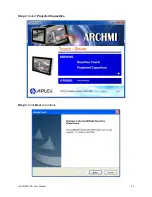
Страница 86: ...ARCHMI 7XX User Manual 86 Step 2 Select Projected Capacitive Step 3 Click Next to continue ...
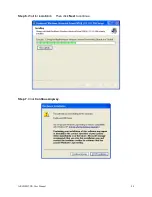
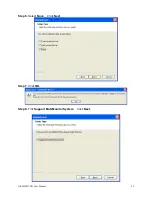
Страница 89: ...ARCHMI 7XX User Manual 89 Step 9 Go to C Program Files eGalaxTouch Click Next Step 10 Click Next ...
Страница 96: ...ARCHMI 7XX User Manual 96 Setting ...
Страница 108: ...ARCHMI 7XX User Manual 108 Hardware Saturn Hardware Configuration ...
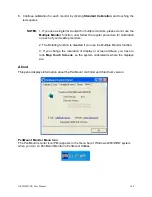
Страница 109: ...ARCHMI 7XX User Manual 109 About To display information about eGalaxTouch and its version ...


