APWeb Expansion Board
49
Optima SD Instruction Manual
Cabling & Applying Power
After installing the APWeb board, connect it to a LAN or a Network Interface Card (NIC) in a PC.
During the initial setup (see below), the APWeb board discovers the system. After the initial setup, it
does not need to rediscover the system (even if power is cycled). If connecting to a PC, the PC’s settings
may need to be changed (contact your Network Administrator).
Cable Requirements
LAN Connection – Use an RJ-45 straight-through patch cable.
PC Connection (NIC Card) – Use an RJ-45 crossover cable.
Connecting to a LAN or a PC
Important:
AMX AutoPatch systems should only be linked in their own isolated networks.
To connect the APWeb board to the LAN or PC:
1.
Complete the installation of the Optima SD enclosure(s) according to the installation procedure in
the “Installation & Setup” chapter (see page 18).
Do not apply power until Step 4 below
.
2.
Insert one end of the RJ-45 cable into an active LAN connection or a NIC.
3.
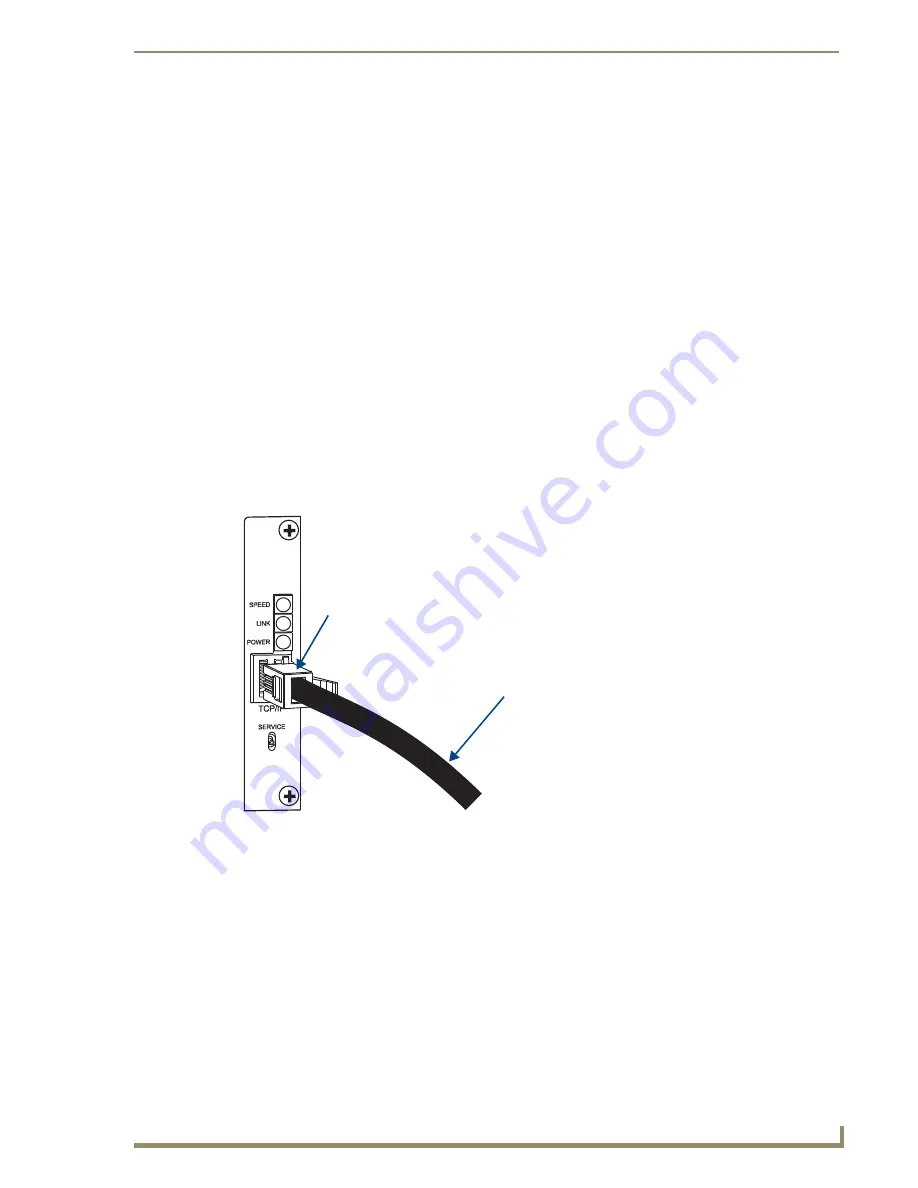
Insert the other end of the cable into the TCP/IP (RJ-45) jack on the APWeb board (FIG. 30).
4.
Apply power to the enclosures. Apply power to the attached source and destination devices last.
5.
Check the indicator LEDs (see page 46).
6.
Allow 20 to 60 seconds for discovery, then test the connection (see page 50).
FIG. 30
Fasten the Ethernet link connector
Ethernet Link Connector
Cable from active LAN
Содержание Optima SD
Страница 11: ...Notices 6 Optima SD Instruction Manual...
Страница 19: ...Overview General Specifications 14 Optima SD Instruction Manual...
Страница 49: ...Stereo Audio Input Output Boards 44 Optima SD Instruction Manual...
Страница 81: ...Appendix C Replacing I O Boards 76 Optima SD Instruction Manual...


