


Installation Procedures: 12" and 15" Panels
57
VG-Series Modero Touch Panels
11.
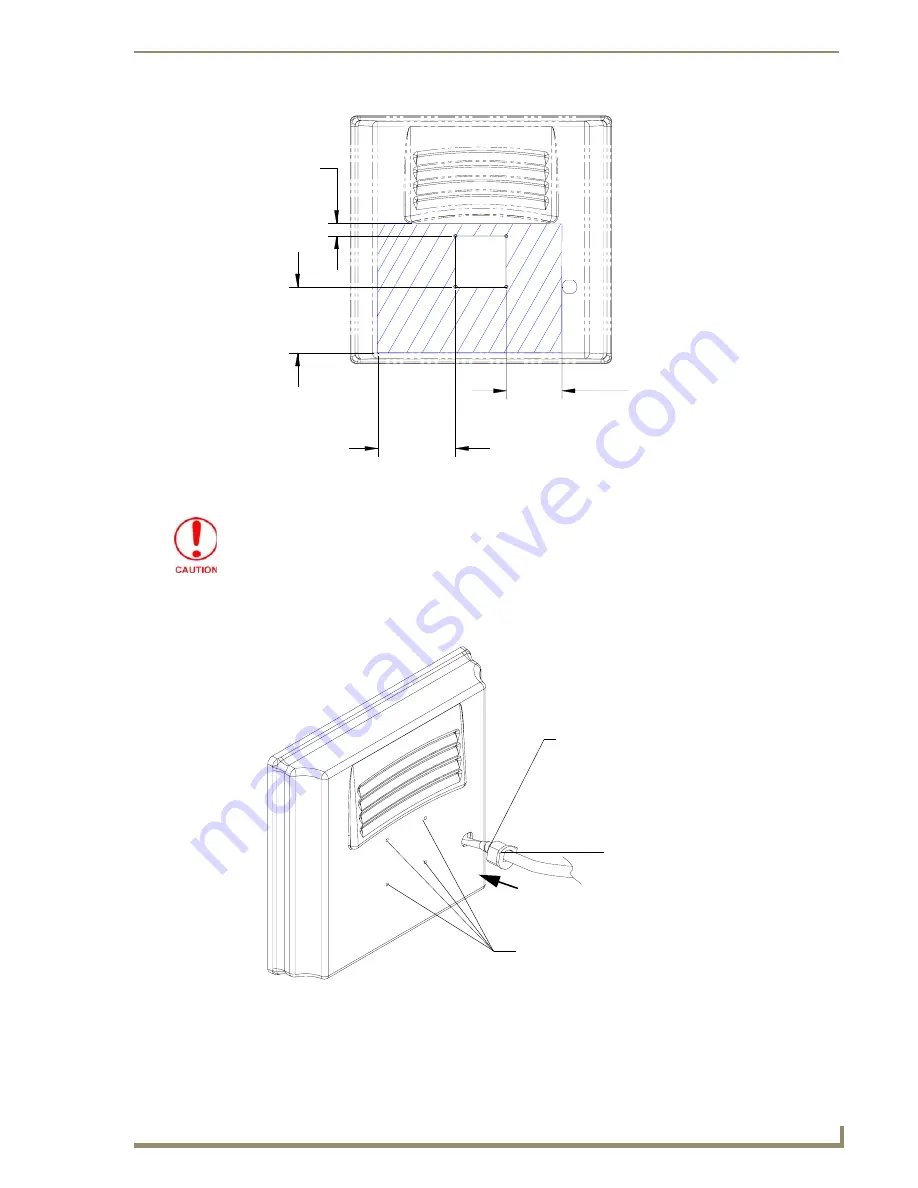
Secure these four #8-32 screws to the rear plastic cover by using a grounded Phillips-head
screwdriver. This step secures the VESA mount to the rear of the panel.
Refer to your particular VESA mount manufacturer’s installation procedures for further surface
mounting procedures.
FIG. 36
MB-TP15 Mounting contact surface area
3.23[82MM]
.72[18MM]
4.52[115MM]
3.83[97MM]
When installing a VESA mount to the rear plastic cover, use only the AMX provided
#8-32 screws.
FIG. 37
Installation of grommet into the rear plastic enclosure
Rear plastic cover (rear view)
Rim of the strain relief grommet
should lie flush against enclosure
CLIP FACING UP
VESA mount connection location
(USE ONLY AMX PROVIDED #8-32 screws)
Содержание Modero NXT-1500VG
Страница 4: ......
Страница 62: ...Touch Panel Accessories 52 VG Series Modero Touch Panels...
Страница 100: ...Installation Procedures 17 Panels 90 VG Series Modero Touch Panels...
Страница 178: ...Firmware Pages and Descriptions 168 VG Series Modero Touch Panels...
Страница 250: ...Appendix 240 VG Series Modero Touch Panels...
Страница 251: ...Appendix 241 7 Modero Widescreen Touch Panels...


