Step 5: Adding the MAX-AOM to the Server
21
MAX HT Four-Zone System Setup Guide
4.
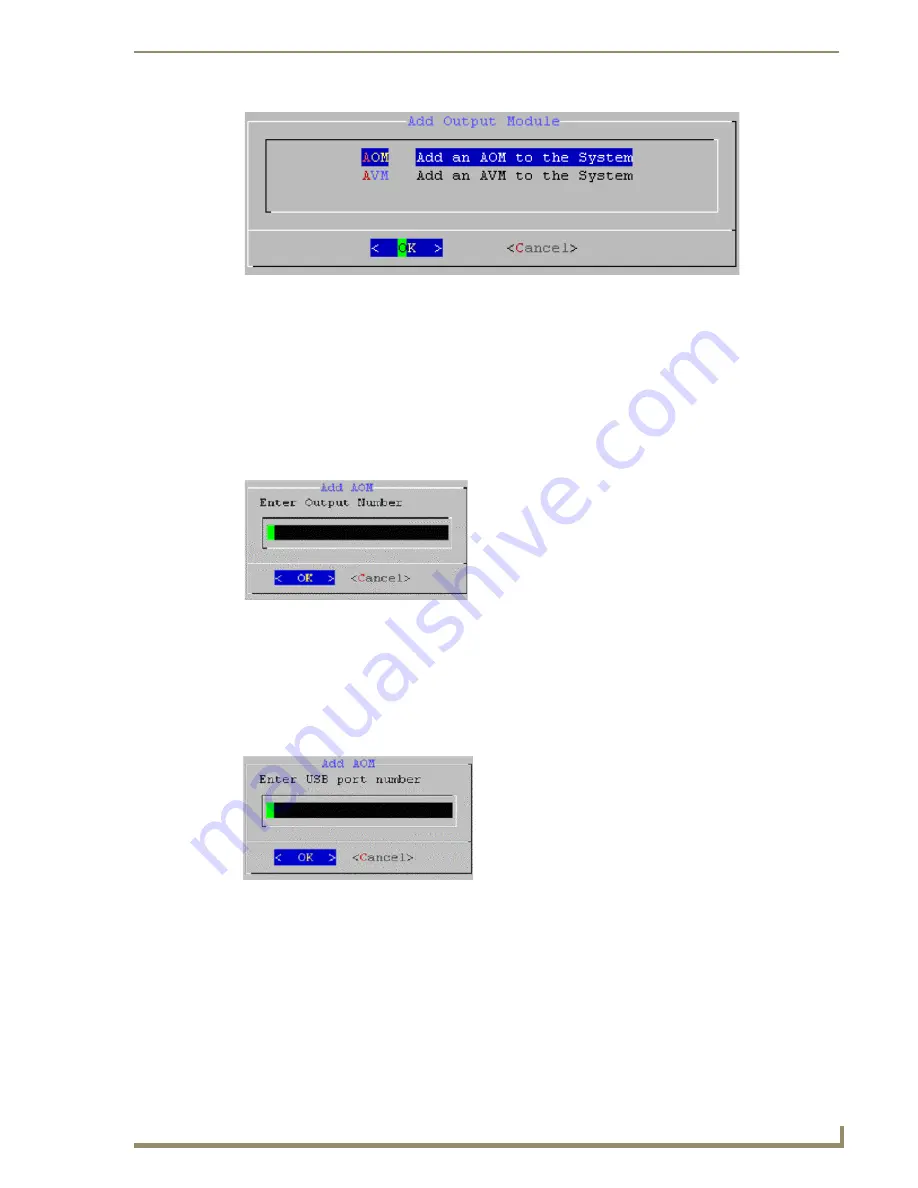
Select
AOM
and press Enter to invoke the first of three Add AOM dialogs, where you will specify
the first of the four server Outputs that the AOM will use.
Adding the AOM to Server Output #5, USB #1, AOM Audio Output #1
Again, since we assigned the four MAX-AVPs to server output numbers 1, 2, 3 and 4, we'll assign the
first server output used by the AOM to OUTPUT NUMBER 5.
1.
Enter "
5
" (FIG. 35).
2.
Press Enter to proceed. In the next dialog, enter the USB Port Number for this AOM.
There are two USB ports on the HT Server so this value could either be a 1 or a 2. Since we are
adding only one AOM in this case, we will use USB port one.
3.
Enter "
1
" (FIG. 36).
4.
Press Enter to proceed to the last Add AOM dialog. In this dialog you will associate server Output #
5 to the first of the four audio outputs on the AOM.
5.
In the ENTER AOM OUTPUT NUMBER field, enter the audio output on the AOM that will be
associated with server Output #5. It is a good idea to keep these numbers sequential, so we'll assign
the first audio output as AOM Output # 1.
6.
Enter "
1
" (FIG. 37).
7.
Press Enter. The server will notify you that
Output #5
has been added (FIG. 38).
FIG. 34
Add Output Module dialog
FIG. 35
Add AOM dialog - ENTER OUTPUT NUMBER
FIG. 36
Add AOM dialog - ENTER USB PORT NUMBER
5
1
Содержание MAX-AOM
Страница 4: ......
Страница 12: ...Introduction MAX HT System Setup 6 MAX HT Four Zone System Setup Guide ...
Страница 18: ...Step 2 Setting Up The 2 Ethernet Switches 12 MAX HT Four Zone System Setup Guide ...
Страница 20: ...Step 3 Power Up The HT Server 14 MAX HT Four Zone System Setup Guide ...
Страница 40: ...Step 7 Connecting the MAX AVPs 34 MAX HT Four Zone System Setup Guide ...
Страница 48: ...Testing the MAX Setup 42 MAX HT Four Zone System Setup Guide ...
Страница 49: ...Testing the MAX Setup 43 MAX HT Four Zone System Setup Guide ...


