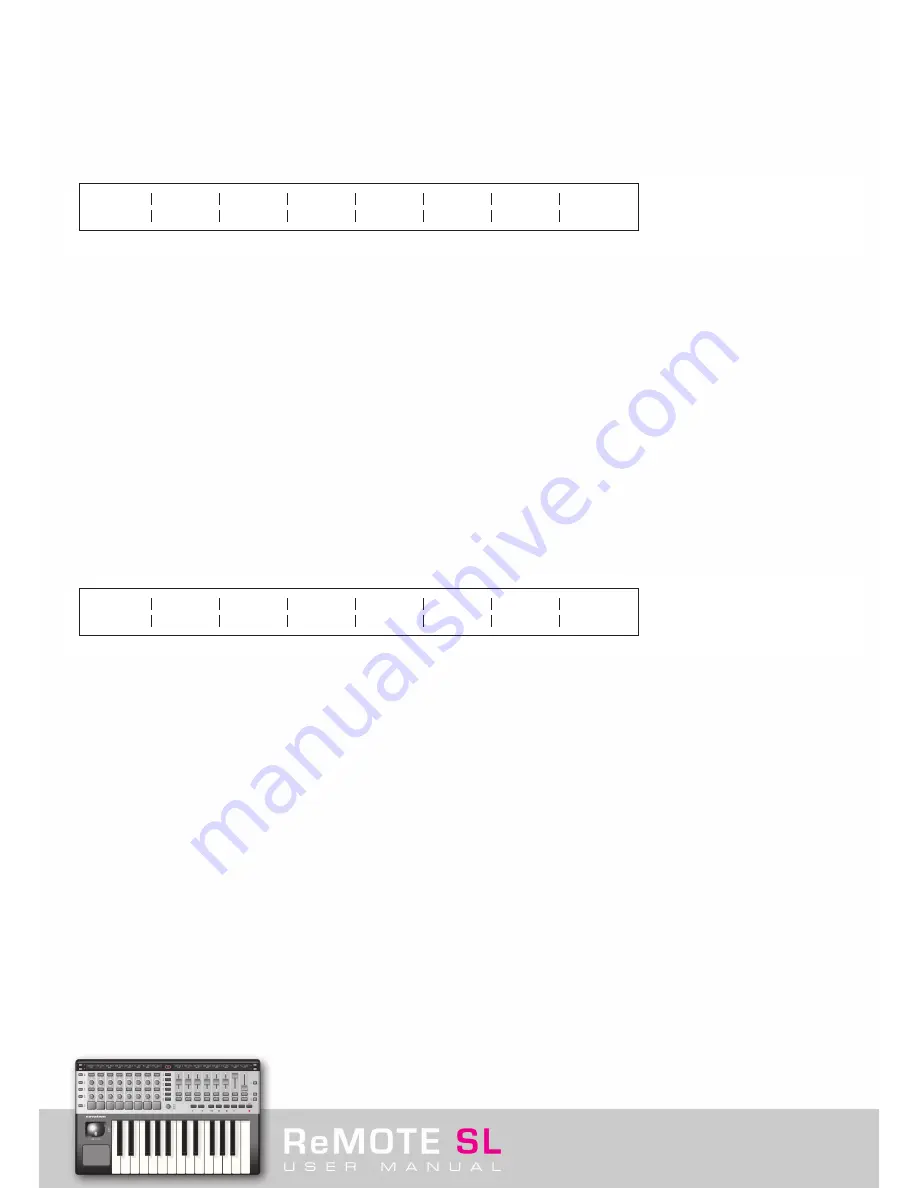
Whilst in PLAY Mode, there is a shortcut enabling quick modification to the Common MIDI channel for the currently selected Template.
Holding down the PLAY button, which makes the Template name and number appear on the screens, and then pressing the OCTAVE
UP/DOWN buttons increases/decreases the channel.
Pressing either of the SCROLL UP buttons calls up the second page in TEMPLATE Mode, in which a Template can be grouped to other
Templates so that ROW SELECT buttons can be used to switch through any of the Templates in that group (as explained in section 3. 1):
The options are as follows:
Template
: This option calls up the onboard Templates so that their Grouping structure can be edited. Selecting 12 will make Template 12
the currently selected Template on the SL (in all Modes).
Position
: This option sets the position in the Group to a value between 1 and 40, depending on the size of the Group. For example, if
Template 12 is in the middle of a set of three Templates for one instrument, this should be set to 2. In this case, Template 11 would be set
to 1 and Template 13 to 3.
Size
: This option sets the size of the Group of Templates to a value between 1 and 40. So. if using Templates 11 to 13 as a group then
this should be set to 3.
5. 9 Keyboard Zones
Pressing the TEMPLATE button twice whilst in any other Mode or once when on the Template Common Parameter Edit pages, calls up the
Template Keyboard Zones Edit Pages. Up to 4 Keyboard Zones are available, to be spanned across any regions in the MIDI Note range (C-2
to G8). This means that the keyboard can be used to play four different instruments within the same Template. The first Edit page is as follows:
The options on this page are:
Zones
: This option turns the Keyboard Zones ON or OFF or sets them to GLOBAL, which makes the GLOBAL Keyboard Zones settings
override those set within TEMPLATE Mode (see section 6).
Zone
: This option selects the Zone that’s being Edited in the subsequent options.
Low Note
: This option sets the lowest note in the Zone range. If wanting to set this value with the SL keyboard then press the third ROW
SELECT button from the top on the left of the SL (next to the second row of buttons from the top) then press the relevant keyboard key.
High Note
: This option sets the highest note in the Zone range. If wanting to set this value with the SL keyboard then press the fourth
ROW SELECT button from the top on the left of the SL (next to the row of pots) then press the relevant keyboard key.
Trnspose
: This option allows the Zone to be transposed so, if the area of the MIDI Note range is already used in another Zone, the same
range of notes can be sent to different instruments on different areas of the keyboard.
VelCurve
(Velocity Curve): This option defines the Velocity curve for the keys within the Keyboard Zone to either curve 1-6 or a fixed velocity
of a value between 7 and 127. (See section 5. 8 for more information on Velocity Curves.)
MidiChan
(MIDI Channel): Here, the MIDI Channel of the Keyboard Zone can be set to any channel from 1 to 16.
Ports
: Here, the Port(s) that the Keyboard Zone MIDI data is sent to can be set to either or both of the MIDI Outputs (M1 and M2) and
USB outputs (Ua and Ub).
Template
17
Position
2
Size :
2
FM7
Native Instr
Zones
ON
Zone
1
Low Note
C-2
HighNote
C4
Trnspose
+12
VelCurve
3
MidiChan
3
Ports
Ua M1 M2
Содержание ReMOTE SL
Страница 44: ...Automapping within the Subtractor Synth Transport Controls for Sequencer Click here to return to SL diagram...
Страница 50: ...Automapping within the Malstrom Synth FEnv Invt Click here to return to SL diagram...
Страница 51: ...Automapping within the Malstrom Synth Transport Controls for Sequencer Click here to return to SL diagram...


