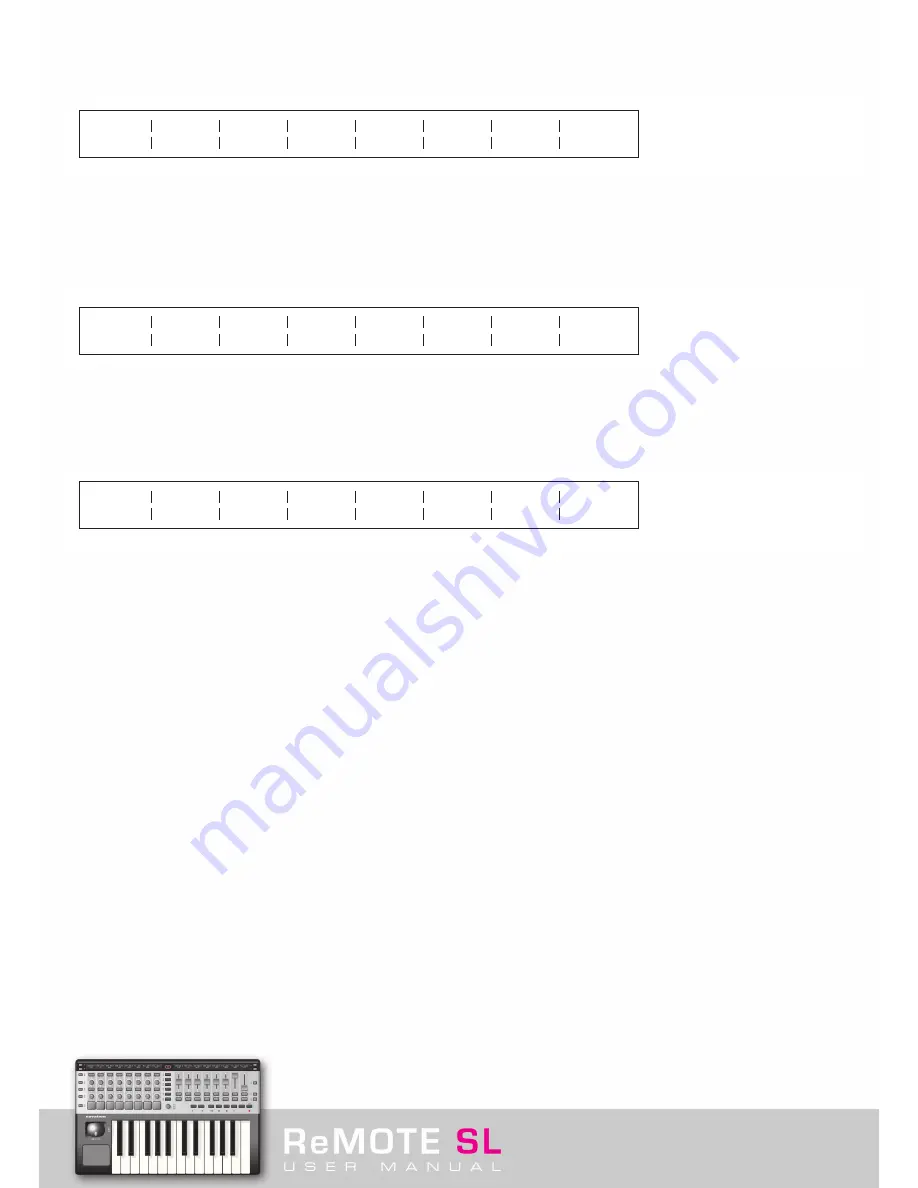
Press either of the SCROLL UP buttons to access the fifth GLOBAL page, the first of two pages for calibrating the trigger pads.
This is the full velocity (maximum strength hit) calibration:
Hit a pad at full strength to check the current calibration. If the top value above the pad goes to 127 too easily, decrease the value
below using the knobs or buttons underneath; this will reduce the sensitivity of the pad and mean you need to hit it much harder to
reach maximum velocity.
Press either of the SCROLL UP buttons to access the sixth GLOBAL page, the second of the two pages for calibrating the trigger pads.
This is the soft hit threshold calibration:
Hit a pad gently and view the top value above the pad. If a value is not being displayed when you hit the pad, it is because the threshold
is too high. Use the knobs or buttons above the pad to lower the threshold. This will make the pad more sensitive.
Press the GLOBAL button twice in any other Mode or once if in the first set of GLOBAL Edit pages to access the GLOBAL Keyboard Zones
Edit Pages:
These pages are identical to the Common settings in TEMPLATE Mode (see section 5.9) apart from the choices on the first option on both
pages simply being ON or OFF with no GLOBAL. Setting Zones to GLOBAL in TEMPLATE Mode means that the Keyboard Zones settings for
that Template will be whatever configuration is set in these pages of the GLOBAL Menu.
6. 1 Saving GLOBALS
To save any GLOBAL settings, press the WRITE button whilst in GLOBAL Mode. Note that Mem Prot (Memory Protect) must be OFF for
GLOBAL settings (or any settings) to be saved. You may notice that the power-up Template number is not an option in the GLOBAL Mode
pages despite the right screen stating that it can be saved here. When WRITE is pressed in GLOBAL Mode and a save is carried out, the
currently selected Template will become the power-up Template.
6. 2 Updating the OS
To update the OS, the Template Dump and Operating System Control Page within GLOBAL Mode must be accessed. Press the GLOBAL
button once (if in another Mode) followed by either SCROLL UP button three times to go to this page. Then, simply press the button under
USBa Receive (Port 1) or USBb Receive (Port 2) to put the SL in Listen Mode (full explanation listed in section 6). Once done, the OS must
be sent to the SL using an application that allows the transfer of Sysex Messages to USB devices. MIDI Ox is recommended for PC and
Sysex Librarian for Mac. All OS updates on the Novation website, however, are bundled with an application for sending to the hardware but
this does not work on every computer. It is therefore recommended that either of the free applications are downloaded from the following
websites: http://www.midiox.com (MIDI Ox) or http://www.snoize.com/SysExLibrarian/ (Sysex Librarian). With these applications, the OS
file can simply be selected and then sent (or often ‘played’) through the relevant USB Port (1 or 2).
127
64
---
64
---
64
---
64
---
64
---
64
---
64
---
64
40
20
---
20
---
20
---
20
---
20
---
20
---
20
---
20
Zones
ON
Zone
1
Low Note
C-2
HighNote
C4
Trnspose
+12
VelCurve
3
MidiChan
3
Ports
Ua M1 M2
Содержание ReMOTE SL
Страница 44: ...Automapping within the Subtractor Synth Transport Controls for Sequencer Click here to return to SL diagram...
Страница 50: ...Automapping within the Malstrom Synth FEnv Invt Click here to return to SL diagram...
Страница 51: ...Automapping within the Malstrom Synth Transport Controls for Sequencer Click here to return to SL diagram...


