Before assembling
Before installing the robot,
you need to install the software (refer to
second half of the document) to control the robot on the Raspberry
Pi
. Because the servo needs to be returned to the original position
during the robot assembly process, which requires the assistance of a
Raspberry Pi with software that runs normally.
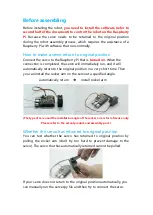
How to make a servo return to original position
Connect the servo to the Raspberry Pi that is
turned on
. When the
connection is completed, the servo will immediately run, and it will
automatically return to the original position in a very short time. Then
you can install the rocker arm on the servo at a specified angle.
automatically return
➔
install rocker arm
(The type of servo and the installation angle of the rocker arm is for reference only.
Please refer to the actual product and assembly part.)
Whether the servo has returned to original position
You can test whether the servo has returned to original position by
pulling the rocker arm (don't try too hard to prevent damage to the
servo). The servo that has automatically returned cannot be pulled.
If your servo does not return to the original position automatically, you
can manually run the server.py file and then try to connect the servo.
Содержание RaspClaws
Страница 1: ...1...
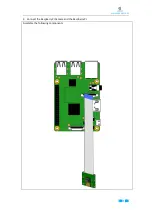
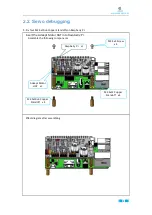
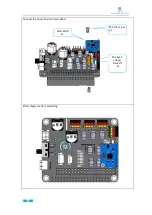
Страница 11: ...www adeept com 7 2 Connect the Raspberry Pi Camera and the RaspberryPi Assemble the following components...
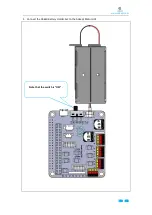
Страница 15: ...www adeept com 11 3 Connect the 18650 Battery Holder Set to the Adeept Motor HAT Note that the switch is OFF...
Страница 25: ...21 www adeept com Assemble the following components M3 10 Screw X3 M3 Nut X3 Effect diagram after assembling...
Страница 36: ...www adeept com 32 Assemble the following components M2 5 8 Screw X6 Effect diagram after assembling...
Страница 39: ...35 www adeept com Servo interfaces...
Страница 40: ...36 www adeept com Assemble the following components M3 8 Screw X 8 Effect diagram after assembling...
Страница 42: ...www adeept com 38 Assemble the following components M2 5 8 Screw X1 Effect diagram after assembling...
Страница 43: ...www adeept com 39 Assemble the following components M3 8 Screw X2 M3 Nut x2 Effect diagram after assembling...
Страница 71: ...61 www adeept com...


