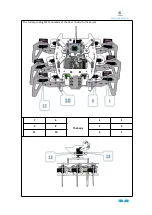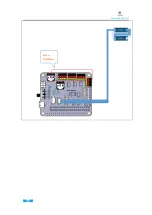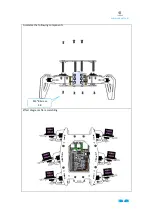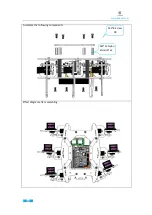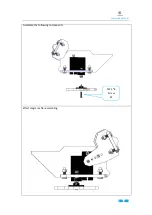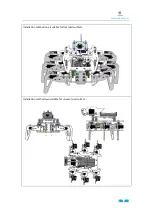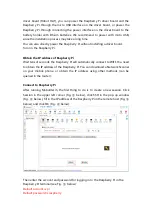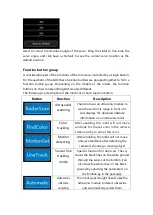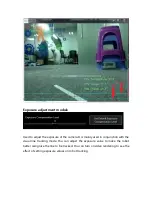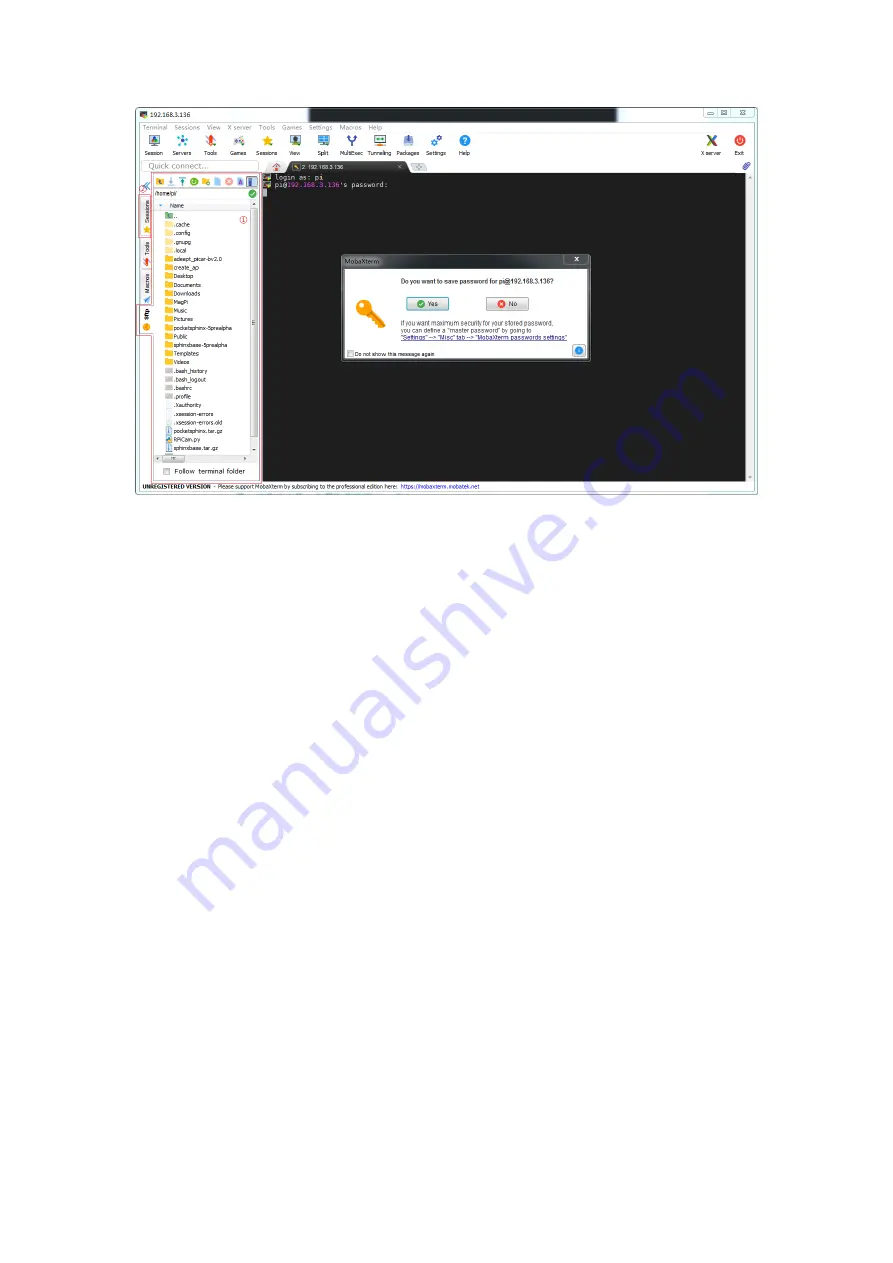
That's it, the connection to the Raspberry Pi is complete.
Download the robot program
Setting up the robot program step by step and installing it will take a lot of time
and effort. In the software package, we provide an installation package to install
and automatically perform related settings.
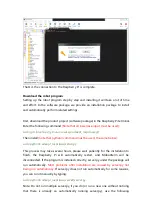
First, download the product project (software package) in the Raspberry Pi terminal.
Enter the following command
(Note that all lowercase input must be used):
sudo git clone
adeept_raspclaws.git
Then install
(note that python3 command must be used, the same below):
sudo python3 adeept_raspclaws/setup.py
This process may take several hours, please wait patiently for the installation to
finish, the Raspberry Pi will automatically restart, and MobaXterm will be
disconnected. If the program is installed correctly, server.py under the package will
run automatically.
Most problems after installation are caused by server.py not
being run automatically.
If server.py does not run automatically for some reasons,
you can run it manually by typing:
sudo python3 adeept_raspclaws/server/server.py
Note: Do not run multiple server.py, if you do (or run a new one without noticing
that there is already an automatically running server.py), use the following
Содержание RaspClaws
Страница 1: ...1...
Страница 11: ...www adeept com 7 2 Connect the Raspberry Pi Camera and the RaspberryPi Assemble the following components...
Страница 15: ...www adeept com 11 3 Connect the 18650 Battery Holder Set to the Adeept Motor HAT Note that the switch is OFF...
Страница 25: ...21 www adeept com Assemble the following components M3 10 Screw X3 M3 Nut X3 Effect diagram after assembling...
Страница 36: ...www adeept com 32 Assemble the following components M2 5 8 Screw X6 Effect diagram after assembling...
Страница 39: ...35 www adeept com Servo interfaces...
Страница 40: ...36 www adeept com Assemble the following components M3 8 Screw X 8 Effect diagram after assembling...
Страница 42: ...www adeept com 38 Assemble the following components M2 5 8 Screw X1 Effect diagram after assembling...
Страница 43: ...www adeept com 39 Assemble the following components M3 8 Screw X2 M3 Nut x2 Effect diagram after assembling...
Страница 71: ...61 www adeept com...

