


GUI tutorial
The GUI is a graphical interface that runs on the PC for robot control. It is contained
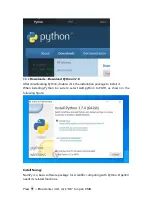
in the client directory of the package, and is usually called GUI.py. If you installed
python according to the manual, just double-click GUI.py to open it.
Depending on the product, the GUI is also composed of different modules and
windows. Below is a list of most of the GUI modules and windows. You can compare
the modules and windows of your GUI to understand their functions and usage.
Common GUI modules
Common GUI modules are those modules or windows that can be found on almost
all robots.
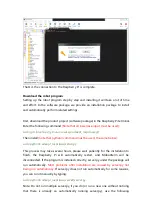
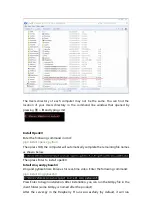
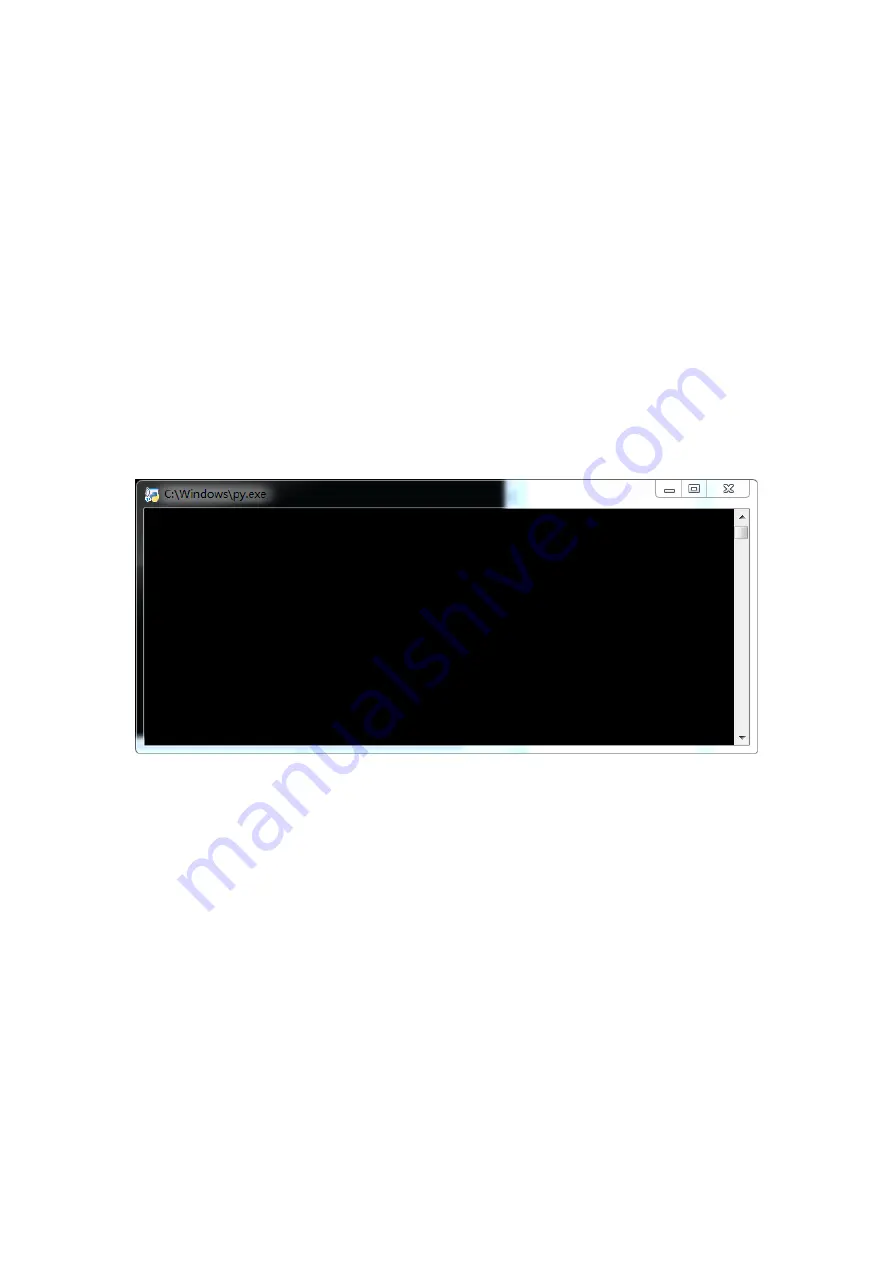
Python running window
This window will accompany each GUI when it is opened. Any runtime exception
will be displayed on here. If this window is closed, the GUI will be exited.
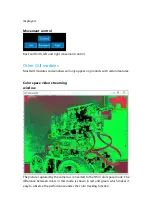
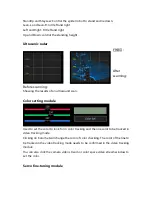
Camera video streaming window
Содержание RaspClaws
Страница 1: ...1...
Страница 11: ...www adeept com 7 2 Connect the Raspberry Pi Camera and the RaspberryPi Assemble the following components...
Страница 15: ...www adeept com 11 3 Connect the 18650 Battery Holder Set to the Adeept Motor HAT Note that the switch is OFF...
Страница 25: ...21 www adeept com Assemble the following components M3 10 Screw X3 M3 Nut X3 Effect diagram after assembling...
Страница 36: ...www adeept com 32 Assemble the following components M2 5 8 Screw X6 Effect diagram after assembling...
Страница 39: ...35 www adeept com Servo interfaces...
Страница 40: ...36 www adeept com Assemble the following components M3 8 Screw X 8 Effect diagram after assembling...
Страница 42: ...www adeept com 38 Assemble the following components M2 5 8 Screw X1 Effect diagram after assembling...
Страница 43: ...www adeept com 39 Assemble the following components M3 8 Screw X2 M3 Nut x2 Effect diagram after assembling...
Страница 71: ...61 www adeept com...