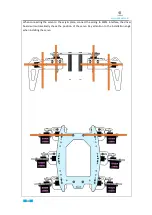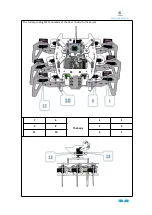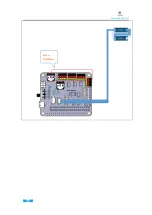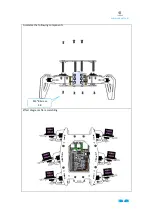
driver board (Robot HAT), you can power the Raspberry Pi driver board and the
Raspberry Pi through the micro USB interface on the driver board, or power the
Raspberry Pi through connecting the power interface on the driver board to the
battery holder with lithium batteries. We recommend to power with micro USB,
since the installation process may take a long time.
You can also directly power the Raspberry Pi without installing a driver board.
Turn on the Raspberry Pi.
Obtain the IP address of Raspberry Pi
Wait tens of seconds, the Raspberry Pi will automatically connect to WIFI. You need
to obtain the IP address of the Raspberry Pi. You can download a Network Scanner
on your mobile phone, or obtain the IP address using other methods (can be
queried in the router).
Connect to Raspberry Pi
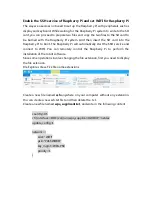
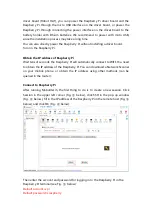
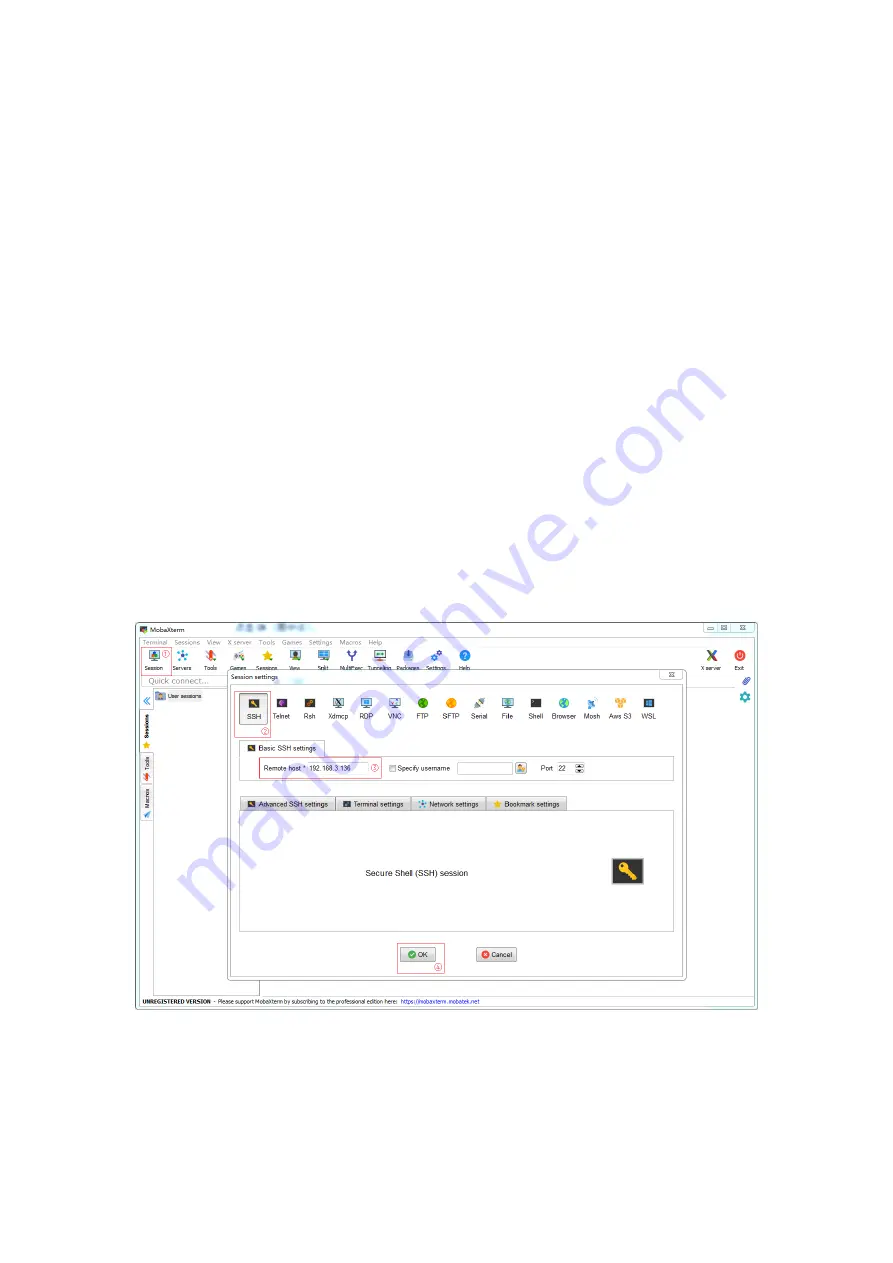
After running MobaXterm, the first thing to do is to create a new session. Click
Session in the upper left corner (Fig.
①
below), click SSH in the pop-up window
(Fig.
②
below), fill in the IP address of the Raspberry Pi in the remote host (Fig.
③
below), and click OK (Fig.
④
below).
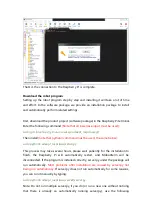
Then enter the account and password for logging in to the Raspberry Pi in the
Raspberry Pi terminal (see Fig.
①
below):
Default account is pi
Default password is raspberry
Содержание RaspClaws
Страница 1: ...1...
Страница 11: ...www adeept com 7 2 Connect the Raspberry Pi Camera and the RaspberryPi Assemble the following components...
Страница 15: ...www adeept com 11 3 Connect the 18650 Battery Holder Set to the Adeept Motor HAT Note that the switch is OFF...
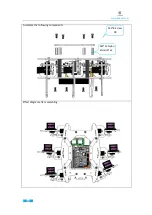
Страница 25: ...21 www adeept com Assemble the following components M3 10 Screw X3 M3 Nut X3 Effect diagram after assembling...
Страница 36: ...www adeept com 32 Assemble the following components M2 5 8 Screw X6 Effect diagram after assembling...
Страница 39: ...35 www adeept com Servo interfaces...
Страница 40: ...36 www adeept com Assemble the following components M3 8 Screw X 8 Effect diagram after assembling...
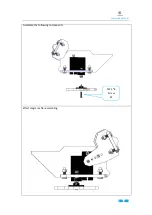
Страница 42: ...www adeept com 38 Assemble the following components M2 5 8 Screw X1 Effect diagram after assembling...
Страница 43: ...www adeept com 39 Assemble the following components M3 8 Screw X2 M3 Nut x2 Effect diagram after assembling...
Страница 71: ...61 www adeept com...


