Disks and Units
Chapter 4 Storage Configuration and Expansion
57
2
Configure the new drive as part of the RAID.
When you remove a drive from a Snap Server, the affected RAID transitions to
degraded mode. It remains in degraded mode until the newly inserted drive is
configured as a member of the RAID via the Administration Tool. For details on
this procedure, see “Adding Disk Drives to a RAID” on page 56.
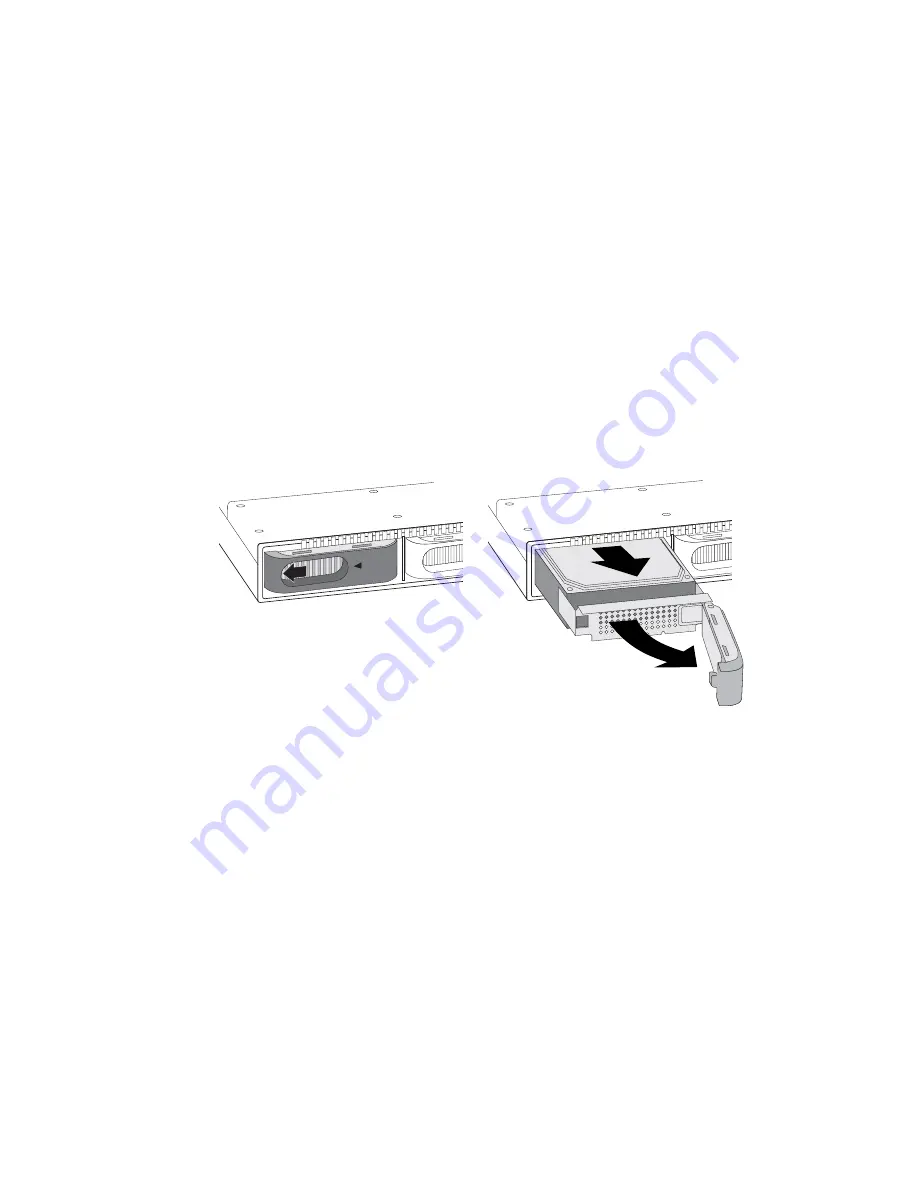
Replacing a Disk Drive on a Snap Server 410
1
Remove the front bezel by pressing in the latches on each side of the bezel and
pulling the bezel away from the chassis.
2
On the closed handle of the failed disk drive, insert your finger into the handle
slot and pull out to open the handle.
3
Pull to remove the drive from the chassis.
4
Open the handle of the new drive. If the handle is closed, you cannot insert the
disk drive completely into the bay.
5
Insert the new disk drive, making sure you push it forward until it is firmly
seated and the handle begins to swing closed. Then close the handle until it clicks
into place to completely seat the drive to its connection.
6
Replace the front bezel.
Содержание 5325301656 - Snap Server 14000 NAS
Страница 2: ......
Страница 76: ...Disks and Units 62 Snap Server Administrator Guide ...
Страница 92: ...Creating iSCSI Disks 78 Snap Server Administrator Guide ...
Страница 108: ...Security Guides 94 Snap Server Administrator Guide ...
Страница 144: ...Unicode and Expansion Arrays 130 Snap Server Administrator Guide ...
Страница 164: ...Off the Shelf Backup Solutions for the Snap Server 150 Snap Server Administrator Guide ...
Страница 172: ...Scripts in SnapCLI 158 Snap Server Administrator Guide ...
Страница 206: ...192 Snap Server Administrator Guide ...
Страница 224: ...210 Snap Server Administrator Guide ...


