11
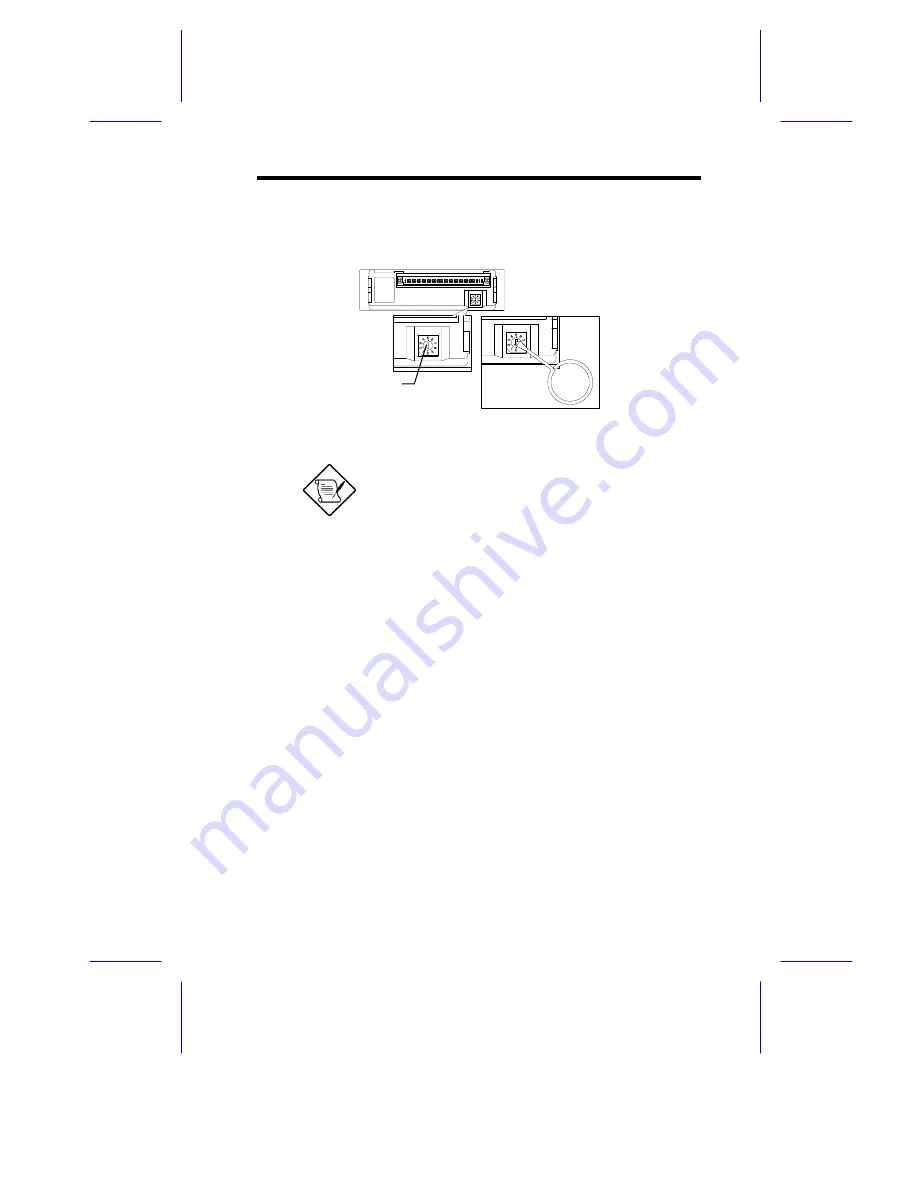
6. Set the ID number for the drive using the turn key. The ID number dial is
located at the rear of the disk tray.
Make sure that you do not use duplicate ID
numbers.
7. Insert the tray back into the enclosure and lock it (which also powers up
the drive tray). The ID number LED should indicate the ID number you
set for this hard disk drive, and the HDD Power/Fail LED should be green
to indicate that the drive is functioning properly.
Back Plane Board
The RS700 includes one 4-bay and one 3-bay back plane board. The
simplified design and hot-swappable hard disk drive tray allows you to
remove and install the hard disk drive tray any time you want.
A cooling fan is also installed to keep the temperature of the drives at a
constant while also maintaining system integrity by sounding off an alarm
whenever the fan stops working.
The back plane board panel supports ultra wide (40 MB/s) and ultra-2 (80
MB/s) SCSI hard disk drives.
ID Number Dial
Содержание RS700
Страница 1: ...AcerAltos RS700 Enclosure AcerAltos RS700 Enclosure Installation Guide Installation Guide ...
Страница 8: ...viii ...
Страница 12: ......
Страница 26: ...14 ...
Страница 33: ...First RS700 Storage Enclosure Second RS700 Storage Enclosure Host Server HBA ...
Страница 39: ...27 SCSI Expander ...
Страница 58: ...46 6 Select the Microsoft Cluster Server to install 7 Insert CD 2 of Windows NT Server Enterprise Edition ...
Страница 59: ...47 8 Select Form a new cluster to create a cluster 9 Input the name of the Cluster ...
Страница 60: ...48 10 Input the path for cluster files 11 Input the User name and Password of this Domain account ...
Страница 61: ...49 12 Add or Remove the shared disks 13 Select the shared disk on which to store permanent cluster files ...
Страница 63: ...51 16 Select the node1 pri and click UP to get the highest priority ...
Страница 64: ...52 17 Enter the IP Address and Subnet Mask of the Cluster 18 MSCS has been successfully installed ...
Страница 68: ...56 ...


