


3 System upgrade
44
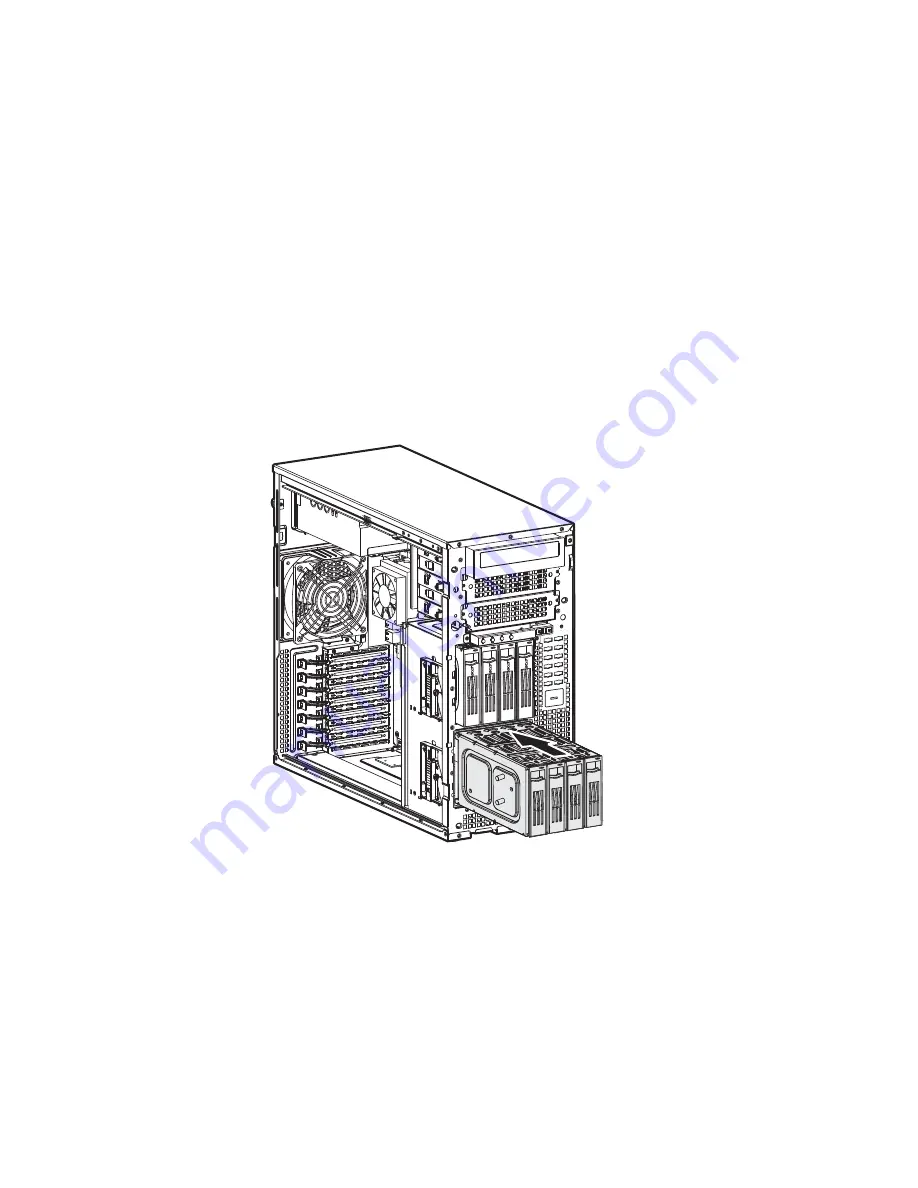
To install the easy-swap SCSI HDD cage
The easy-swap SCSI HDD cage is an optional four-bay internal HDD
enclosure without a SCSI backplane board.
1
Observe the ESD precautions and pre-installation procedures
described on page 35.
2
Remove the HDD cage bay cover. See page 39.
3
Remove the screw that secures the cover to the empty HDD bay,
then detach the cover.
4
Install the easy-swap cage.
(1) Hold the easy-swap cage with both hands, then slide the cage
into the housing. The cage is locked to the chassis with an
audible click.
(2) Locate and attach the following cables to their corresponding
connectors on the SCSI hard drive and SCSI RAID controller.
(1) SCSI data cable
Содержание Altos G5350
Страница 1: ...Acer Altos G5350 Series User s Guide ...
Страница 10: ...x ...
Страница 11: ...1 System tour ...
Страница 31: ...21 5 4 pin power cable connector 6 I2 C bus interface connector No Code Description ...
Страница 32: ...1 System tour 22 ...
Страница 33: ...2 System setup ...
Страница 43: ...3 System upgrade ...
Страница 88: ...3 System upgrade 78 ...
Страница 89: ...4 BIOS setup ...
Страница 123: ...113 Save Changes Saves changes made in the BIOS setup Parameter Description ...
Страница 124: ...4 BIOS setup 114 ...
Страница 125: ...5 Troubleshooting ...
Страница 136: ...5 Troubleshooting 126 ...
Страница 137: ...Appendix A System management utility ...
Страница 144: ...Appendix A System management utility 134 ...
Страница 145: ...Appendix B Acer Altos G5350 rack installation guide ...
Страница 146: ...This appendix shows you how to set up the Altos G5350 server in a rack mount configuration ...
Страница 161: ...Appendix C SCSI RAID configuration ...
Страница 162: ...This appendix shows you how to create a RAID volume in your SCSI drives ...