Chapter 4
143
Troubleshooting
Common Problems
Use the following procedure as a guide for computer problems.
NOTE:
The diagnostic tests are intended to test only Acer products. Non-Acer products, prototype cards, or
modified options can give false errors and invalid system responses.
1.
Obtain the failing symptoms in as much detail as possible.
2.
Verify the symptoms by attempting to re-create the failure by running the diagnostic test or by repeating
the same operation.
3.
Use the following table with the verified symptom to determine which page to go to.
4.
If the Issue is still not resolved, see “Online Support Information” on page 193.
Symptoms (Verified)
Go To
Power On Issue
Page 144
No Display Issue
Page 145
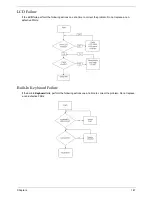
LCD Failure
Page 147
Internal Keyboard Failure
Page 147
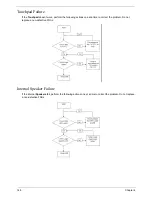
Touchpad Failure
Page 148
Internal Speaker Failure
Page 148
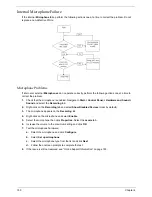
Internal Microphone Failure
Page 150
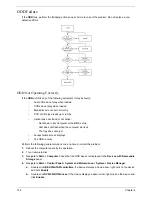
ODD Failure
Page 152
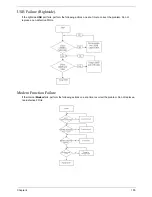
Rightside USB Failure
Page 155
Modem Failure
Page 155
WLAN Failure
Page 156
Acer EasyLaunch Button Failure
Page 156
Acer MediaTouch Failure
Page 157
Fingerprint Reader Failure
Page 157
Thermal Unit Failure
Page 158
HDTV Switch Failure
Page 158
Other Functions Failure
Page 159
Intermittent Failures
Page 160
Undermined Failures
Page 160
Chapter 4
Содержание 5530 5634 - TravelMate - Athlon X2 2.1 GHz
Страница 6: ...VI ...
Страница 14: ...4 Chapter 1 System Block Diagram ...
Страница 36: ...26 Chapter 1 ...
Страница 54: ...44 Chapter 2 ...
Страница 56: ...46 Chapter 2 ...
Страница 64: ...54 Chapter 3 6 Remove the HDD cover as shown 7 Remove the WLAN cover as shown ...
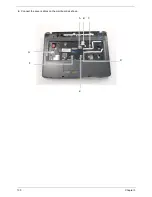
Страница 85: ...Chapter 3 75 6 Turn the upper cover over The upper cover appears as follows ...
Страница 106: ...96 Chapter 3 7 Lift the Thermal Module clear of the Mainboard ...
Страница 112: ...102 Chapter 3 6 Disconnect the left and right Inverter board cables as shown ...
Страница 126: ...116 Chapter 3 3 Replace the RJ 11 cable in its housing ...
Страница 137: ...Chapter 3 127 2 Replace the bracket as shown 3 Replace the single securing screw ...
Страница 140: ...130 Chapter 3 2 Connect the seven cables on the mainboard as shown B C D E F G A ...
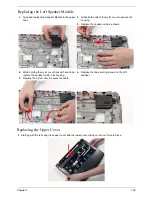
Страница 146: ...136 Chapter 3 7 Replace the adhesive strip to secure the cable 8 Replace bracket and secure with provided screw ...
Страница 152: ...142 Chapter 3 ...
Страница 180: ...170 Chapter 5 ...
Страница 196: ...Appendix A 186 ...
Страница 202: ...192 Appendix B ...
Страница 204: ...194 Appendix C ...
Страница 207: ...197 Windows 2000 Environment Test 188 Wireless Function Failure 156 WLAN Board 56 ...
Страница 208: ...198 ...

